Fully Loaded Brownies with Butterfinger Frosting Recipe
This post may contain affiliate links. Please read my disclosure policy.
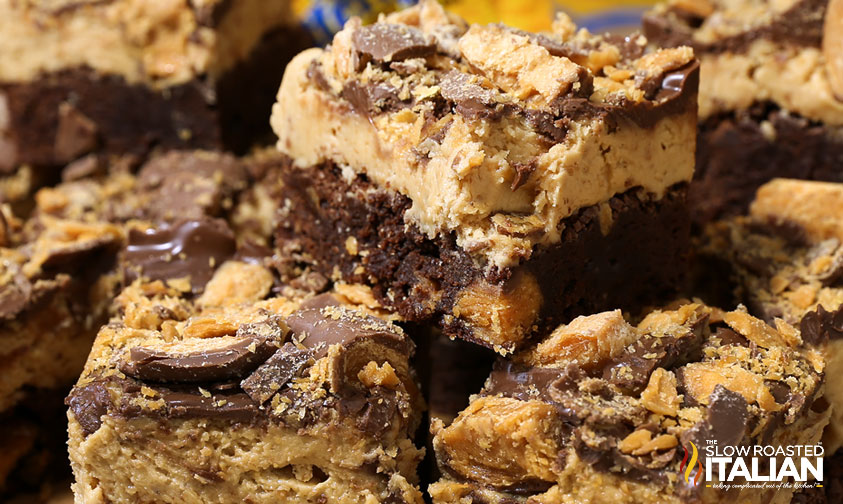
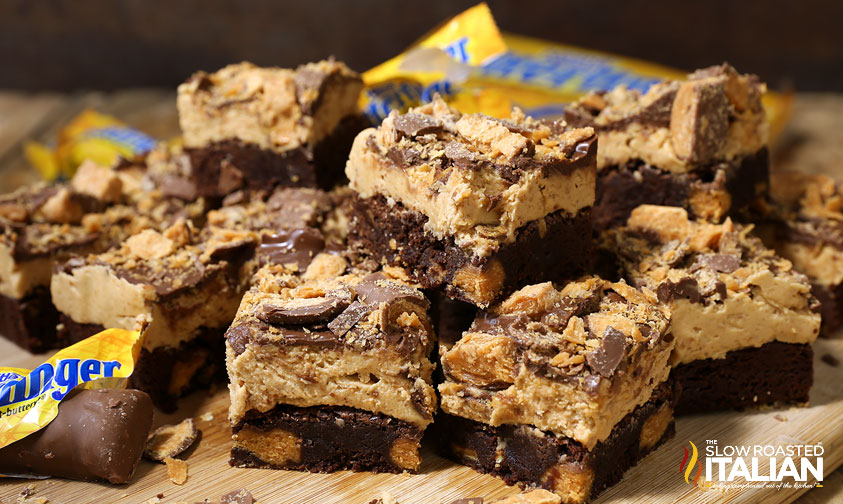
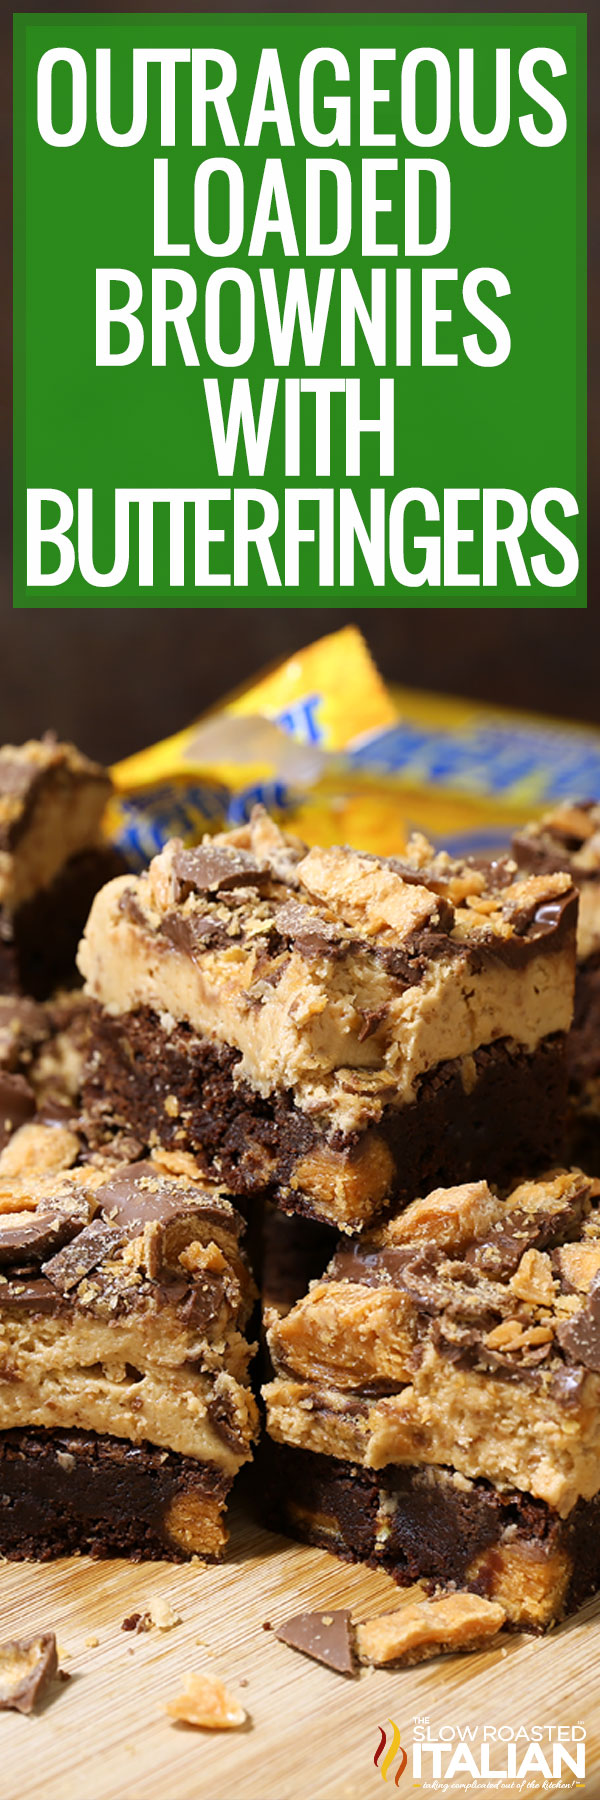
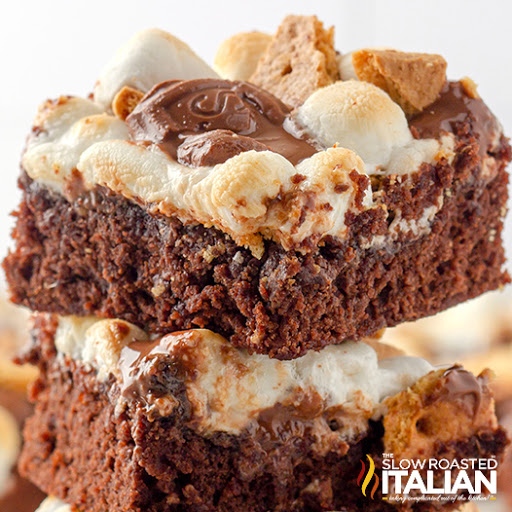
These Loaded Brownies are, well, loaded with flavor! So picture this: a base layer of Butterfinger brownies that’s crunchy and chewy at the same time. Then, a whipped topping of nutty peanut butter, sweet vanilla and powdered sugar, and melty milk chocolate. I’m telling you, you will not want to miss out on these incredible candy brownies!
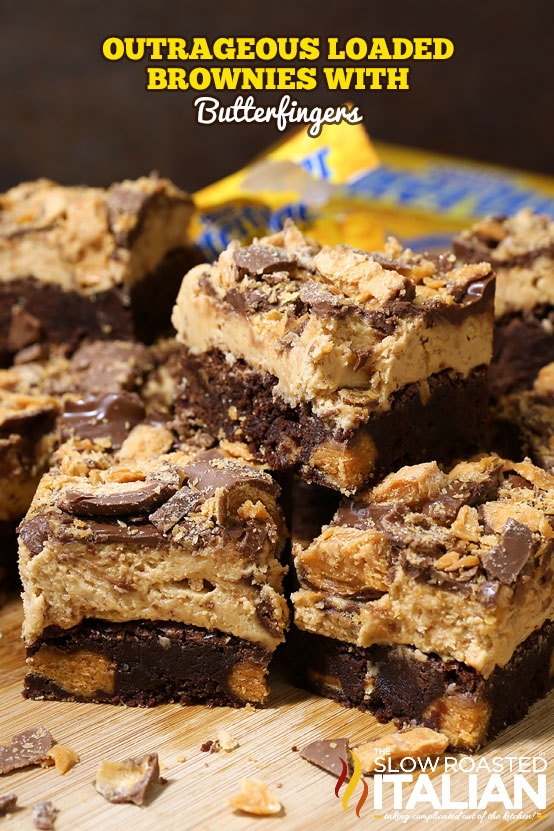
If you’re a chocolate lover, you’re going to love these homemade brownies.
Once you bake this perfect dessert, it sure to top the list of your favorite brownie recipes! I’m always in brownie heaven when I taste all that chocolate flavor!
This recipe makes the perfect cake-like brownies loaded with yummy flavors. You can even add vanilla ice cream to create the perfect treat!
Loaded Brownies
I think that brownies might have to be the best dessert for families!
You can make pan after pan super quickly, and this Butterfinger brownies recipe only takes 45 minutes.
They keep really well, and you never get sick of them. Bake sales, parties, potlucks — they’re never a bad idea!
Plus, there are few desserts more versatile than the humble brownie. Make ‘em fruity, make ‘em with cheesecake…
Heck, you can make them with Baileys for a boozy brownie!
But maybe you just want to keep it simple. I get it! And it doesn’t get simpler than my 3 ingredient brownie recipe!
Those not chocolatey enough? Maybe these Copycat Starbucks double chocolate brownies will hit the spot!
There’s options for every flavor preference!
Ingredient Notes & Substitutions
- Unsweetened Cocoa Powder – It’s actually easier to measure the sweetness of your desserts by using unsweetened cocoa powder.
Choose a high-quality brand for the best flavor! - Eggs – Prefer a fudgy, chewy brownie? Instead of using 3 whole eggs, use two egg whites and 4 egg yolks.
And if you still haven’t satisfied your sweet tooth, use those extra whites to make meringue candies! - Butterfingers – Use the fun-sized bars to get just the right ratio of filling to chocolate in Butterfinger brownies!
- Peanut Butter – This is for the frosting. I love using honey-roasted peanut butter, but throw in whatever brand and consistency you like best.
You could even use chunky! - Milk – You’ll only need milk if the topping comes out too thick. Just add 1 tablespoon at a time until it’s thin enough to spread with a spatula.
If you’re not a fan of Butterfinger candy bars, you can still add chopped chocolate, white chocolate chips, chopped peanut butter cups, crushed Oreo cookies, dark chocolate chips, chocolate chunks, or anything else that you want to this new recipe.
Even crushed potato chips could be a fun crunch in the center of the brownies! A little bit of sweetness goes a long way to make these loaded brownies a hit!
Before Baking Butterfinger Brownies, Check Out These Tips!
- Chill before serving for easy slicing and serving.
I probably don’t need to tell you that these are some messy candy brownies.
There’s peanut butter, sticky candy bar filling, chocolate chips — lots of melty, ooey gooey ingredients!
That’s why I recommend sticking these in the fridge for a little while after frosting.
Just 15 to 30 minutes is enough to help the frosting set up and the dessert contents solidify just a tad.
Trust me, it’ll make serving a much cleaner process!
- Make loaded brownies with all kinds of candies!
While my family adores my Butterfinger dessert recipes, it is not even close to your only option for making these!
Snickers, Reeses (Pieces or Cups – or both!), Milky Ways… you name it, and it can be thrown in!
You could even make loaded brownies with cookies. Oreos and Chips Ahoy are my favorite choices.
Storing Candy Brownies
Keep these on your countertop for up to 4 days. They’ll keep a bit better in the fridge for up to a week.
And you should know that loaded brownies freeze really, really well! You can keep them wrapped up in the freezer for up to 3 months.
Just give them 30 minutes of defrost time on the counter, and they’ll be ready for snacking! A quick tip – if you cut and store them individually, they’ll defrost faster!
Kitchen Tools You Will Need
- 9×13 Baking Dish – This set is one of my favorites! It comes with a lid for easy storage and is great for casseroles too.
- Parchment Paper prevents these candy brownies from sticking and makes for easy serving!
- Blender – A high-power blender is a must in every kitchen.
Butterfinger Dessert Recipes FAQ
Of course! I will say that using this homemade mixture is super easy and goes a long way, but you could easily use regular boxed mix and then add the Butterfingers.
I do recommend using the ratio of butter and eggs to dry ingredients, however — it makes a big difference!
It’s actually simpler than you’d think: peanut butter, milk chocolate, a hard candy-peanut butter mixture (that’s the flaky stuff!).
Some homemade recipes actually use cornflakes to get that crunch in the center, since it isn’t always easy to make hard candy at home.
Yes, you can! And I actually use butter instead of vegetable oil in my Butterfinger dessert recipes because I think that buttery flavor really takes them the extra mile.
You can substitute butter for oil at a 1:1 ratio. Super easy!
Enjoy!
With love, from our simple kitchen to yours.
Don’t miss a thing! Follow us on
Facebook | Twitter | Pinterest | Instagram
Fully Loaded Brownies with Butterfinger Frosting Recipe
Ingredients
Brownie Layer
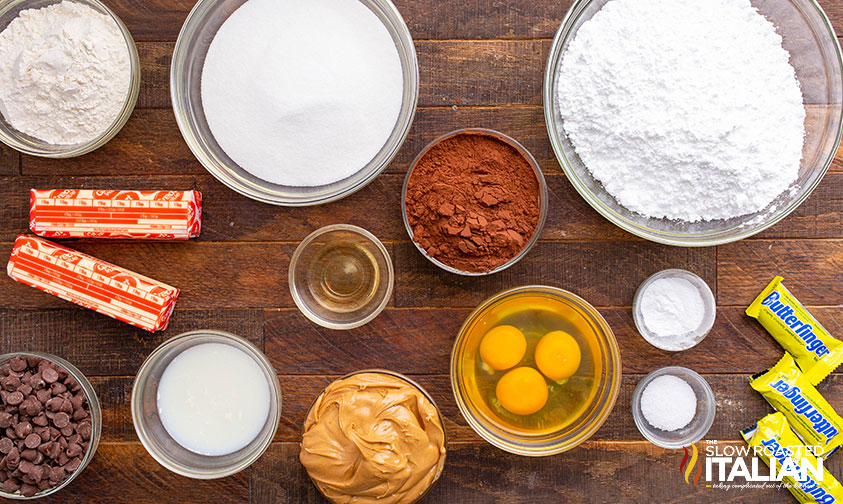
- 1 cup unsalted butter
- 2 cups granulated sugar
- 1 cup unsweetened cocoa powder
- 1 tablespoon vanilla extract
- 3 large eggs
- 1 cup all-purpose flour
- 1/2 teaspoon baking powder
- 1/2 teaspoon salt
- 12 ounce bag Fun Size Butterfingers, chopped
- 1 large Butterfinger bar, garnish
Toppings
- 1 cup unsalted butter, room temperature
- 4 cups powdered sugar
- 15 ounce jar honey roasted peanut butter
- 1 tablespoon pure vanilla extract
- 1/2 teaspoon salt
- 2-4 tablespoons milk, if needed
- 6 ounces milk chocolate chips, melted
Instructions
- Preheat oven to 350°F. Line a 9×13 baking dish with parchment paper, set aside.
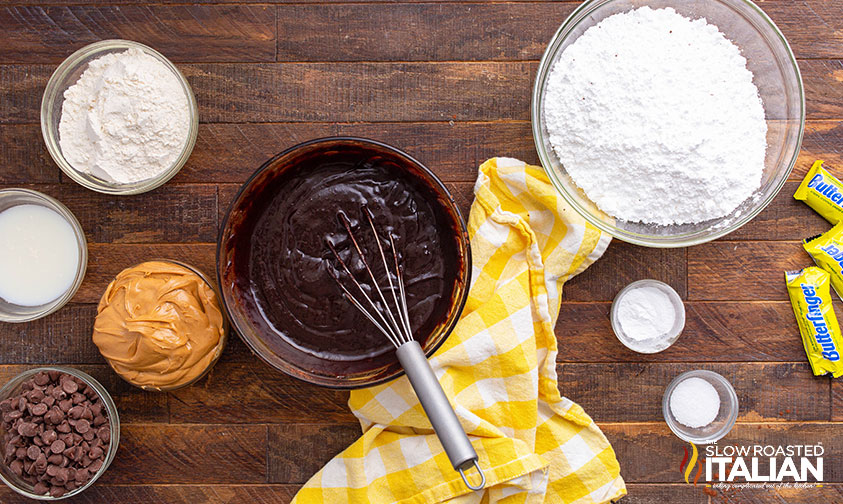
- Place butter in a large microwave safe mixing bowl, melt completely. Add sugar, cocoa, vanilla and eggs. Whisk to combine well. Add remaining ingredients. Whisk until completely combined, but do not over mix. Gently stir in 1/2 of chopped Butterfingers.
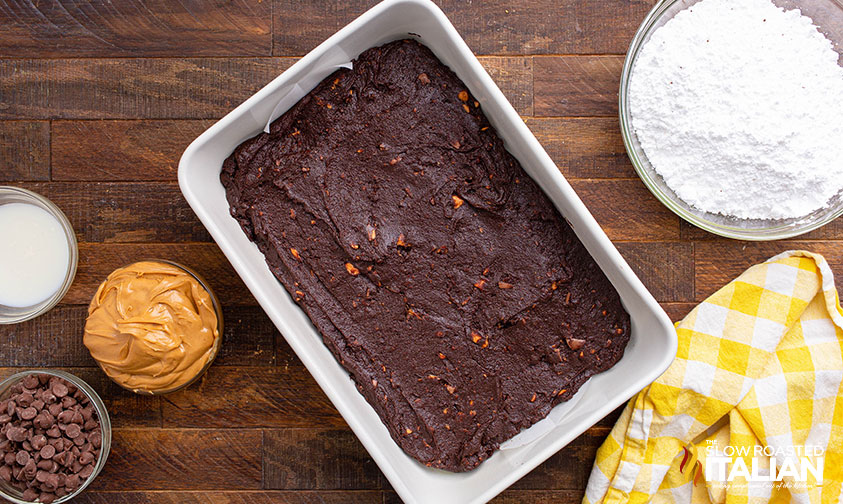
- Pour into prepared baking dish. Bake for 20 minutes or until a tooth pick comes out clean. Place in the freezer to cool, about 15 minutes.
- Meanwhile: Finely chop remaining candy bars, or toss them in a blender/food processor until they are pea size crumbs. Set aside.
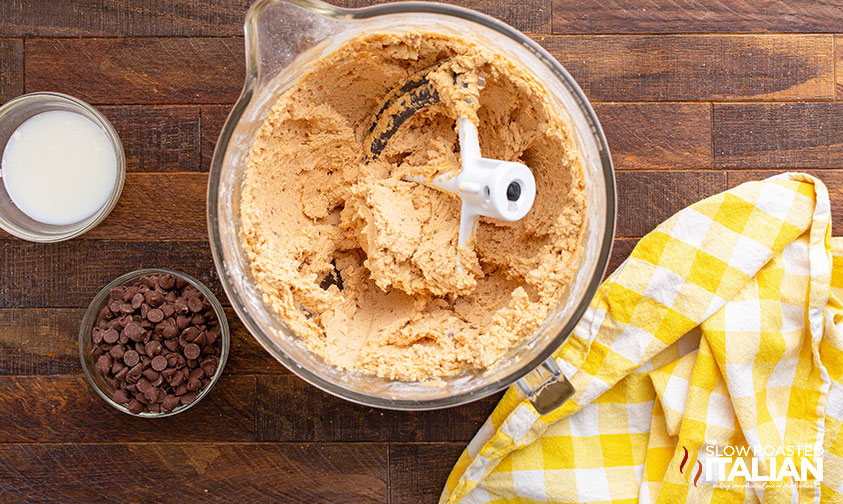
- Combine butter, peanut butter, powdered sugar, vanilla and salt in the bowl of a stand mixer fitted with a paddle attachment. Beat on medium speed until smooth and creamy, about 3 minutes, then add candy bar crumbs. Stir in on low, then switch to medium speed and beat until light and creamy. If mixture is too thick, add milk 1 tablespoon at a time beating between each addition until it is thick like frosting, but thin enough to spread with a spatula. Beat mixture until well combined.
- Spread frosting over top of cooled brownie. Pour melted chocolate over top of brownies, use a spatula to spread it across the top of the frosting. Chop large Butterfinger bar and sprinkle over the top of the frosting. Serve and enjoy.
Donna’s Notes
Nutrition
All nutritional information is based on third party calculations and is only an estimate. Each recipe’s nutritional value will vary depending on the ingredients used, measuring methods, and portion sizes.
Originally published February 2015, updated and republished November 2024
Disclosure: Posts may contain affiliate links. If you purchase a product through an affiliate link your price will remain the same and The Slow Roasted Italian will automatically receive a small commission. Thank you for supporting us, it helps us keep creating new recipes.


I love these recipes–BUT–I'm getting fat eating them!
Last night I told my husband that I need to make brownies….and today you post this. I guess this is what I'll be making 🙂
They definitely look outrageous and I WANT them!!
I had a butterfinger the other day – it was a total checkout line impulse buy but it was sooo good. I'm obsessed now. Putting them on blondies like this is kind of brilliant!
Woohoo! These look amazing!
My boyfriend LOVES Butterfingers, so I'm most definitely going to have to make these for him!
The perfect balance of sweetness, richness, and buttery-ness.
Yum yum yum! These look so delicious!
What a sweet flavorful explosion in your mouth! I need something to satisfy my cravings and this hit the spot!
OMG these are so delicious!!!
wow, these loaded brownies are out of this world! so easy to make and absolutely delicious. a definite hit with my family!
Hi Saoirse!
We’re so glad you enjoyed the recipe!
TSRI Team Member,
Devlyn