Avalanche Bark Rocky Road Bars
This post may contain affiliate links. Please read my disclosure policy.
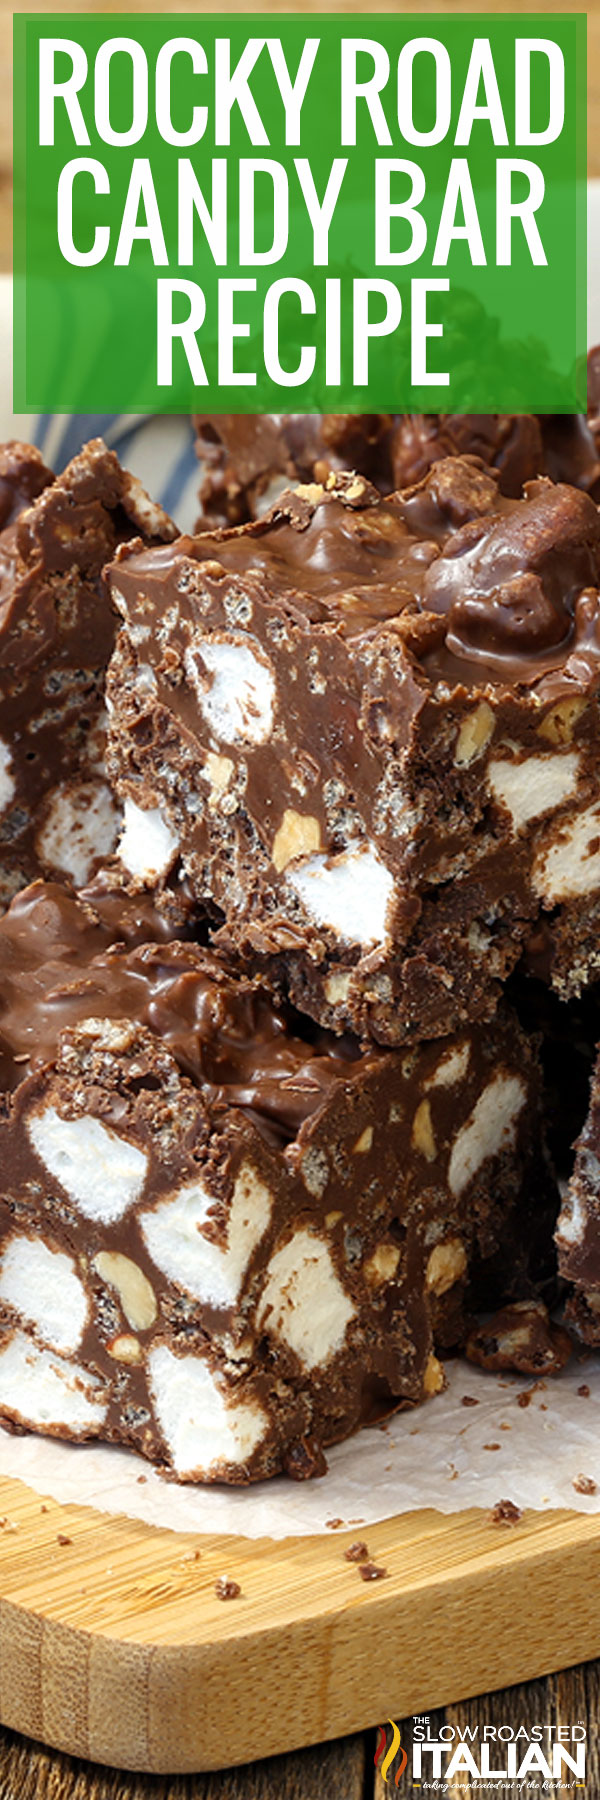
These Rocky Road Bars are an extra chocolatey version of avalanche bark with plenty of candy crunch. It’s the perfect sweet treat when you need something fast — this no bake recipe is ready in 30 minutes with just 7 ingredients! Be sure to make a double batch because they’ll be gone before you know it.
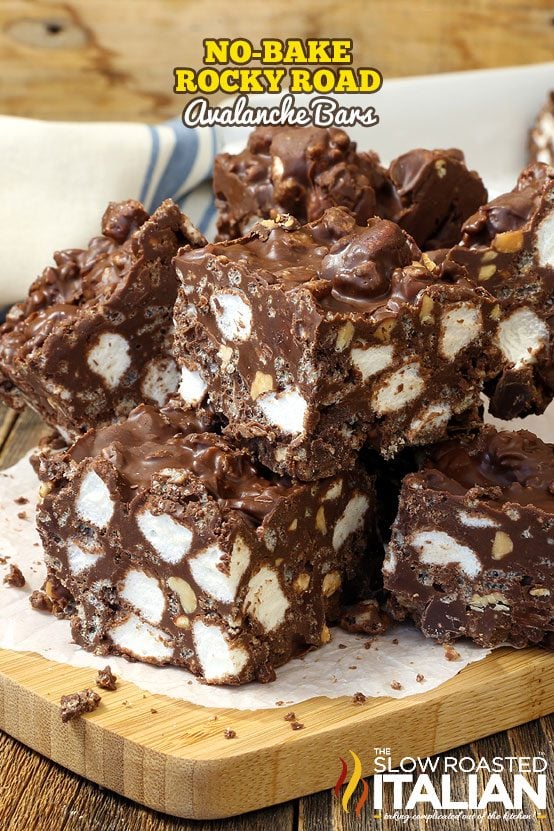
Table of Contents
Rocky Road Bars
No-fuss desserts are our thing, and as much as we love sharing them with our family and friends, we sometimes have to make extra because we can’t keep our hands off them!
This rocky road bars recipe is no exception — I’ve made it dozens of times and everyone always wants more.
It’s a fun twist on classic avalanche bars, adding even more chocolate flavor in the most addictive way.
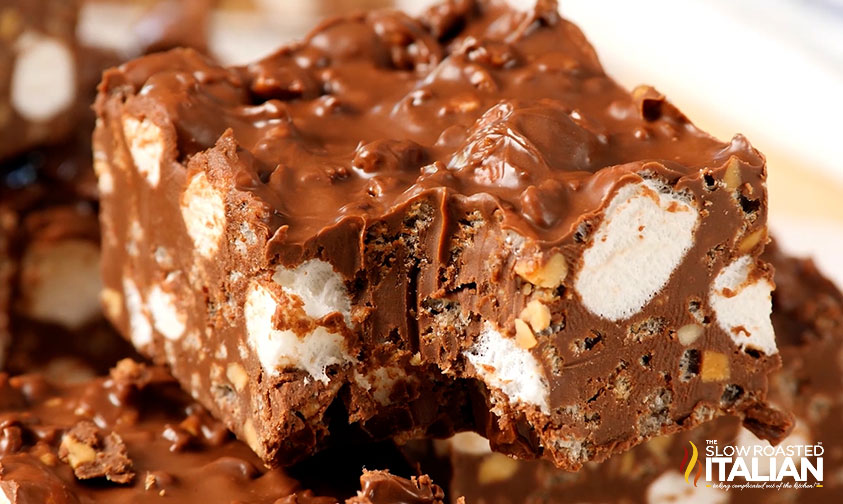
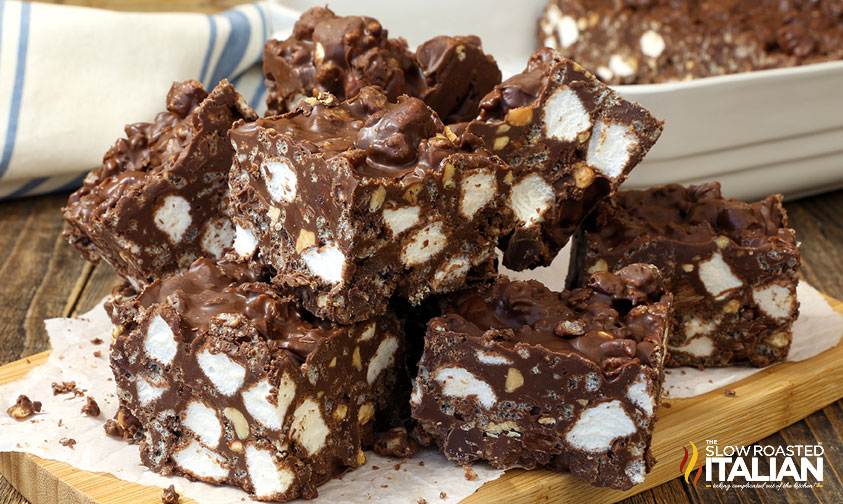
Soft, billowy marshmallows and crispy rice cereal come together with the rich and creamy chocolate peanut butter candy filling to create this memorable dessert.
Haystack Cookies are an often-overlooked treat with many of the same flavors, but butterscotch chips and M&M candies make them extra sweet.
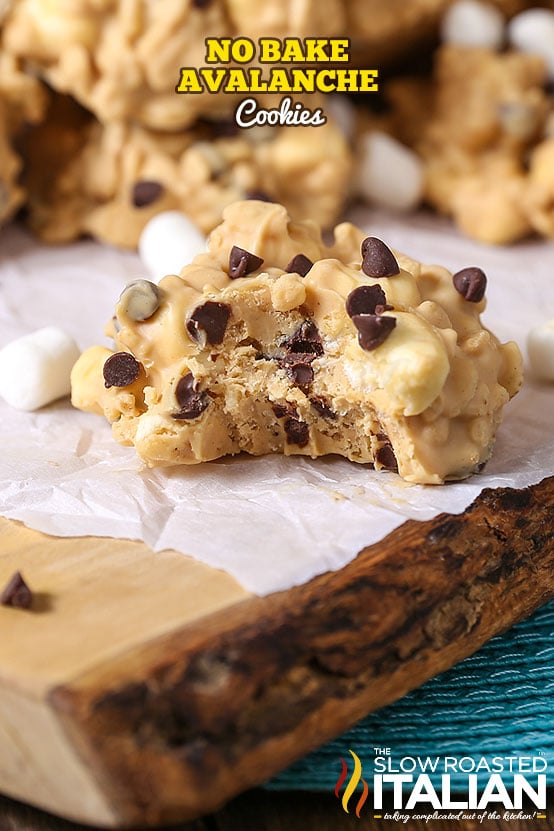
Prefer the Rocky Mountain classic? You’ll love my no bake avalanche cookies, plus there’s a Cap’n Crunch version that your kiddos will gobble right up.
Ingredient Notes and Substitutions
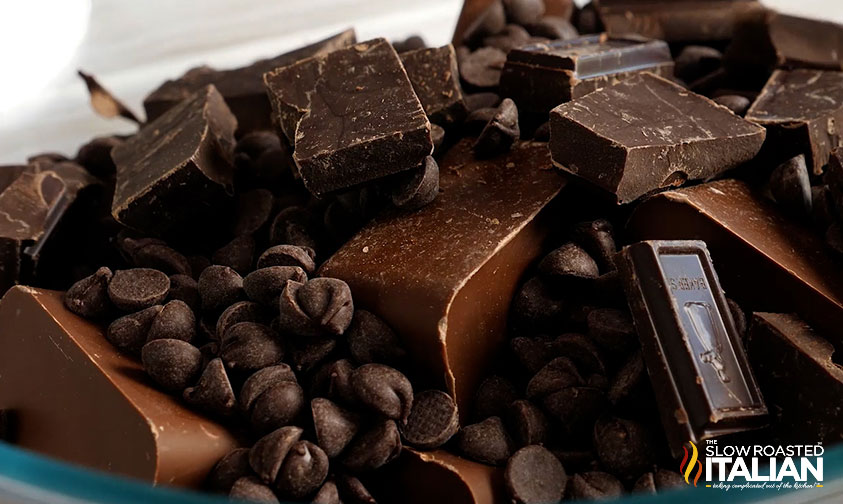
- Chocolate – We’re using 3 different kinds for this rocky road bars recipe — chocolate-flavored candy coating (Almond Bark or Candiquik are my faves), semisweet chocolate chips, and Baker’s German’s Sweet Chocolate Bar.
If you can’t find the German’s Chocolate, replace it with 4 ounces of bittersweet chocolate plus 4 teaspoons of sugar. - Peanut Butter – I like to use Super Chunky PB for extra crunch, but you can easily swap in a different nut butter or sunbutter for peanut allergies!
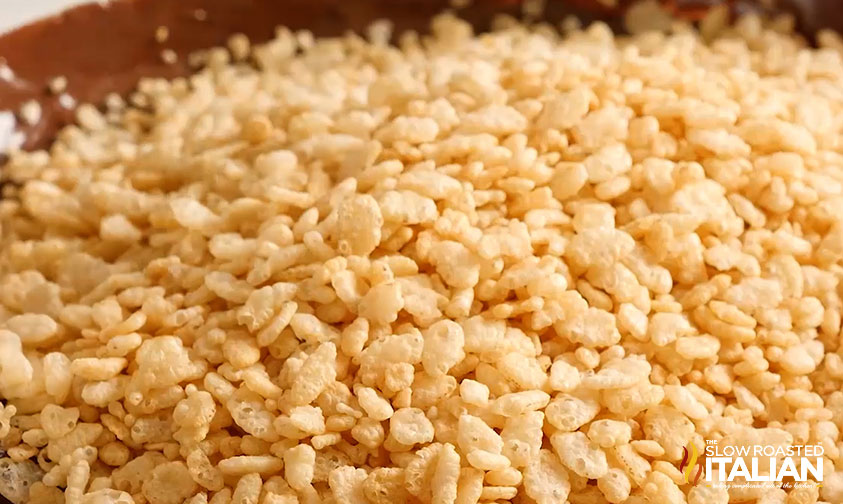
- Crispy Rice Cereal – For another layer of crispy crunch. Use your favorite brand!
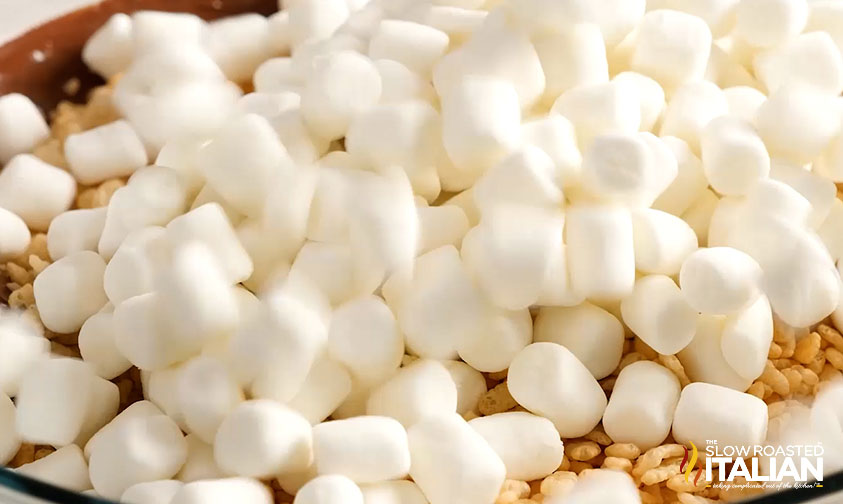
- Mini Marshmallows – We’re not melting these down like we would for rice Krispies, so be sure to use the minis and not the jumbo size. You want there to be puffy, chewy pieces throughout each rocky road bar.
- Kosher Salt – Just a pinch to balance the sweetness of the other ingredients. I always have this on hand, and it’s the perfect size grain for cooking and baking.
Tips and Tricks to Make Perfect Avalanche Bars
- Use quality ingredients.
The difference in flavor is quite noticeable, especially when it comes to the chocolate!
You can get away with off-brand crispy rice cereal and marshmallows, but stick with name-brand chocolate and no-stir peanut butter for the best consistency.
- Press the mixture into the pan.
Don’t smush it too hard, though, or your treats will be tough to chew.
Spread the mixture evenly into the pan with a spatula, working it into the corners as well, then gently press greased (clean) hands across the surface so any gaps are filled.
- Let them set until firm.
If your kitchen is too warm — or if you’re impatient like me — you can pop the pan in the freezer for 20 minutes instead.
Wait until the entire rocky road bar slab is solid before slicing or the squares will lose their shape.
- Remove from the pan to slice.
And you thought lining the pan was just for easy cleanup, didn’t you?
Lift the dessert straight out of the pan and transfer to a cutting board. Peel away the sides of the parchment or foil, then slice into 24 evenly-sized rocky road bars.
I find that a large chef’s knife is the best tool for the job. Dip it into a cup of hot water, dry it off, then slice through in one press.
Continue dipping and wiping the knife as needed until you’re done.
Prep Ahead
- Line and grease baking pan
- Break up German chocolate bar
- Measure out ingredients
Kitchen Tools You Will Need
- 9×13 Baking Dish – This set is one of my favorites! It comes with a lid for easy storage and is great for casseroles too.
- Parchment Paper or Heavy Duty Aluminum Foil– Makes it so much easier to remove rocky road bars from the pan.
- Microwave-Safe Bowl – Not only does it make melting chocolate easier, but you can use it to quickly steam vegetables too!
- A sturdy Silicone Spatula can be used for scraping, stirring, and smoothing and is easy to clean too!
Storing and Freezing Rocky Road Bars
Keep any leftover candy in an airtight container, either at room temperature or in the fridge, for up to 5 days.
You can also freeze rocky road bars for later! Wrap the entire slab in several layers of plastic wrap and foil, then thaw and slice before serving.
Or, freeze individual squares so you can sneak one (or two!) whenever you need a quick treat. Let them thaw on the counter for a bit first so you don’t break a tooth, though!
Rocky Road Bar FAQ
Made famous by Rocky Mountain Chocolate Factory, avalanche bark is like a cross between fudge, rice krispie treats, and candy bark.
It combines white chocolate and peanut butter flavors with mini marshmallows and chocolate chips.
Avoid overmixing the chocolate and cereal mixture, and make sure the peanut butter and chocolate and fully combined and smooth before adding the cereal in the first place.
Don’t press the mixture too hard into the pan either! And if you decide to store them in the refrigerator, let them warm on the counter for a bit before taking a bite.
Feel free to play with different types of chocolate or peanut butter substitutes like Nutella or Biscoff spread.
Dried fruit can add another chewy layer, while sweetened coconut flakes would play well with everything going on.
And to make this rocky road bars recipe truly authentic, mix in some chopped almonds!
Enjoy!
With love, from our simple kitchen to yours.
Don’t miss a thing! Follow us on
Facebook | Twitter | Pinterest | Instagram
Avalanche Bark Rocky Road Bars
Ingredients
- 16 ounces chocolate-flavored candy coating, I use Almond Bark or Candiquik
- 2 cups semisweet chocolate chips
- 4 ounces Bakers German’s sweet chocolate bar, broken into chunks
- 16.9 ounce jar super chunky peanut butter
- 3 cups crispy rice cereal
- 3 cups mini marshmallows
- 1/2 teaspoon salt
Instructions
- Line a 9 x 13-inch baking pan with parchment paper or aluminum foil sprayed with non-stick cooking spray.
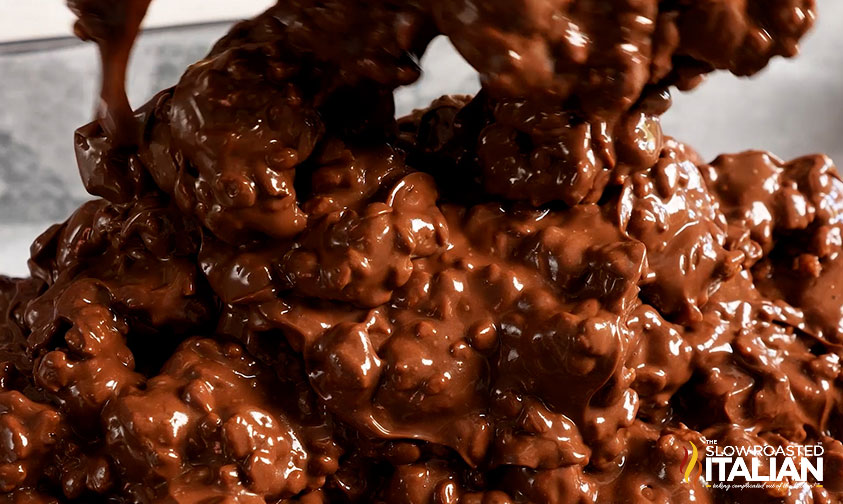
- Melt the chocolate candy coating, chocolate chips and German chocolate in a large heatproof bowl. Microwave at half power for 30 seconds at a time until melted and smooth, stirring after each interval.
- Stir the peanut butter into the warm chocolate until melted and smooth. Add the rice cereal, marshmallows and salt and stir to combine.
- Pour the mixture into the prepared pan. Allow it to set in a cool place until firm.
- You can refrigerate the pan if your kitchen is too warm, or, if you are impatient like me, pop them in the freezer for 20 minutes. Once they are solid, cut them into 24 pieces.
- Store in the refrigerator.
Video
Nutrition
All nutritional information is based on third party calculations and is only an estimate. Each recipe’s nutritional value will vary depending on the ingredients used, measuring methods, and portion sizes.
Originally published December 2017, updated and republished June 2024
Disclosure: Posts may contain affiliate links. If you purchase a product through an affiliate link your price will remain the same and The Slow Roasted Italian will automatically receive a small commission. Thank you for supporting us, it helps us keep creating new recipes.








These things are delicious and really easy to make! Great hit at our Hanukkah Party! I was a Hero! 🙂
I have never heard of chocolate-flavored candy coating or the 2 brands you mentioned "Almond Bark" or "Candiquik." Where do you find either of these products? Are these products different than the candy melts? I'm in Canada.
Thanks
I think it’s the same as our candy melts.
What is candy coating? I’m in Canada and never heard of this.
These are delicious, and no-bake is the type of recipe for me! So east to put together and my kids love them!
Instead of making in a 9×13 pan could you just drop them on parchment paper like other Avalanche cookies. I have made the other cookies just wondering.
Hi Laura!
Yes you can put them on anything with parchment! Hope this helps!
TSRI Team Member,
Devlyn
Making these bars was a breeze. They were gone in no time!
Hi Genesis!
We’re so glad you enjoyed.
TSRI Team Member,
Devlyn