Butterfinger Cookies
This post may contain affiliate links. Please read my disclosure policy.
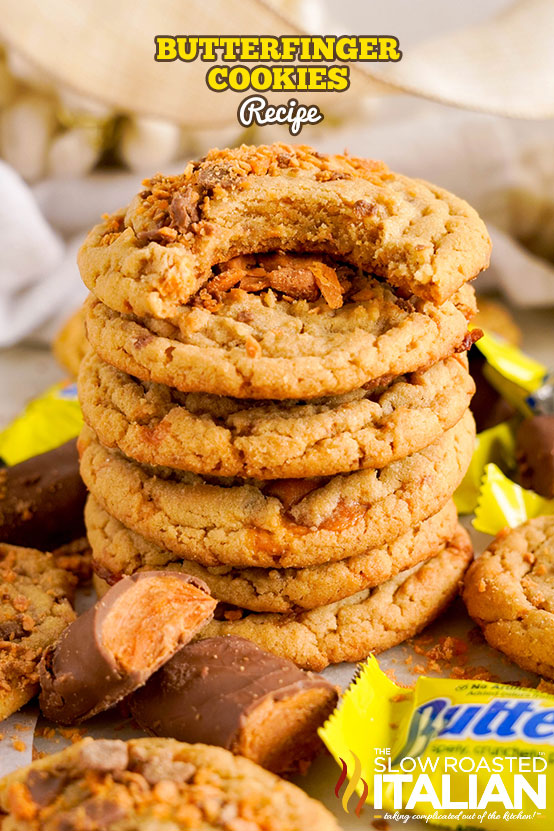
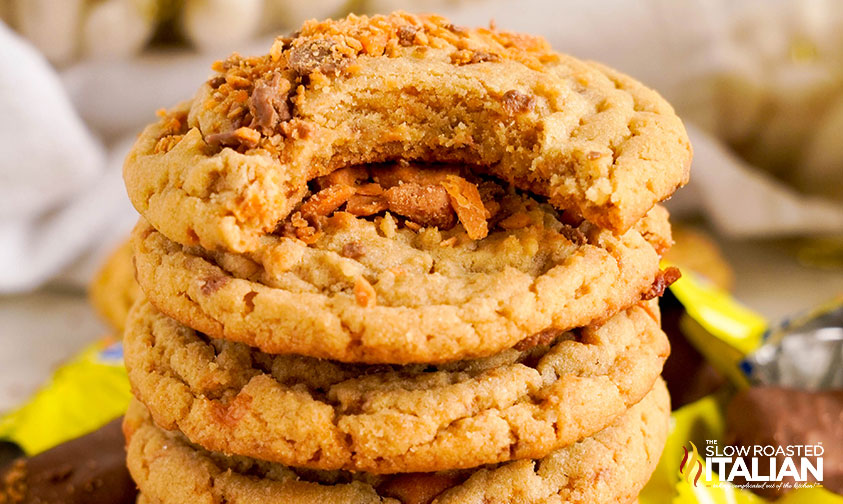
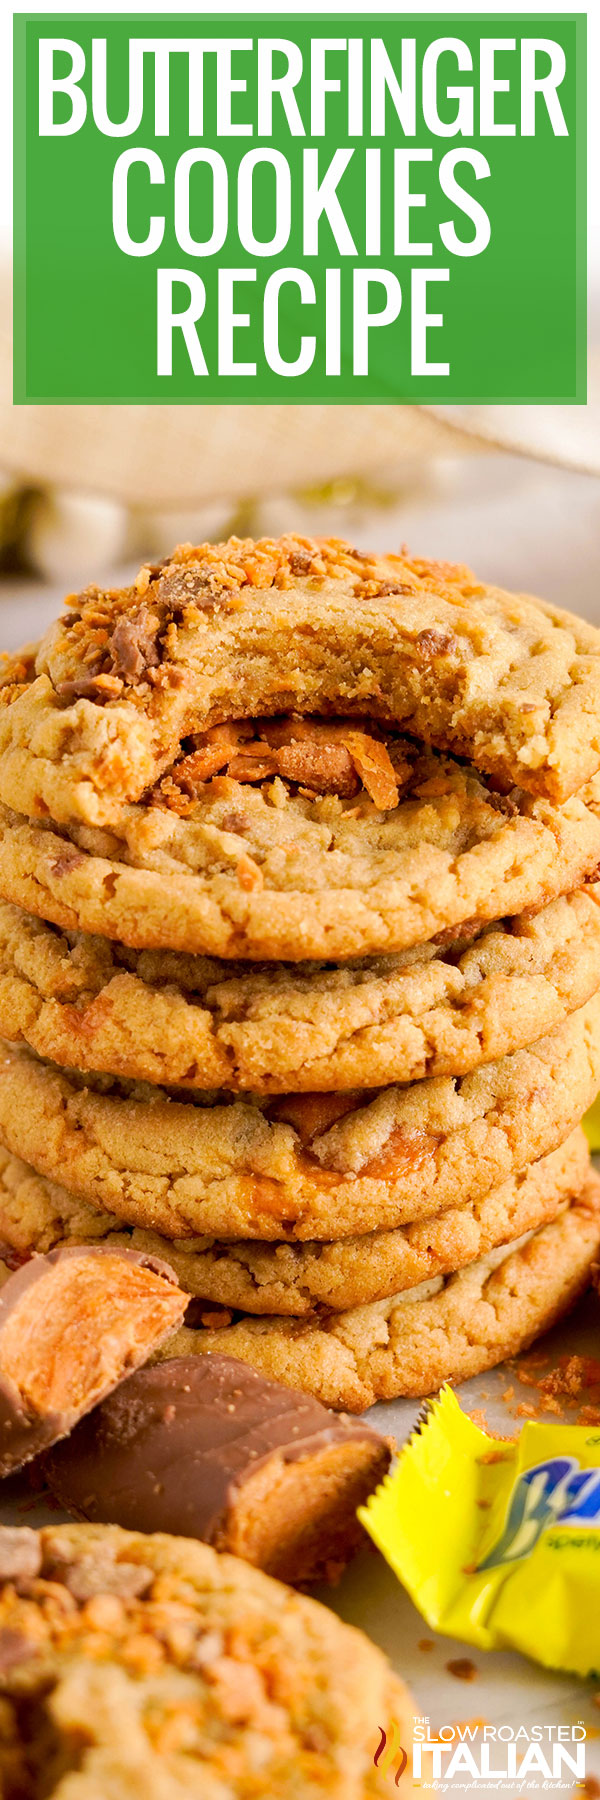
Butterfinger Cookies are chewy and sweet with little bits of crunchy, crispy candy throughout! They also bake quickly, so you can have about 2 dozen ready in just 30 minutes. Make this recipe year-round or as an easy way to use up leftover Halloween candy!
Butterfinger Cookies
I’ve already made cupcakes, brownies, and even frosting with this crispy, crunchy candy… so why not make cookies with Butterfingers too?
Let me tell you… these turned out so incredible! The peanut butter cookie is so tender and chewy, and the candy bits add just the right amount of crunch and flavor.
They’re so simple to make too. Use classic cookie ingredients for the dough, plus creamy or crunchy peanut butter, and then add the candy pieces. Scoop, bake, and cool for a quick and easy sweet treat!
I love using my favorite candies to make desserts a little extra special.
You know I’ve got tons of Reese’s recipes up on the blog, but try some lesser-known options like gumdrop candy fudge or Snickers apple cheesecake salad next!
Ingredient Notes and Substitutions
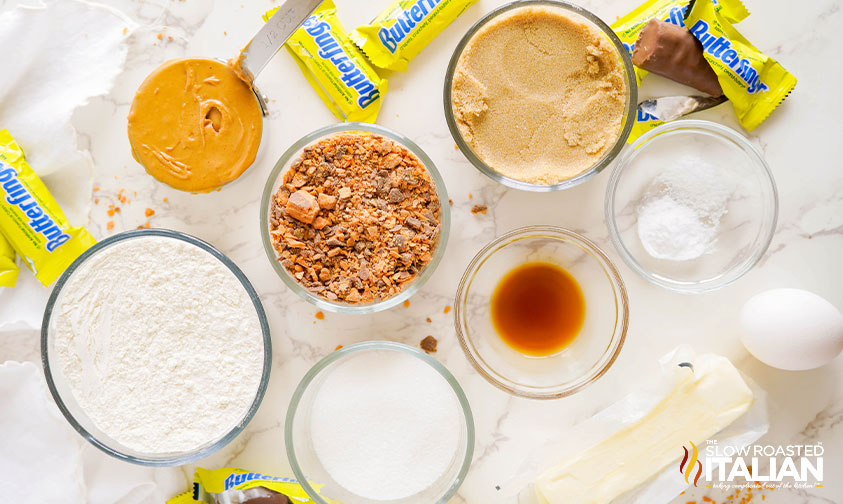
- Unsalted Butter – Since you’ll be adding salt to the dough and peanut butter is pretty salty on its own, it’s best to use unsalted butter for this Butterfinger cookie recipe.
If salted is all you have, reduce the added pinch by half. - Peanut Butter – Any no-stir variety will work perfectly! Whether to use creamy or crunchy is entirely up to you.
- Sugar – Use a mixture of granulated sugar and brown sugar for tender, chewy results and a hint of caramel flavor.
You can certainly use all of one or the other, but the texture will likely be a bit different. - Egg – Warm this on the counter with the butter so it’s easier to mix into the dough.
- Vanilla Extract – Adds warmth and enhances the other flavors. Feel free to substitute an equal amount of vanilla bean paste.
- Butterfinger Bars – The star of the show! I usually grab a bag of the snack-size bars — since the center can be pretty crumbly, chopping up smaller pieces works out better.
Or, use Butterfinger Bits if you can find them! They’re usually with the chocolate chips at the store.
You’ll use half of the pieces in the dough and the other half to decorate the tops after baking.
Tips and Tricks to Make Cookies with Butterfingers
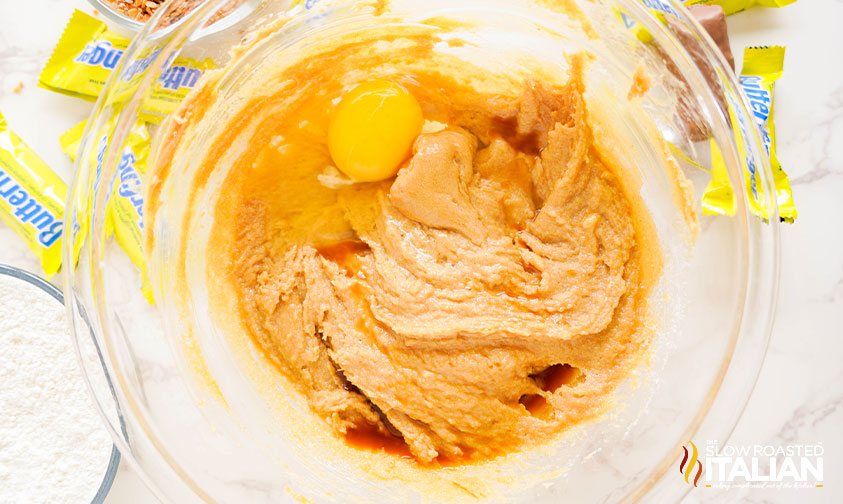
- Cream butter and sugar just until combined.
First, you’re not going to be able to follow the “fluffy and lightened in color” rule here because the butter is mixed with peanut butter first.
Beat in the sugars until you have a smooth mixture and not a second more. The longer you mix, the more air you incorporate into the dough.
And that, my friends, will cause your cookies to fall flat in the oven.
- These are best when slightly underbaked.
Don’t worry — I’m not saying you’ll be eating raw dough! Cookies will continue to bake as they cool on the baking sheet.
Pull them from the oven when the edges are set and starting to brown and the center is no longer shiny.
If you wait until they look done, they’ll end up tough and overly crispy instead of tender and chewy.
It’s also important to transfer your treats to a wire rack after 5-10 minutes. Even if you pull them at the right time, they’ll still end up overbaked if you leave them on the pan until fully cooled.
- Shape them while they’re still warm from the oven.
This step really is optional, but it’s a quick and easy way to create bakery-worthy Butterfinger cookies.
As soon as you take the pans out of the oven, gently swirl a round cookie (or biscuit) cutter around each cookie to smooth out the edges and make a perfectly round shape.
The cutter needs to be a little bit larger than each Butterfinger cookie for this to work — too small, and it’ll just chop off the edges, but too large, and you’ll end up completely messing them up!
Prep Ahead
- Soften butter
- Chop up Butterfinger bars
- Line baking sheets with parchment
- Preheat oven to 350°F
Kitchen Tools You Will Need
- Baking Sheets lined with Parchment Paper – Used for anything from cookies to roasting, a good baking pan will last for years.
- Stand Mixer or large mixing bowl with Hand Mixer
- A Silicone Spatula is great for stirring candy pieces into cookie dough without breaking them down smaller.
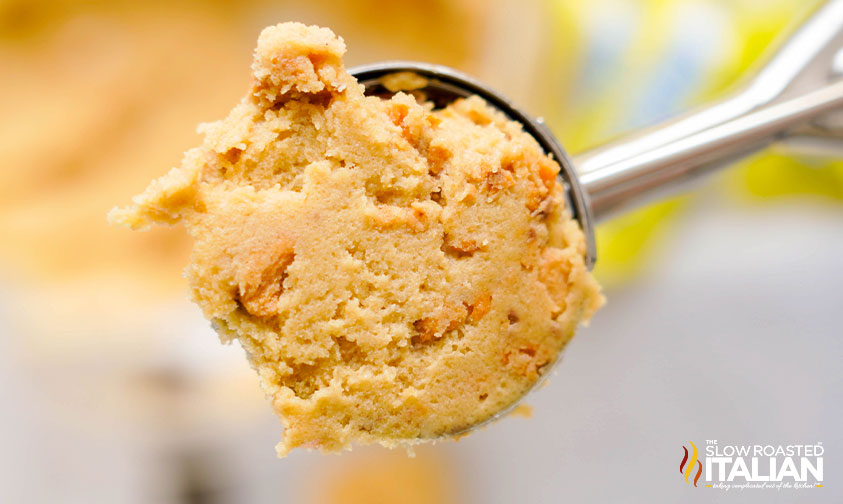
- 2 Tablespoon Scoop – Great for meatballs, cookies, ice cream, ]and portioning out leftovers. I’ve had this set for years and use them all the time.
- Wire Rack – Great for cooling all kinds of baked goods.
Serving Suggestions
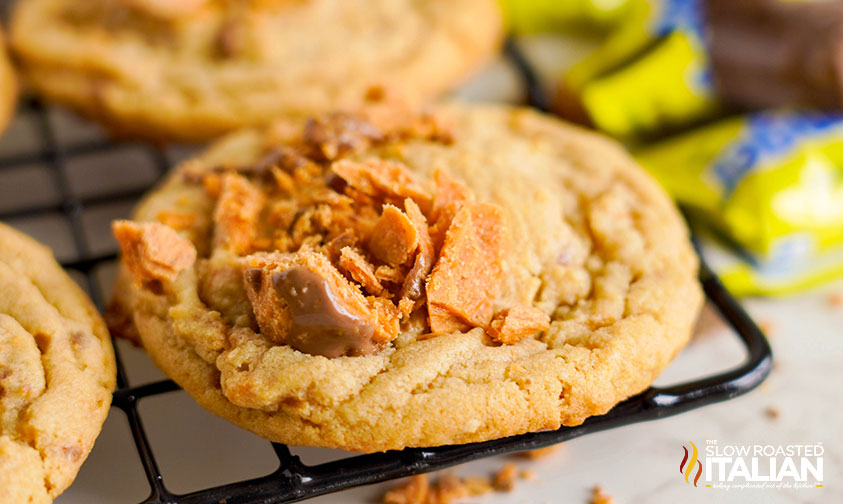
I like to top each Butterfinger cookie with extra candy pieces while they’re still warm. It just makes for a better presentation.
However, you can easily mix all of the candy into the dough if you want to skip this step.
These are best served warm from the oven, but they’re just as tasty after they’ve cooled. Enjoy them as a sweet snack or use them to make cookie sandwiches with frosting or ice cream.
Storage and Freezing
Keep Butterfinger cookies in an airtight container on the counter for up to a week or in the freezer for up to 3 months.
You can also freeze the dough for up to 3 months! Portion and roll into balls, then flash freeze before storing.
No need to thaw the dough before baking — just add an extra minute to the timer. And don’t forget to top cookies with Butterfingers after they’re baked!
Butterfinger Cookie FAQ
Inside the chocolatey coating is a flakey, layered, crisp peanut butter core. This filling is made by combining melted sugar with peanut butter and cornflakes, then kneading and rolling out that mixture before cutting it and dipping it in coating.
You bet! Keep in mind that the cookie itself is made with peanut butter, so my top flavor combinations would be:
Reese’s Cups or Pieces
Snickers
Baby Ruth
Heath Bars
Kit Kats
Most likely, the dough was too soft by the time you got it in the oven. The butter needs to be softened in order to properly cream it with the sugars, but it will continue to soften as you handle and shape the dough.
The easiest way to fix this is to chill the dough after it’s mixed — just pop the bowl in the refrigerator for 20-30 minutes.
You can also scoop out the dough onto a plate and refrigerate that instead. Then, all you have to do is place each dough ball on the baking sheet! It’s also a great option if you can only bake one sheet pan at a time, or if you plan to double this Butterfinger cookie recipe.
Enjoy!
With love, from our simple kitchen to yours.
Don’t miss a thing! Follow us on
Facebook | Twitter | Pinterest | Instagram

Butterfinger Cookies
Ingredients
- 1/2 cup unsalted butter, softened
- 1/2 cup creamy peanut butter
- 3/4 cup packed light brown sugar
- 1/4 cup granulated sugar
- 1 large egg
- 1 tablespoon pure vanilla extract or vanilla bean paste
- 1 1/2 cup all-purpose flour
- 1 teaspoon kosher salt
- 1/2 teaspoon baking soda
- 1 cup butterfinger pieces, divided
Instructions
- Preheat the oven to 350 degrees and line a couple of baking sheets with parchment paper.
- In a mixing bowl, mix the butter and peanut butter together until smooth.
- Add the brown sugar and granulated sugar and cream until combined.
- Stir in the egg and vanilla and mix well.
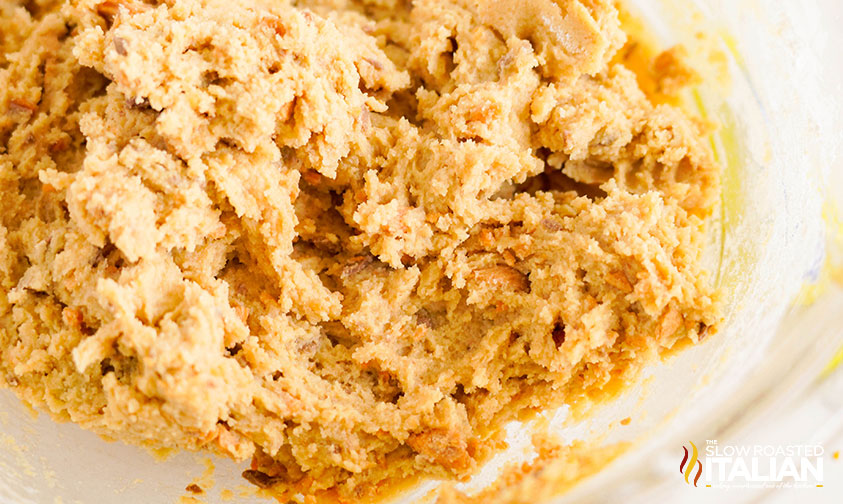
- Add the flour, salt, and baking soda and mix until soft dough forms. Stir in 1/2 cup of butterfinger pieces and mix well.
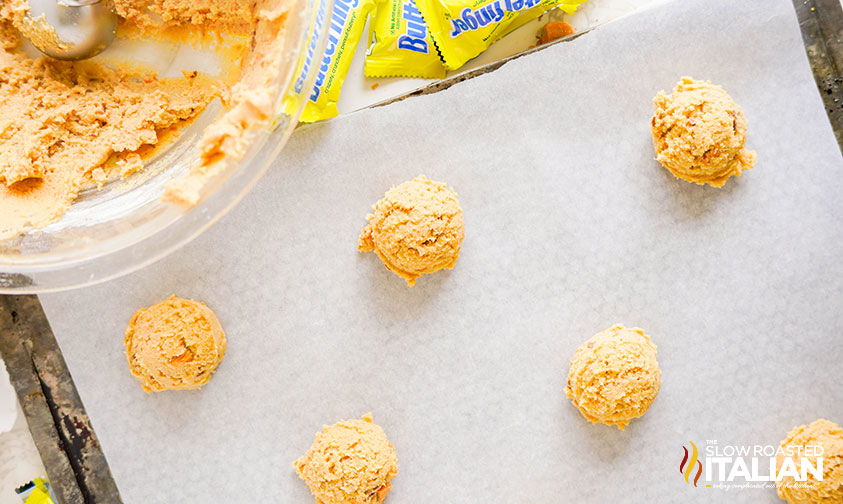
- Use a two tablespoon cookie scoop to create cookie dough balls.
- Place the cookie dough balls about 2” apart on the baking sheet and bake for 9 minutes.
- Remove the baking sheet from the oven and shape the cookies with a cookie cutter. You can place a cookie cutter on the baking sheet and swirl it around the cookie to help make the cookies perfectly round.
- Top the cookies with remaining butterfinger pieces and let cool for at least 10 minutes on the baking sheet before transferring to a cooling rack.
Donna’s Notes
Nutrition
All nutritional information is based on third party calculations and is only an estimate. Each recipe’s nutritional value will vary depending on the ingredients used, measuring methods, and portion sizes.
Originally published November 2024
Disclosure: Posts may contain affiliate links. If you purchase a product through an affiliate link your price will remain the same and The Slow Roasted Italian will automatically receive a small commission. Thank you for supporting us, it helps us keep creating new recipes.


