Millionaire Bars
This post may contain affiliate links. Please read my disclosure policy.
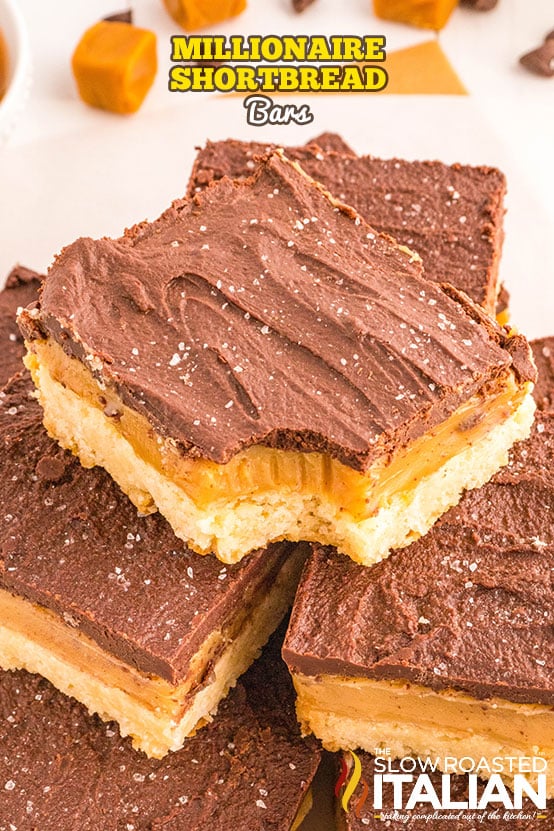
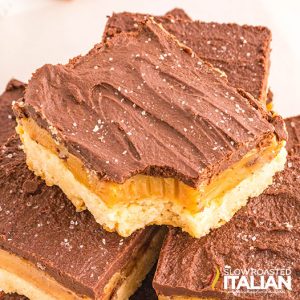
Millionaire Bars have the perfect balance of sweet and salty flavors with a buttery shortbread crust to boot. And every layer is made from scratch! You’ll want to make a double batch of this millionaire bar recipe for holidays and parties — they disappear fast!
Millionaire Bars
Rich, tender, chewy, sweet, and a little bit salty… this bar dessert has a little bit of everything you could ask for!
The name “millionaire bar” seems to have started in Scotland as a way to indicate wealth and decadence — essentially, this is a major upgrade to plain ol’ shortbread!
Now, the flavors are different from a millionaire cheesecake salad, which features cherries, pineapple, marshmallows, and shredded coconut.
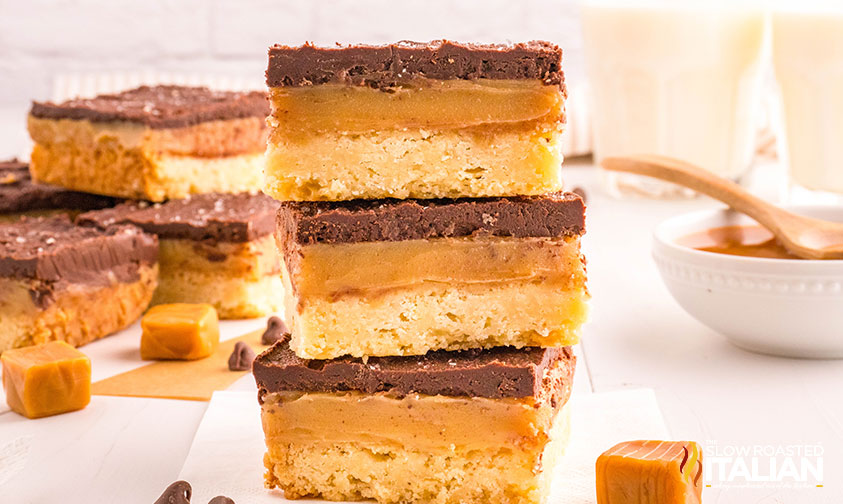
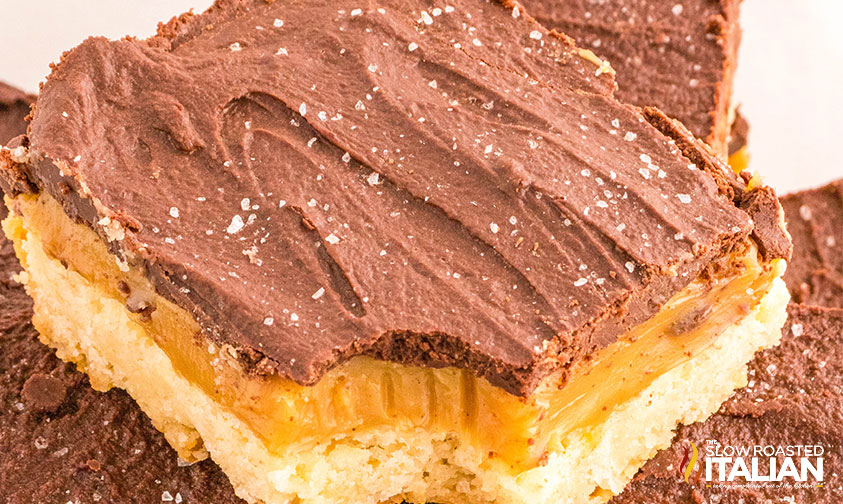
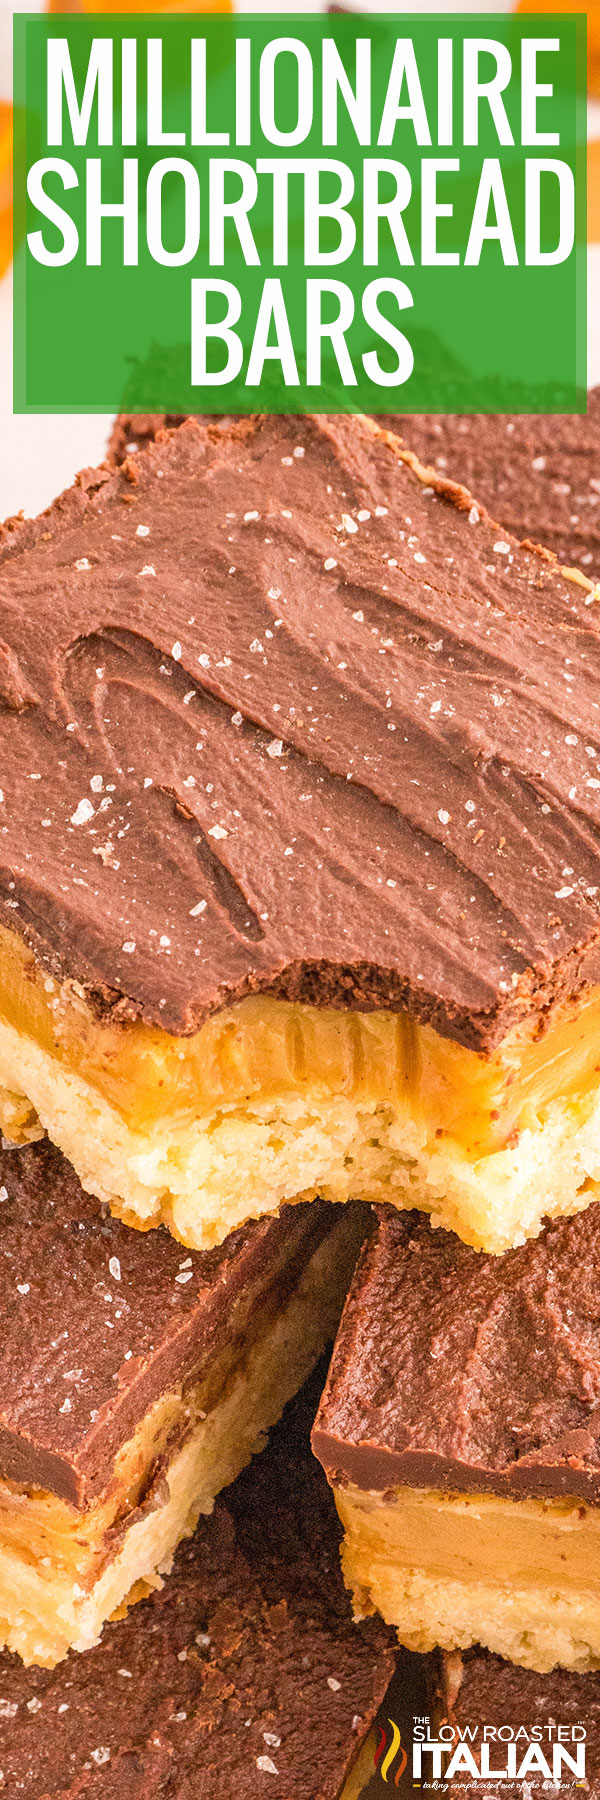
Instead, each millionaire bar has 3 distinct layers: buttery shortbread, gooey caramel, and silky chocolate ganache. Super simple but super tasty!
I absolutely adore this flavor combination, which is why you’ll find it in these cake and brownie recipes too.
Oh, and I also have a Millionaire brownie recipe if you want to try out this shortbread with extra layers of brownies and chocolate built-in.
Ingredient Notes and Substitutions
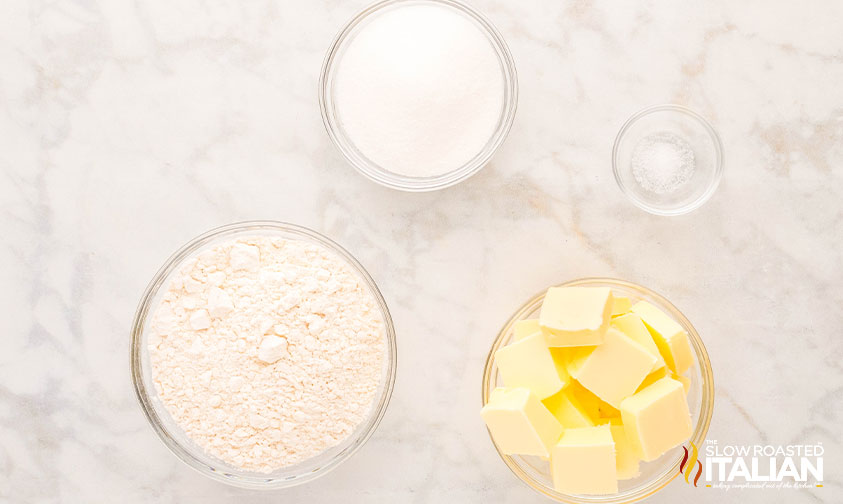
- Butter – You can use salted or unsalted sticks, just remember that you’re adding salt on top of the millionaire bars too.
Make sure the butter for the shortbread dough is very cold. You can even cube it ahead of time, then pop it back in the fridge or in the freezer.
For the caramel and chocolate layers, right out of the fridge is fine or you can let it soften a bit first. - Salt – You’ll need two kinds: kosher salt for the shortbread and caramel, then flaky sea salt for the topping. In a pinch, you can use regular sea salt for all of it.
- Flour & Sugar – Nothing special here — regular AP flour and granulated sugar make up the shortbread dough.
- Sweetened Condensed Milk – The base for our homemade caramel. Don’t try to substitute with something else!
- Dark Brown Sugar – If needed, replace this with light brown sugar. Your caramel just won’t come out quite as dark.
- Light Corn Syrup – This may be called golden syrup where you live. It adds sweetness and texture to homemade caramel.
- Chocolate Chips – I like to use semi-sweet chips for my desserts, but feel free to swap in milk or dark chocolate chips depending on your sweetness preference.
- Heavy Cream – This is the difference between melted chocolate and a silky ganache topping.
I like to add a little butter to the bowl, but you could leave that out and increase the amount of cream.
Tips and Tricks to Make Perfect Millionaire Shortbread Bars
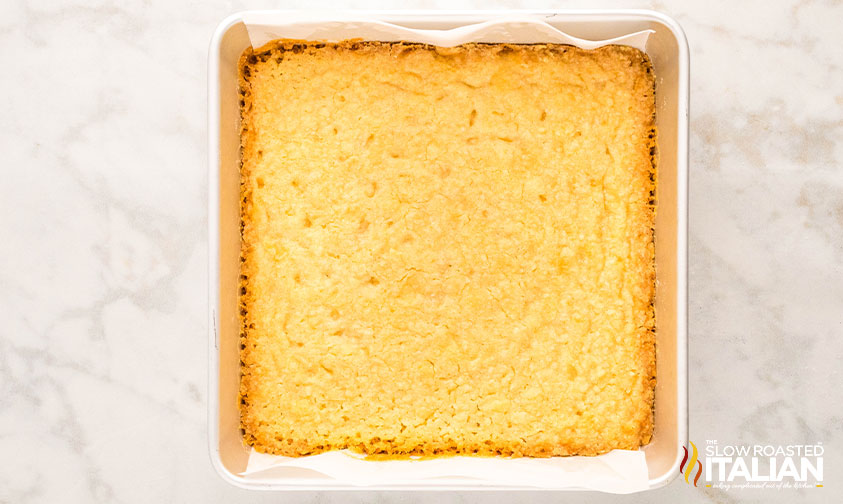
- Press the shortbread firmly into the pan.
Unlike other crusts, you really want to compact the shortbread layer so it comes out firm and not crumbly!
It’s best to use the back of a spoon, or the bottom of a drinking glass or measuring cup, instead of your fingers if you can help it. The more you handle the dough, the more your natural body heat will soften the butter.
That said, you may need to use your fingers to press the dough into the corners so those don’t break off when served.
- Stir the caramel constantly so it doesn’t burn.
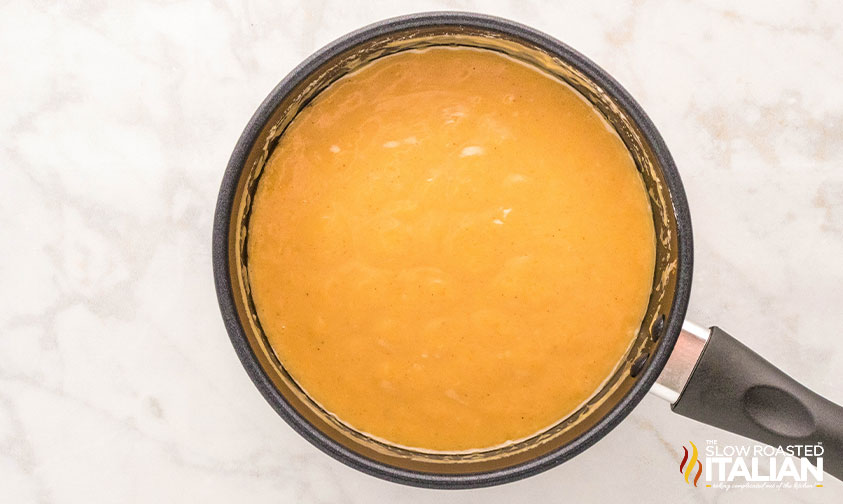
Use a rubber or silicone spatula to stir so it doesn’t stick to that either. Heat everything over medium to start, until the sugar is completely dissolved.
Then, reduce the heat to low and keep it moving! It will take 8-10 minutes of constant stirring for the caramel to cook and thicken.
Be sure to scrape all along the bottom and sides of the pan as you stir so nothing burns.
And as soon as it’s done, remove from heat and pour it over the baked and cooled shortbread base!
- Melt the chocolate gently for the smoothest results.
If you have a double boiler, feel free to use that instead. Otherwise, heat the mixture in short bursts in the microwave, stirring well between each.
Once the chocolate chips are mostly melted (meaning a few small lumps remain), stop microwaving! Continue stirring and let the heat from the mixture smooth everything out.
You can also make a little less for a thinner chocolate layer if you’d like. And don’t forget to sprinkle the sea salt on top while the chocolate is still warm!
Otherwise, it will simply fall off when you go to take a bite.
- Cool or chill each layer before adding the next.
This is very important for getting neat, distinct layers in these caramel and chocolate bars.
Feel free to make the shortbread crust ahead of time so it has plenty of time to cool!
If it’s still warm from the oven, the caramel layer will soften and take much longer to set — or not set up right at all.
Same goes for the chocolate on top. If the caramel is still warm, the two layers might mix together instead of staying separate.
I like to chill the dessert for 30 minutes in the fridge after adding each layer to be sure!
Prep Ahead
- Cube butter (keep chilled)
- Line pan with parchment
- Bake and cool shortbread layer
Kitchen Tools You Will Need
- 8×8 Pan or 9×9 Pan – Either will work, though your millionaire shortbread bars will be a bit thicker in the smaller pan.
- Parchment Paper – Use this to line your baking pan for easy removal!
- Medium Saucepan – Heats evenly and is easy to clean.
- Pastry Cutter – The easiest way to cut cold butter into dough. You can use your fingers if you don’t have one.
- A sturdy Silicone Spatula can be used for scraping, stirring, and smoothing and is easy to clean too!
- Microwave-Safe Bowl – Not only does it make melting chocolate easier, but you can use it to quickly steam vegetables too!
Storing and Freezing Caramel and Chocolate Bars
Once sliced, transfer the caramel and chocolate bars to an airtight container. I don’t recommend stacking them, as the bottom layer will become squished.
Keep for 3-5 days at room temperature but know that the caramel layer may soften over time.
You can also freeze millionaire shortbread bars for 1-2 months! Wrap really well in plastic wrap, store in a freezer bag, and thaw on the counter before serving.
Millionaire Bar FAQ
Quite a bit! Nanaimo bars are a no bake dessert with a base made from coconut, graham cracker crumbs, cocoa, and sometimes nuts. That is topped with a custard layer, followed by chocolate ganache.
Instead, millionaire bars feature a baked shortbread base topped with gooey caramel and then chocolate ganache.
Watch for the color to deepen, changing from yellow to a darker caramel color. The mixture will also start to pull away from the pan as it thickens.
There’s an easy test you can use to know for sure! Drop a small amount of the caramel into cold water, then remove it — it should form a soft ball when rolled between your fingers.
It’s likely that you didn’t cook it long enough. Homemade caramel needs to reach at least 225°F, so feel free to use a candy thermometer if it’s your first time making it.
However, you’ll notice the change in texture as it goes from a sauce consistency to a firmer, gooier thickness that’s perfect for this dessert!
Enjoy!
With love, from our simple kitchen to yours.
Don’t miss a thing! Follow us on
Facebook | Twitter | Pinterest | Instagram
Millionaire Bars
Ingredients
For the Shortbread Base:
- 1 1/2 cups all-purpose flour
- 1/2 cup granulated sugar
- 1/4 teaspoon salt
- 1 cup 2 sticks butter, cold and cubed
For the Caramel Layer:
- 14 ounce can sweetened condensed milk
- 1/2 cup butter
- 1/2 cup dark brown sugar
- 1/4 cup light corn syrup or golden syrup
- 1 teaspoon pure vanilla extract
- 1/4 teaspoon cinnamon, optional
- 1/4 teaspoon salt
For the Chocolate Topping:
- 1 1/2 cups semi-sweet chocolate chips
- 1/4 cup heavy cream
- 1 tablespoons butter
- Sea salt for topping
Instructions
- Make the shortbread base: Preheat the oven to 350°F and line a 9×9-inch or 8×8-inch square baking pan with parchment paper, leaving an overhang on two opposite sides for easy removal.
- In a medium bowl, combine the all-purpose flour, granulated sugar, and salt. Mix well.
- Add the cold, cubed butter to the dry ingredients. Using a pastry cutter or your fingers, work the butter into the flour mixture until it resembles coarse crumbs.
- Press the mixture firmly and evenly into the bottom of the prepared pan. Use the back of a spoon or the bottom of a glass and press to ensure it’s well-compacted.
- Bake for about 30-35 minutes or until the edges are lightly golden. Remove from the oven and allow it to cool in the pan while you make the caramel.
- Make the caramel layer: In a medium-sized saucepan, combine the sweetened condensed milk, butter, light brown sugar, corn syrup (or golden syrup), vanilla extract, and salt.
- Heat the mixture over medium heat, stirring constantly, until the butter has melted and the sugar has dissolved.
- Turn heat to low. Continue to cook the mixture, stirring constantly, for 8-10 minutes or until it thickens and turns a rich caramel color (it may come to a slight bubble which is fine). Be careful not to let it burn.
- Once the caramel is ready, immediately pour it over the cooled shortbread layer, spreading it evenly with a spatula. Allow it to cool and set for about 30 minutes at room temperature or in the refrigerator.
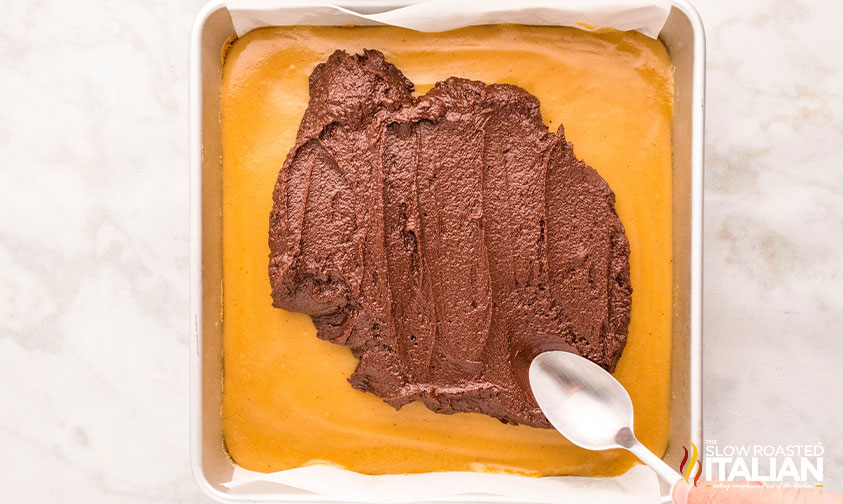
- Add the chocolate topping: In a microwave-safe bowl, add the chocolate chips, butter, and heavy whipping cream. Microwave in 15-20 second intervals, stirring each time, until smooth (don’t overheat or it will become too thick).
- Pour the melted chocolate over the caramel layer, spreading it evenly to cover the entire surface. Top the chocolate with sea salt.
- Allow the chocolate to cool and set. You can speed up this process by placing the pan in the refrigerator for about 30 minutes.
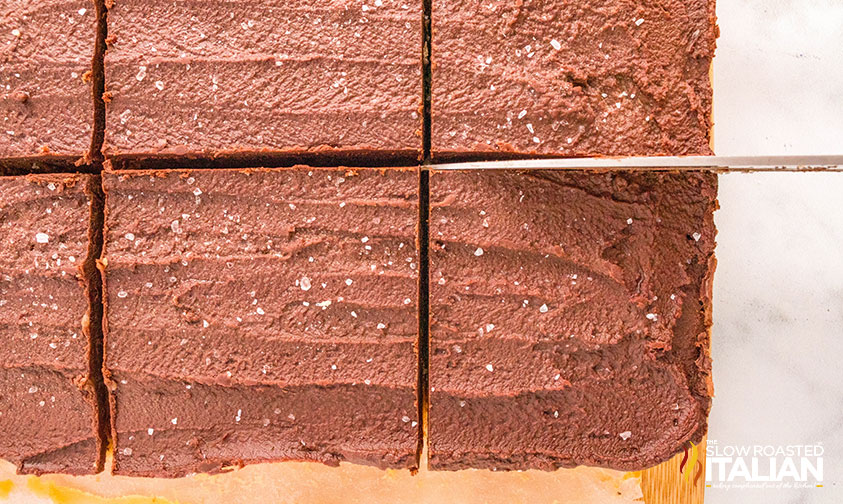
- Once the chocolate has set, use the parchment paper overhangs to lift the entire slab out of the pan.
- Place it on a cutting board and use a sharp knife dipped in hot water to slice it into squares or bars.
- Enjoy your homemade Millionaire’s Shortbread!
Donna’s Notes
Nutrition
All nutritional information is based on third party calculations and is only an estimate. Each recipe’s nutritional value will vary depending on the ingredients used, measuring methods, and portion sizes.
Originally published December 2024
Disclosure: Posts may contain affiliate links. If you purchase a product through an affiliate link your price will remain the same and The Slow Roasted Italian will automatically receive a small commission. Thank you for supporting us, it helps us keep creating new recipes.


