Black Forest Cherry Brownies
This post may contain affiliate links. Please read my disclosure policy.
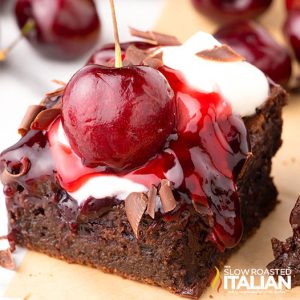
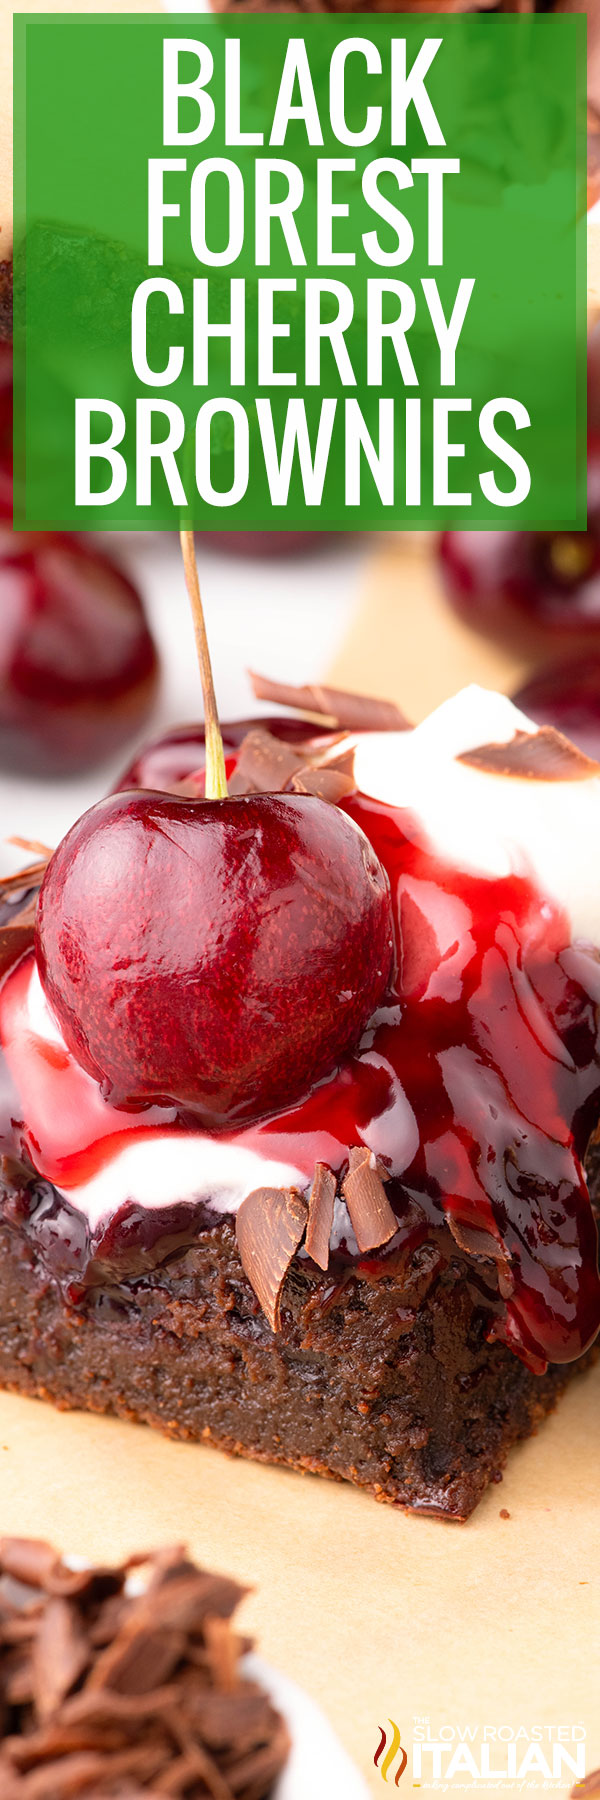
These Cherry Brownies taste just like Black Forest cake, with fudgy chocolate flavor, a boozy cherry swirl, and tangy cream cheese whipped topping. Each layer is made from scratch, but this dessert is easy to assemble and will surely impress your guests. You won’t want to stop at just one!
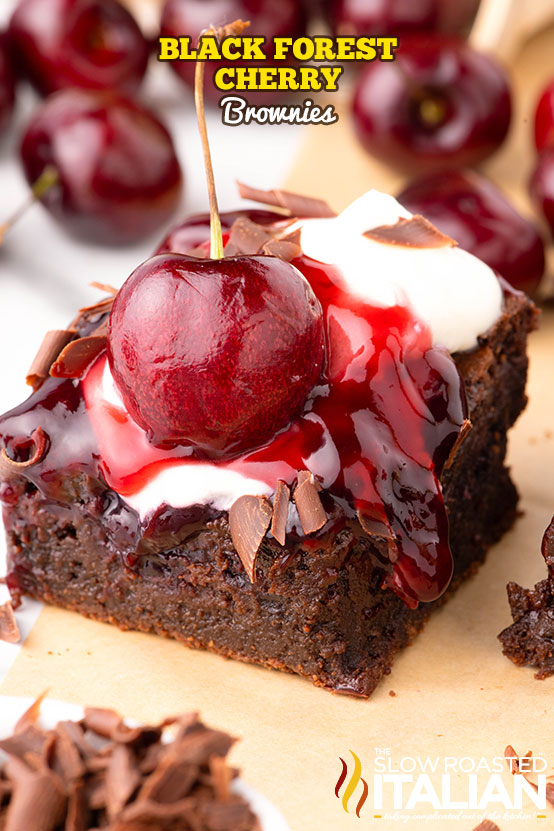
Table of Contents
Cherry Brownies
Does anyone else remember that fancy box of cordial cherries around the holidays? Those little morsels looked so delicious, and I never understood why I wasn’t allowed to eat them as a kid.
Now, I know! Much like rum balls, those boozy treats were the most tempting adults-only thing on the dessert table, and I couldn’t wait to grow up and try them. And boy, did they deliver!
I absolutely love the flavor combo of cherries and chocolate, which is why I’ve used it in cookies, cakes, and even cocktails before.
But what sets these cherry chocolate brownies apart is the intensely fudgy flavor and cream cheese whipped topping. They taste just like a Black Forest cake… but even better!
Ingredient Notes and Substitutions
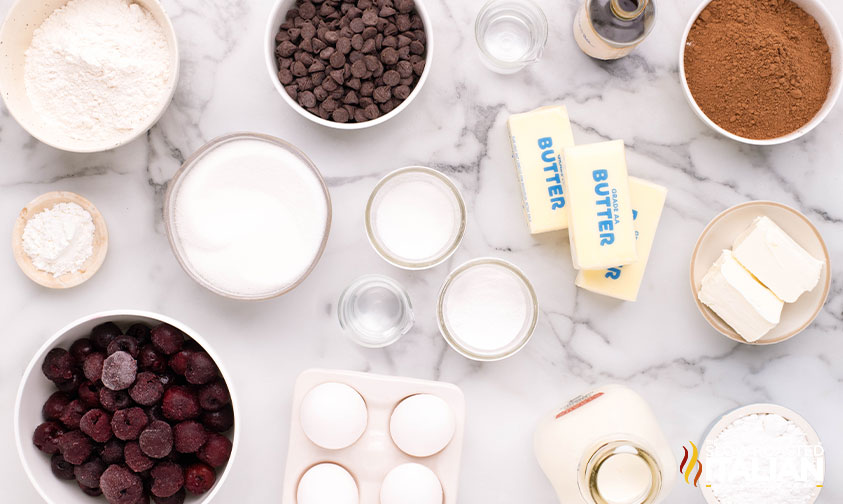
- Frozen Cherries – These save you time since they’re already cleaned and pitted, and you’re guaranteed to get the darker cherries needed for baking.
They’re also available year-round! No need to thaw them first. - Kirsch – This is a clear brandy that’s distilled with cherries — the perfect way to add even more cherry flavor!
It’s a staple for Black Forest cake, so of course, we’d use it for Black Forest brownies.
If you prefer to make an alcohol-free version of this recipe, replace this with syrup from jarred cherries, sour cherry juice, or simply more water. - Unsweetened Cocoa Powder – Use your favorite, but quality does matter here!
- Vanilla Extract – Quality matters here too, so use the best bottle you can get. An equal amount of vanilla bean paste would work too.
- Flour & Baking Soda – These two ingredients bring it all together! All-purpose flour is perfect for the job, and be sure your baking soda is fresh.
- Chocolate Chips – Semi-sweet have the perfect balance of flavor and will melt into little pockets of goodness in your cherry brownies.
However, you can certainly swap in milk or dark chocolate chips depending on what you have. - Whipped Cream Topping – Add cream cheese to the usual heavy cream and powdered sugar for a thicker texture and slightly tangy flavor.
It really helps balance the richness of these cherry chocolate brownies. Be sure to use brick-style cream cheese, not the kind in a tub.
Tips and Tricks to Make Perfect Cherry Chocolate Brownies
- Allow the chocolate mixture to cool before adding the eggs.
It also helps if the eggs are room temperature! The closer the two are in temperature, the less likely the hot mixture will cook the eggs, which would leave unpleasant eggy chunks in the batter.
All you need to do is set the eggs on the counter before starting the cherry mixture — they’ll warm in about 30 minutes.
Or, you can place eggs in a bowl of warm (not hot) water for 4-5 minutes to warm them faster.
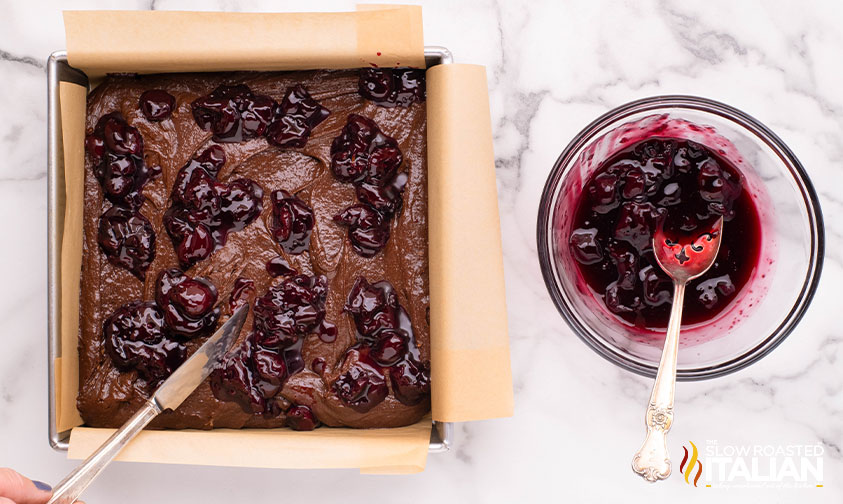
- Swirl the cherry mixture into the top of the batter.
Use a spoon to dollop the mixture over the top of the batter, leaving some space between each drop.
Then, drag the tip of a knife (or a chopstick) through each dollop to create a swirl effect.
If swirling seems too difficult, feel free to drag the knife through the batter in straight lines for a similar effect.
Doing this also mixes the cherries into the batter without risking them sinking to the bottom. You’ll be able to taste both flavors without them getting lost in each other!
- Leave some parchment hanging over the side of your baking pan.
This makes it so much easier to remove your chocolate cherry brownies after they’ve baked!
All you have to do is lift the dessert straight up out of the pan, then transfer it to a solid surface.
Press straight down into the slab with a large, sharp knife rather than dragging the knife through the dessert. You’ll get evenly sized-squares with clean edges every time!
Prep Ahead
- Line baking pan with parchment
- Make the cherry mixture
- Bring eggs to room temp
- Soften cream cheese
Kitchen Tools You Will Need
- Medium Saucepan – Heats evenly and is easy to clean too.
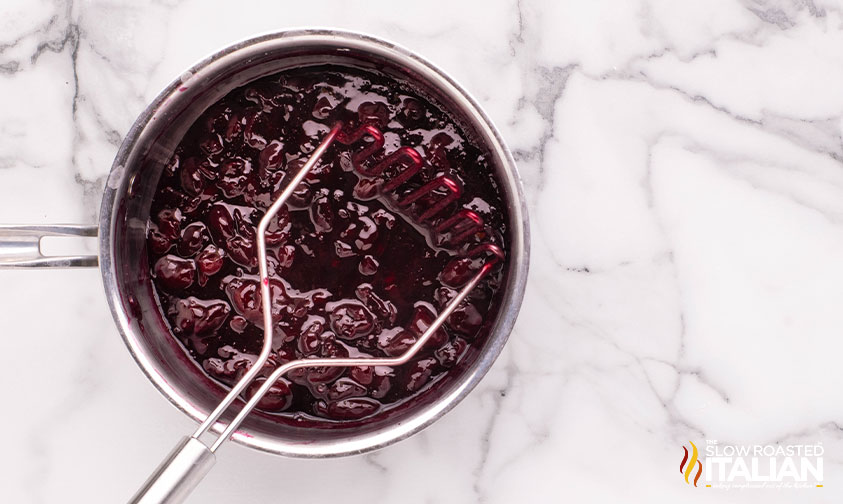
- Potato Masher – This one doesn’t get clogged like the kind with holes, and one tap releases anything stuck to the wires.
- 9×9 Pan lined with Parchment Paper – A metal pan is the best option! Reduce the oven temperature to 325°F if using glass.
- Microwave-Safe Bowl – Not only does it make melting butter and chocolate easier, but you can use it to quickly steam vegetables too!
- Stand Mixer or large mixing bowl with Hand Mixer for making the whipped cream topping.
Serving Suggestions
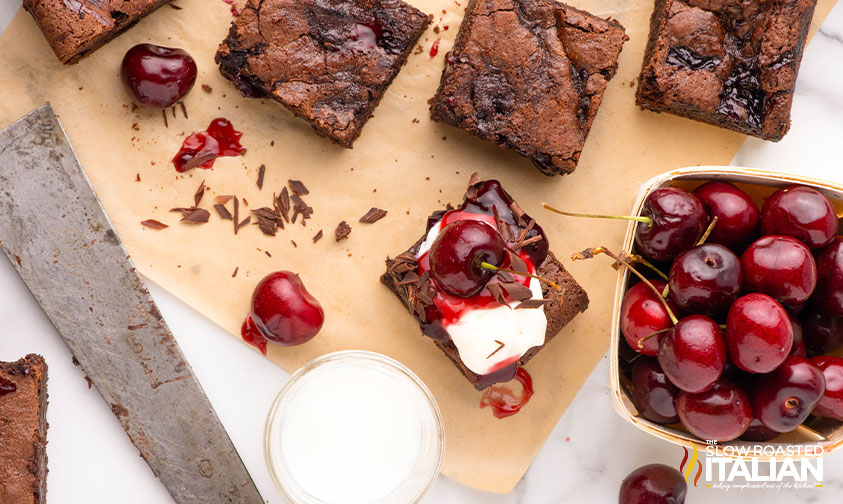
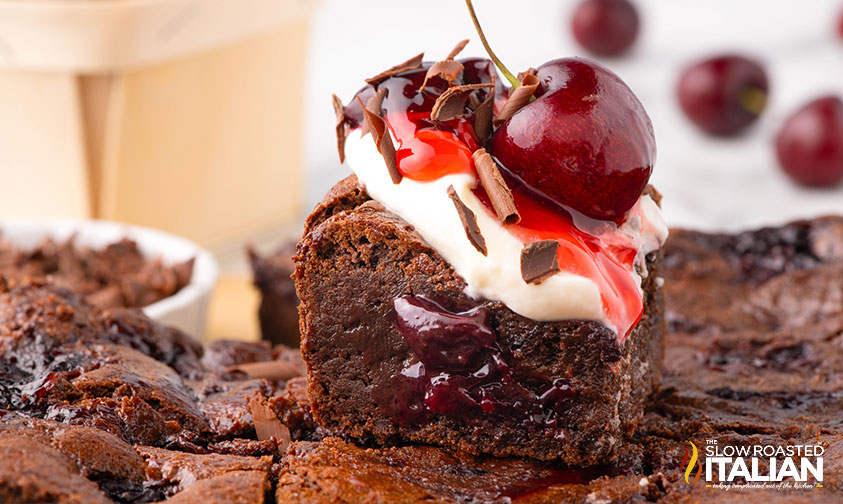
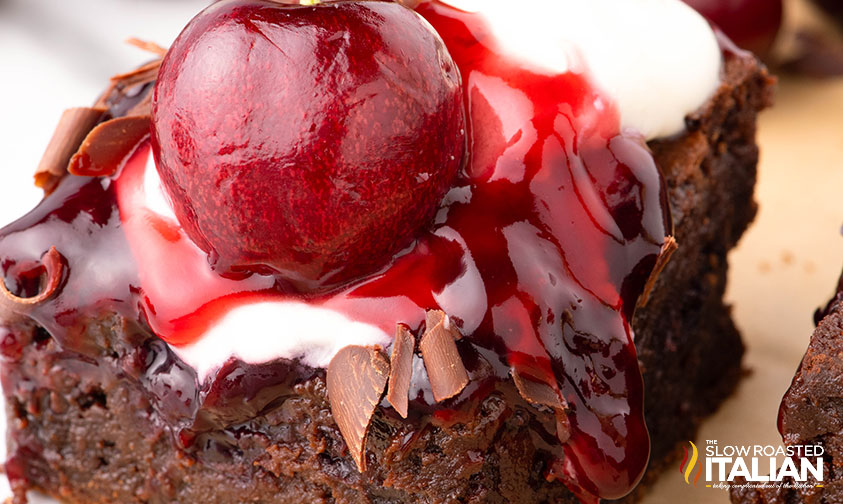
Once you’ve cooled and sliced your cherry chocolate brownies, top each square with some of the cream cheese whipped cream and a spoonful of reserved cherry mixture.
You could also decorate the tops with fresh cherries and chocolate shavings, making your Black Forest brownies look just like the famous cake!
Because this dessert is so rich, I usually pair it with vanilla ice cream or a cup of coffee.
Storing Black Forest Brownies
Keep these in an airtight container and eat within 4-5 days for best results. You’ll also need to store them in the refrigerator because there’s cream cheese in the whipped topping.
If you’d like to freeze chocolate cherry brownies, do so after cooling and slicing — and wait to add the topping. Wrap them tightly in plastic wrap and store in a freezer-safe storage bag for up to 1 month. Thaw in the refrigerator before serving.
Chocolate Cherry Brownies FAQ
These cherry brownies are intensely fudgy and gooey in the center, thanks to melted chocolate chips and the cherry swirl on top.
This is not the time for the toothpick test! Because of the cherries, these brownies will be quite wet and fudgy, rather than cakey.
Watch for the edges to pull away from the pan to know when these are finished. Also, the center should not be jiggly or leave an indentation when gently pressed.
Yes! Use a 9×13 pan and bake for 50-60 minutes at 350°F. Be sure to check them after 30 minutes to see if the top is getting too dark. If so, cover with foil until baked through.
Enjoy!
With love, from our simple kitchen to yours.
Don’t miss a thing! Follow us on
Facebook | Twitter | Pinterest | Instagram
Black Forest Cherry Brownies
Ingredients
Cherry mixture:
- 3 cups frozen pitted cherries, 12 ounce package
- 1/3 cup granulated sugar
- 1 tablespoon cornstarch
- 2 tablespoons Kirsch
- 2 tablespoons water
Brownies:
- 1 cup unsalted butter, (2 sticks)
- 2 cups granulated sugar
- 1 cup unsweetened cocoa powder
- 1 tablespoon pure vanilla extract, or vanilla bean paste
- 4 large eggs
- 1 cup all-purpose flour
- 1/2 teaspoon baking soda
- 1 teaspoon kosher salt
- 1 cup semisweet chocolate chips
Whipped cream topping:
- 1/4 cup cream cheese, softened
- 1 1/4 cups heavy cream
- 1/2 cup powdered sugar
Instructions
- Combine the frozen cherries, sugar, cornstarch, Kirsch, and water in a medium-sized saucepan. Cook on medium heat until the cherries give off liquid. Reduce to low heat and continue to simmer until the cherries are soft and the mixture has thickened.
- Remove the saucepan from the heat and mash the cherries with a wire masher (it’s okay to have some solid cherry pieces). Transfer the cherry mixture to a small bowl and place it in the refrigerator to cool while you make the brownie batter.
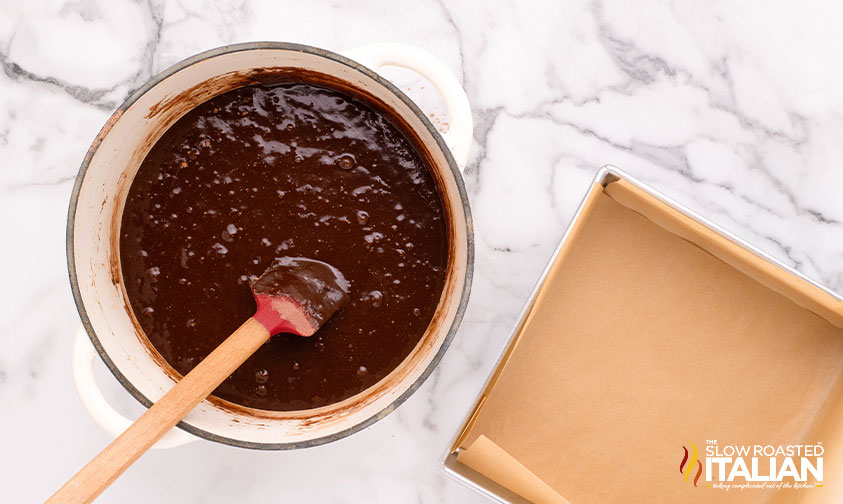
- Preheat oven to 350°F. line a 9 x 9“ baking pan with parchment paper long enough to hang over the sides for easy removal after baking, set aside.
- Place butter in a large microwave safe mixing bowl, melt completely by microwaving in 30-60 second bursts until completely melted.
- Add sugar, cocoa, vanilla and eggs. Whisk to combine well.
- Add the flour, cocoa powder, salt and chocolate chips.
- Whisk until completely combined, but do not over mix.
- Pour/scoop into the prepared baking dish.
- Dollop 1 1/2 cups of the cherry mixture onto the brownie batter and cut or swirl it through the batter using a knife.
- Place the pan in the oven and bake for 45 minutes. Check the brownies after 20 minutes, and if the tops are getting too dark, place a sheet of aluminum foil over the pan for the remainder of the baking time.
- When the brownies are done baking, remove the pan from the oven, let it cool on a wire rack for 10 minutes, and then place it in the refrigerator to chill for 1 hour.
- Meanwhile: In the bowl of a stand mixer with the whisk attachment, combine the cream cheese with 1/2 cup of heavy cream and mix on low to combine. Slowly add the remaining heavy cream and the powdered sugar and beat on low speed for two minutes until smooth. Increase the speed to high and continue beating for one more minute until the mixture holds soft peaks.
- Remove the chilled brownies from the pan (using the parchment paper handles for easy removal) and cut them into 12 equal squares.
- Top each brownie with a dollop of the whipped cream and the reserved cherry mixture.
- Serve and enjoy.
Donna’s Notes
Nutrition
All nutritional information is based on third party calculations and is only an estimate. Each recipe’s nutritional value will vary depending on the ingredients used, measuring methods, and portion sizes.
Originally published December 2024
Disclosure: Posts may contain affiliate links. If you purchase a product through an affiliate link your price will remain the same and The Slow Roasted Italian will automatically receive a small commission. Thank you for supporting us, it helps us keep creating new recipes.


