Blooming Onion (Outback Copycat)
This post may contain affiliate links. Please read my disclosure policy.
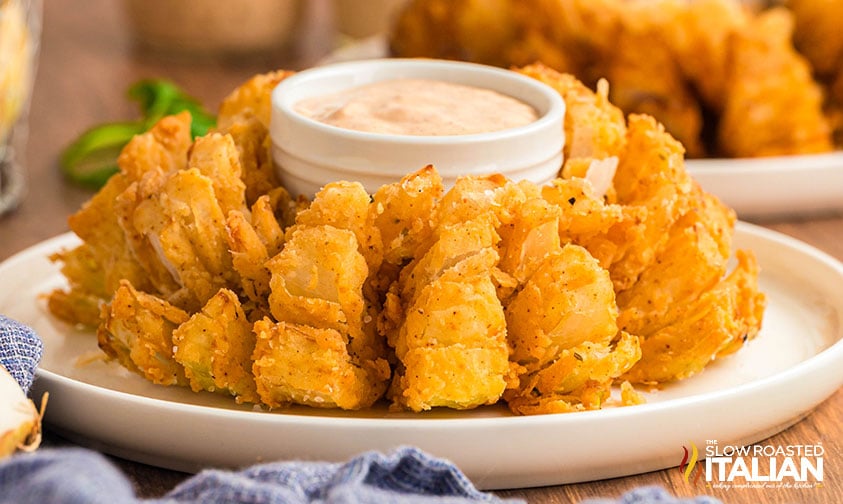
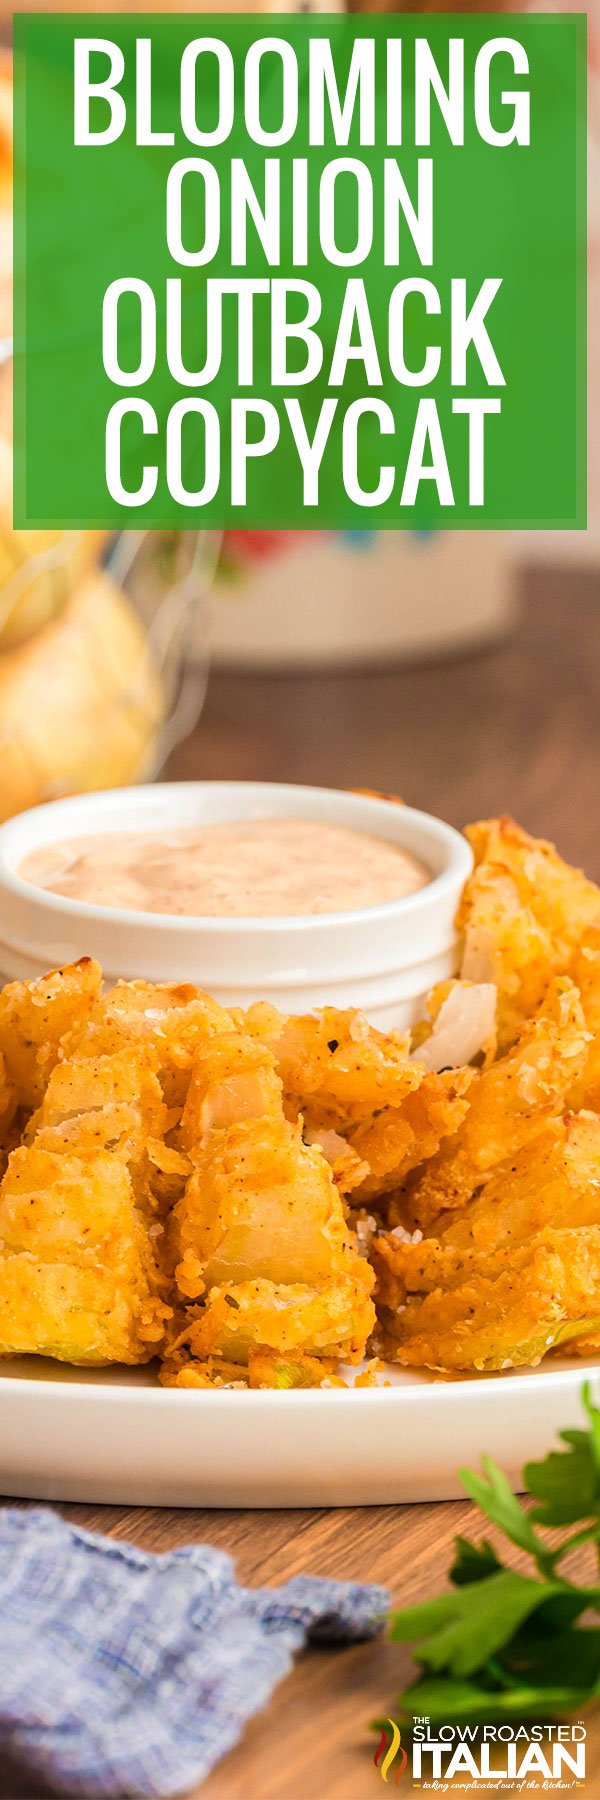
Join me as I recreate one of my favorite dishes from Outback Steakhouse: the Blooming Onion! 2 large sweet onions are deep fried in a flavorful batter and served alongside a special sauce. This bloomin onion Outback copycat recipe is like onion rings but better!! Plus, it comes together in just about 30 minutes!
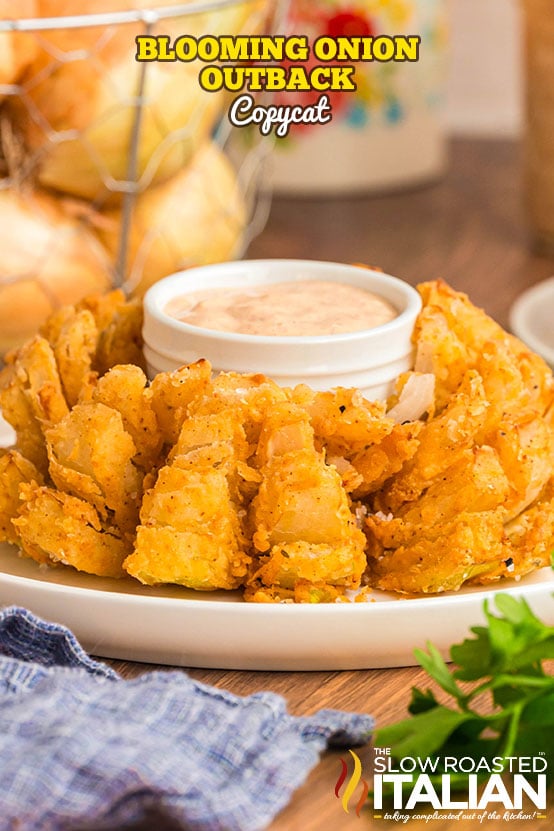
Table of Contents
Blooming Onion
You better believe that every time I go to Outback™ I order a bloomin onion!
It’s my absolute favorite appetizer they have on the menu and I’m often tempted to order one all to myself.
This dish is so incredibly tasty that I decided I just had to try to make it at home!
It’s actually much easier than you may think — the hardest part is separating the layers on the onion before frying it. And even that step is pretty simple once you get going.
Another one of my go-to’s from Outback is their Alice Springs chicken.
Pair the two together and you’ll be able to have your very own restaurant-quality feast at home. And, don’t forget to serve it with this Blooming Onion Sauce!
And finish dinner right with a gooey Outback Salted Caramel Cookie Skillet dessert!
Ingredient Notes and Substitutions
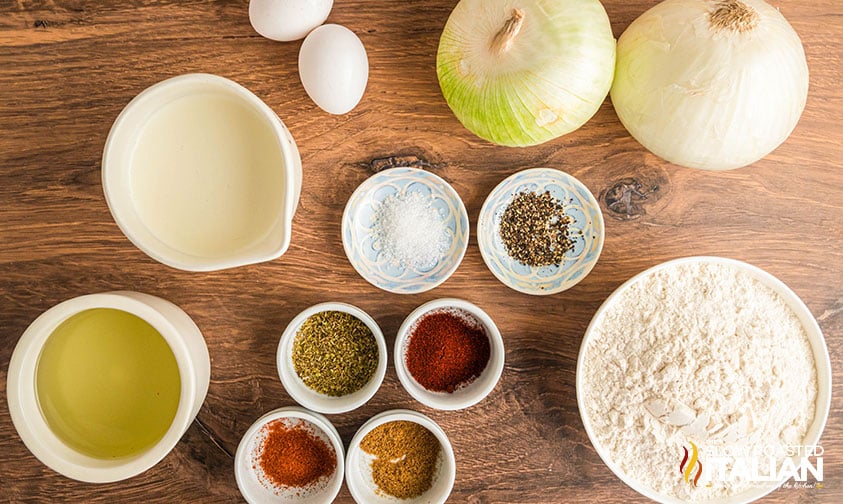
- Sweet Onions – Opt for sweet onions for your Outback bloomin onion.
They aren’t as acidic as other varieties, meaning they boast a mild and slightly sweet taste. Perfect for this recipe! - All-Purpose Flour – Needed for the dredging stations to create your blooming onion batter.
I like all-purpose, but you could also use your favorite gluten-free flour to make this dish GF. - Eggs – Also needed for the dredging stations! Eggs help the flour mixture stick to the onions.
- Whole Milk – I add whole milk to the eggs. The extra fat also does so much to help the batter adhere to the onions.
- Vegetable Oil – For frying. Canola, sunflower, peanut, or avocado oil would all work.
- Seasonings – To make the batter more flavorful, I’m using a combination of cayenne pepper, paprika, dried oregano, cumin, black pepper, and Kosher salt.
Helpful Tips for Making This Bloomin Onion Outback Copycat
- Choose the right onion.
I already mentioned that sweet onions are best for this bloomin onion Outback copycat. My favorite varieties are Vidalia or Texas Sweet Onion.
You also want to make sure to choose one that is large enough to cut into and then deep fry. The larger the onion, the better it will hold its shape when you fry it!
- Preparing your Outback bloomin onion.
One of the most impressive things about this bloomin onion Outback recipe is its presentation. I just adore seeing all of those fried petals.
This gorgeous presentation isn’t hard to pull off if you prep the onion correctly.
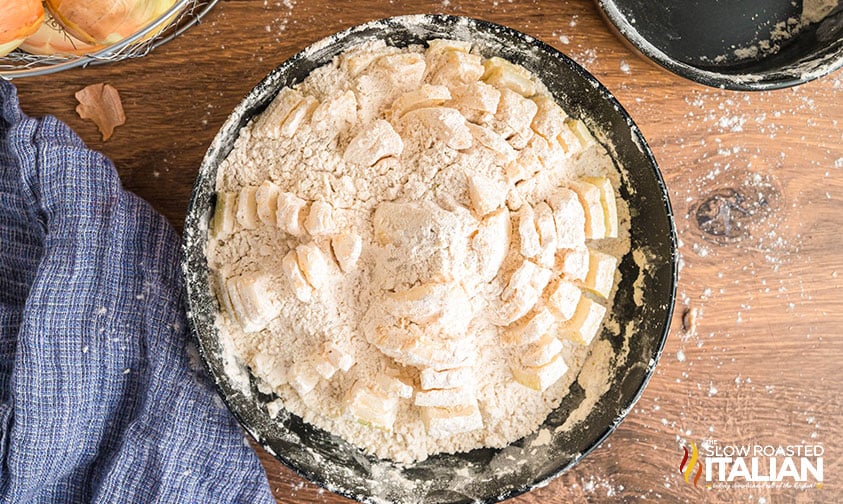
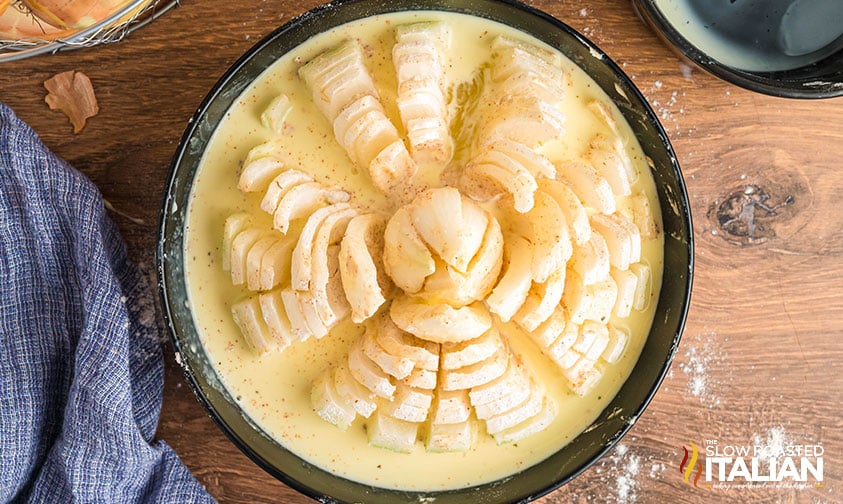
Begin by cutting off the top ½ inch of the onion, making sure to leave the root end intact.
Peel off the skin and then cut vertical slices about ½ inch apart into the onion, being careful not to cut all the way through. Your goal is to have at least 12-16 slices.
- Fry to perfection.
This blooming onion Outback copycat fries up super quickly, so you’ll want to keep a watchful eye on it.
Fry for about 10 minutes, and they’ll come out perfectly golden brown and crispy.
Storing and Reheating Leftovers
Like most fried foods, Outback bloomin onion is best enjoyed fresh. That said, you can store leftovers in an airtight container in the fridge for up to 1-2 days.
I recommend using your oven or air fryer to reheat it to avoid any sogginess. Heat at 350°F for about 10 minutes or until warmed through.
Kitchen Tools You Will Need
- A Sharp Knife – The best way to cut through an onion is with a sharp knife.
- Shallow Bowls for dredging.
- 4 Quart Stock Pot – Great for soups, roasts, frying, and more! This is a staple in my kitchen.
- Slotted Spoon
Blooming Onion FAQ
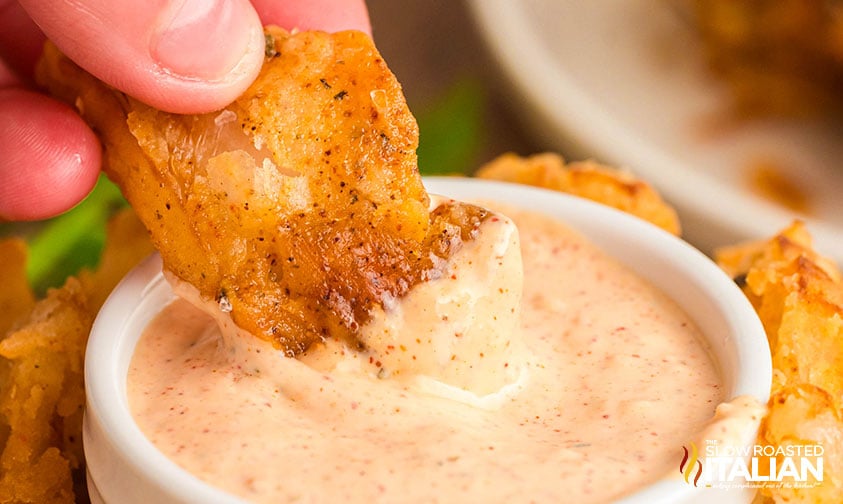
Blooming onion sauce, of course! You could also pair it with ranch dressing, BBQ sauce, or something simple like ketchup or mayonnaise. If you like spicy foods, hot sauce is another option!
I don’t find it necessary, but lots of people swear by soaking the onion before cutting into it. This is an easy trick to reduce some of the acidity and sharp bite.
Cold water will also encourage the petals to separate on their own. So, if you’re having a hard time slicing yours, consider soaking it for a few minutes!
You have to make sure to leave the root end of the onion intact in order to hold the layers together. Additionally, the vertical cuts should be about ½ inch apart.
Careful cutting will help keep your blooming onion Outback copycat together as you fry it!
Enjoy!
With love, from our simple kitchen to yours.
Don’t miss a thing! Follow us on
Facebook | Twitter | Pinterest | Instagram
Blooming Onion (Outback Copycat)
Equipment
Ingredients
- 2 large sweet onions
- 2 1/2 cups all-purpose flour
- 1 teaspoon cayenne pepper
- 2 tablespoons paprika
- 1 teaspoon dried oregano
- 1 teaspoon cumin
- 1/2 teaspoon black pepper
- 1 teaspoon kosher salt
- 2 eggs
- 1 cup whole milk
- vegetable oil, for frying (enough to cover the onion while frying)
Instructions
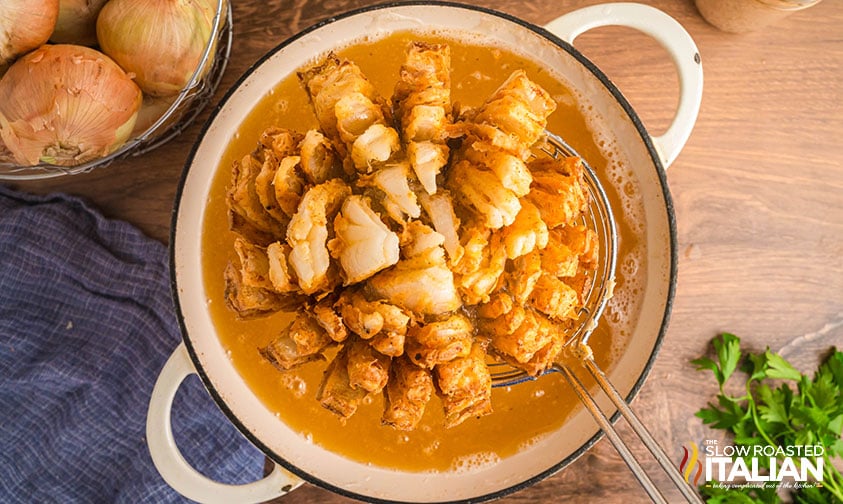
- Prep the onions: Peel the outer skin from the onions. Cut off the top of each onion, place the onions cut side down. Starting about .5” from the root of the onion, make a cut down all the way through. Make 4 evenly spaced cuts around the onions. Slice between each section until you have at least 12-16 evenly spaced cuts. Once all cuts are made, turn the onions over and gently separate the layers.
- Prepare the flour mixture: In a large bowl, combine the flour, cayenne pepper, paprika, oregano, cumin, black pepper, and kosher salt. Mix well until the ingredients are fully incorporated.
- Prepare the egg wash: in another bowl, beat the eggs and then add the milk. Stir until well combined.
- Coat the onions: First, dredge each onion in the flour mixture, making sure to get between the “petals”. Then, dip the onion into the egg wash, ensuring each “petal” gets coasted. Return the onion to the flour mixture for a second coating. Repeat with the other onion.
- Fry the onions: In a deep fryer or large pot, heat the vegetable oil to 375°F (190°C). Using a slotted spoon, carefully lower one of the onions into the oil, root side down. Fry for about 10 minutes, or until the onion is golden brown and crispy. Repeat with the other onion.
- Drain and serve: Remove the onions for the oil using a slotted spoon and drain on paper towels. Let it cool for a few minutes before serving. Enjoy!
Nutrition
All nutritional information is based on third party calculations and is only an estimate. Each recipe’s nutritional value will vary depending on the ingredients used, measuring methods, and portion sizes.
Originally published October 2023
Disclosure: Posts may contain affiliate links. If you purchase a product through an affiliate link your price will remain the same and The Slow Roasted Italian will automatically receive a small commission. Thank you for supporting us, it helps us keep creating new recipes.





looks good. will attempt to make them today. wish me luck 😋
Hi Blanca!
Good luck! Let us know how it turns out!!
TSRI Team Member,
Devlyn
This recipe by Donna and Chad is absolutely incredible! The Blooming Onion turned out so delicious, just like the one from our favorite restaurant.
Hi Alaina!
We’re so glad you enjoyed!
TSRI Team Member,
Devlyn
I tried Donna’s Blooming Onion recipe, and it was amazing! I added a pinch of garlic powder to the flour mixture for extra flavor. It turned out just like the restaurant version.
Hi Chloe!
We’re so glad you enjoyed the recipe!!
TSRI Team Member,
Devlyn
This recipe is delicious but I was wondering if I could potentially make this in an air fryer, as I have recently bought one.
Hi Jeremy!
I have successfully made these in the air fryer 🙂 Each air fryer is different so I would recommend some testing. I preheated to 375 degrees and cooked them one at a time until they were nice and crispy (about 20 – 25 minutes). I hope this helps, if you try it please let us know. Have a great day!
TSRI Team Member,
Holli