Homemade Maple Whipped Cream
This post may contain affiliate links. Please read my disclosure policy.
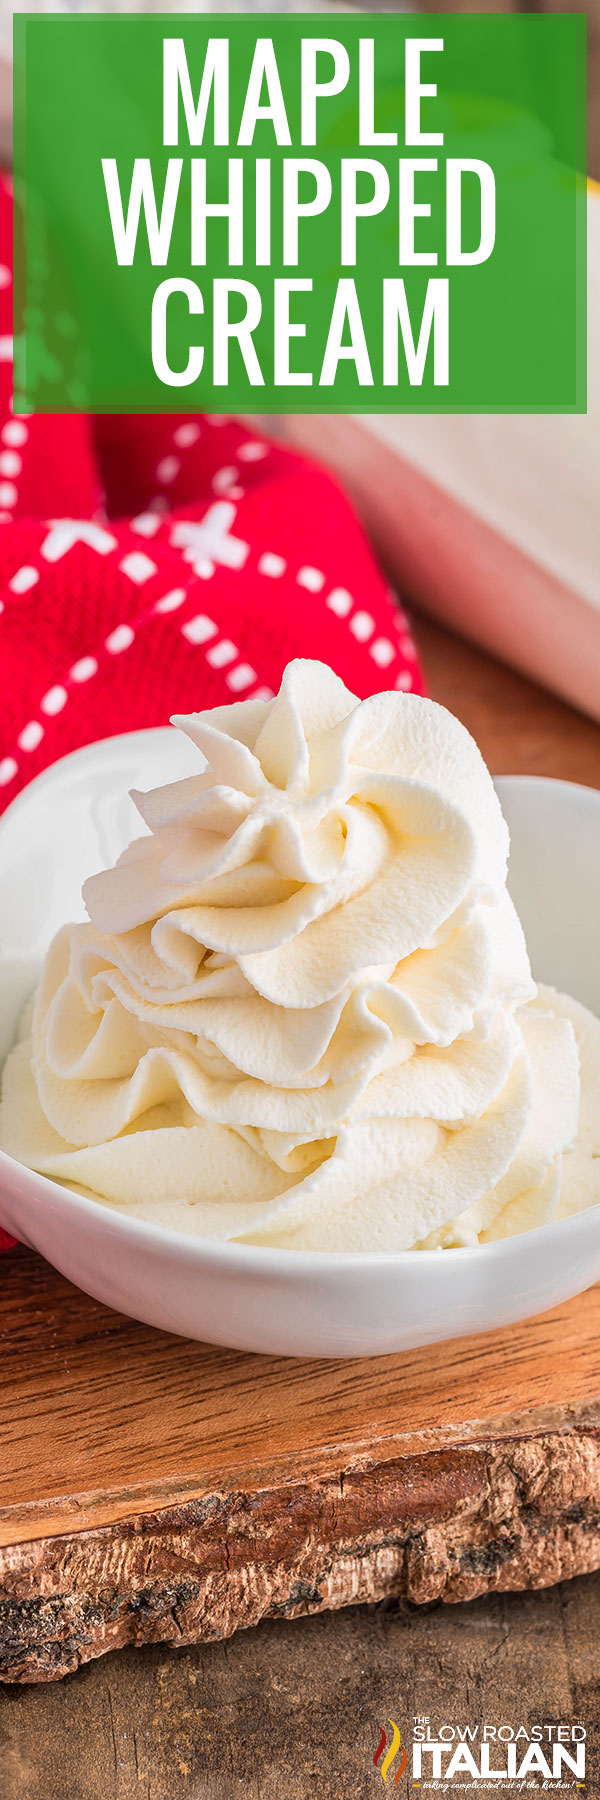
Maple Whipped Cream is rich, creamy, and full of incredible maple flavor!! Light, fluffy, and velvety smooth, it perfectly complements a variety of sweet treats and drinks. Made with just a handful of ingredients that you likely already have at home, it’s super easy too!
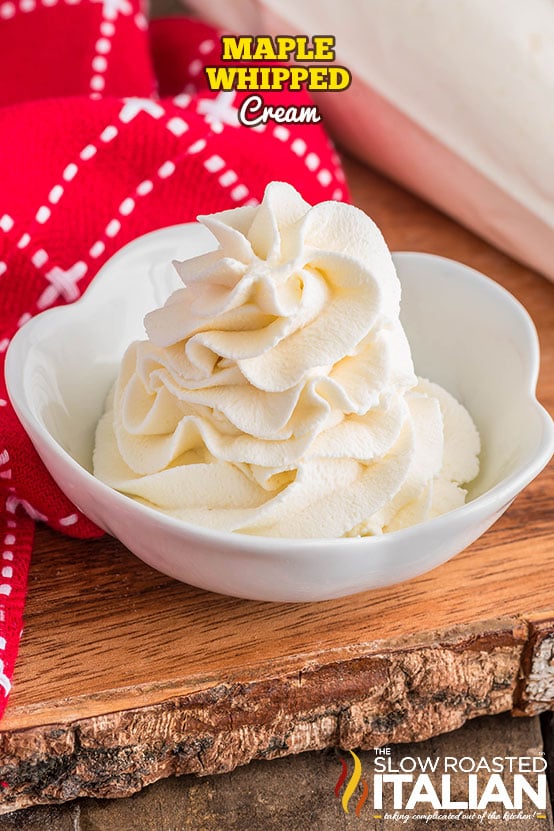
Table of Contents
Maple Whipped Cream
I add whipped cream on top of most of my favorite desserts!!
Ice cream, cake, pie, cookies, or even coffee… you name it, I’ve served it with a dollop of whipped cream on top!
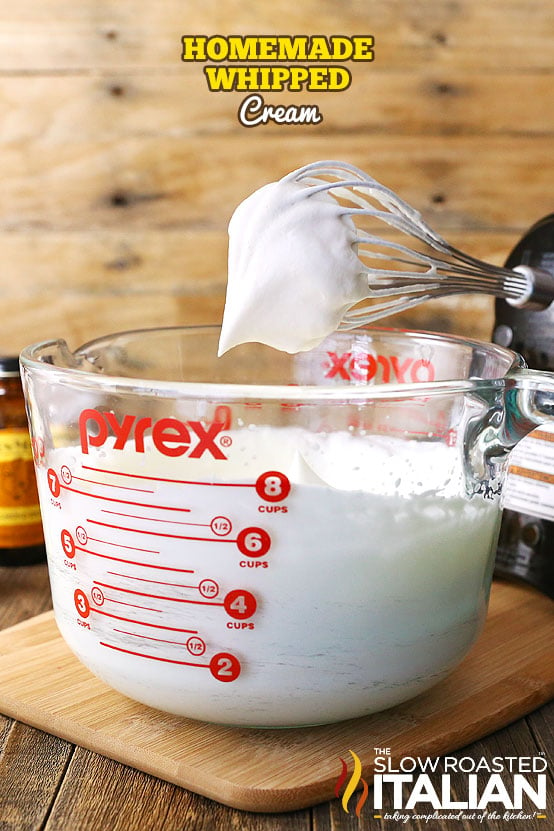
I’ve already shared my recipe for homemade whipped cream with you all — it’s so easy to make from scratch and tastes SO much better than store-bought.
I said it and I’m sticking to it!!
Now that you know how to make the classic version, it’s time to learn how to elevate it by whipping cream with maple syrup!
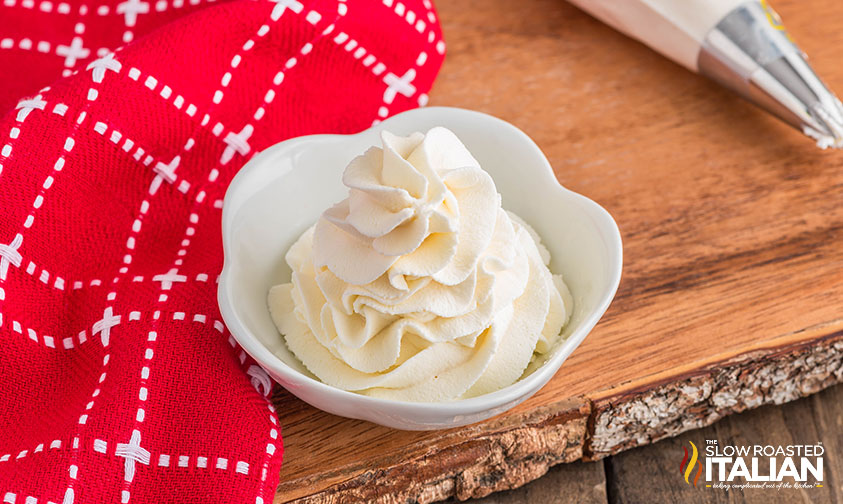
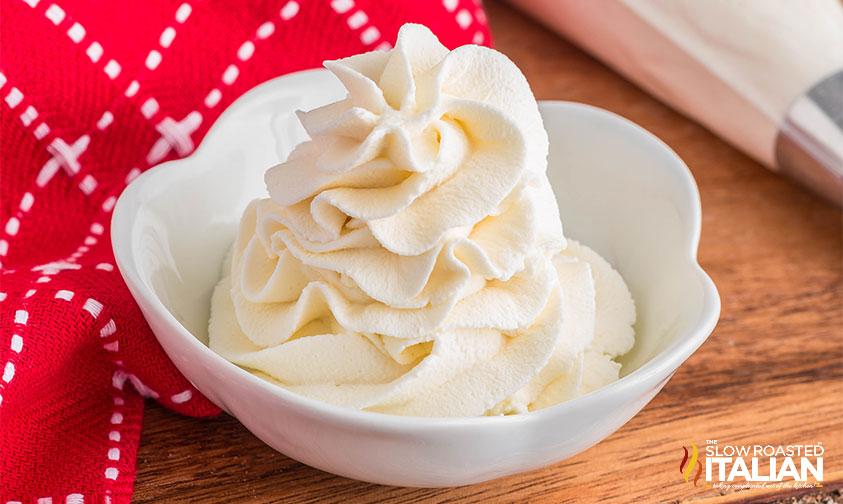
It’s light, it’s fluffy, and it’s full of delicious pure maple syrup flavor.
Serve this maple whipped cream on top of all of your favorites. Bring it along to your next party and get-together and prepare to be asked where you got it from!!
Ingredient Notes and Substitutions
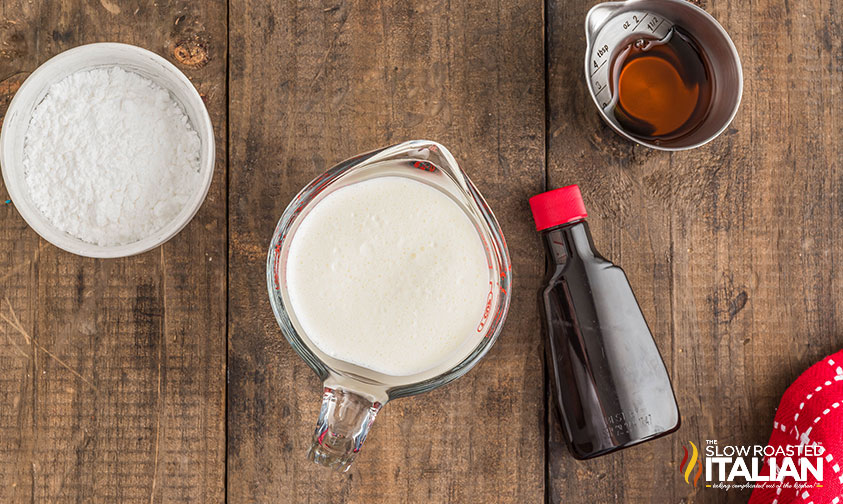
- Heavy Cream – The key to any good homemade whipped cream is good-quality heavy cream.
It’s sometimes called heavy whipping cream, in case you see that when doing your shopping. - Powdered Sugar – Needed to stabilize the whipped cream and adds a subtle sweetness that I love!
You can technically make this recipe without it, but it will affect the texture and flavor of your maple whipped cream, just FYI.
- Pure Maple Syrup – Make sure you’re using pure maple syrup! Pancake syrup can be used in a pinch, but it won’t provide the same natural and rich maple flavor.
It could affect the texture too, as many pancake syrups are made with corn syrup. It’s best to stick to the pure stuff if possible! - Vanilla Extract – I love the warm earthy flavor vanilla extract brings to the mix.
You could also use bourbon, almond extract, or even maple extract instead if you’d like!
Tips and Tricks to Make Whipped Cream with Maple Syrup
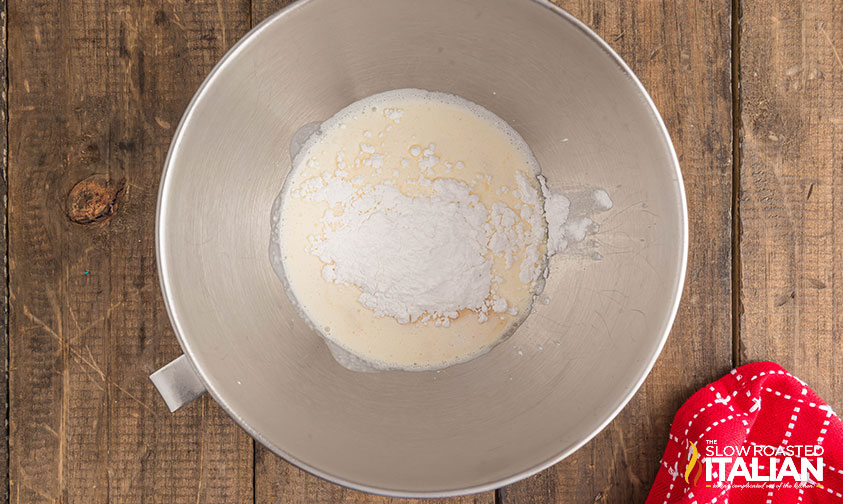
- Chill your mixing bowl and whisk.
Before getting started, make sure to chill your equipment in the freezer for at least 15-20 minutes first.
Not only will this help keep the cream cold which makes whipping easier, but it will also maximize the volume of your whipped cream — and give you the best texture!
- Use cold heavy cream too.
Making whipping cream with maple syrup is all about that chill, baby!
But seriously, you’ll need to chill the equipment as well as the heavy cream for the best results. It whips up faster and holds its shape better.
Pull it out of the fridge right before adding it to the chilled bowl!
- Do a taste test.
If you’ve never made maple whipped cream before, you may want to add the maple syrup while you whip to determine how sweet you want it.
Start with 1 tablespoon and taste as you go to adjust the sweetness to your liking. I like mine with 2 tablespoons, but everyone’s preferences are different!
Remember, you can always add more maple syrup, but you can’t take it out once it’s added.
- Don’t over-whip.
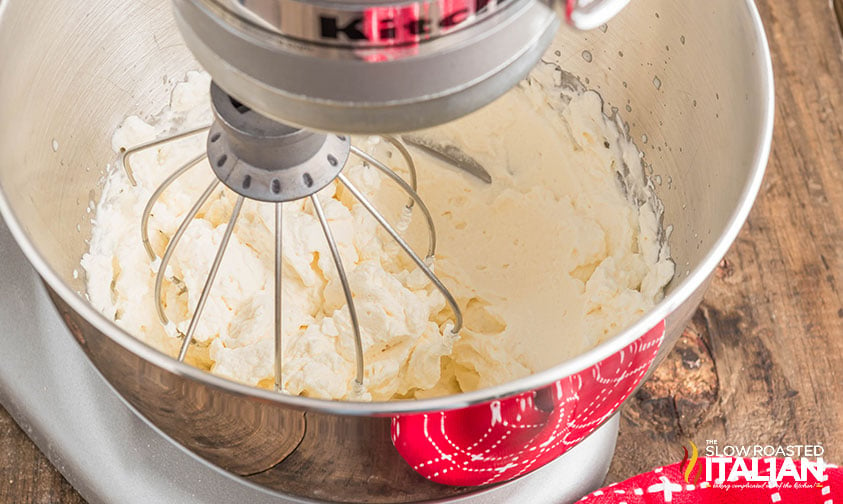
Once those soft peaks start forming, decide whether you want to keep your maple syrup whipped cream on the softer side, or if you prefer firmer stiff peaks.
If so, continue to mix for just a few minutes more.
You want to try your best to avoid over-whipping, as this will result in a grainy texture.
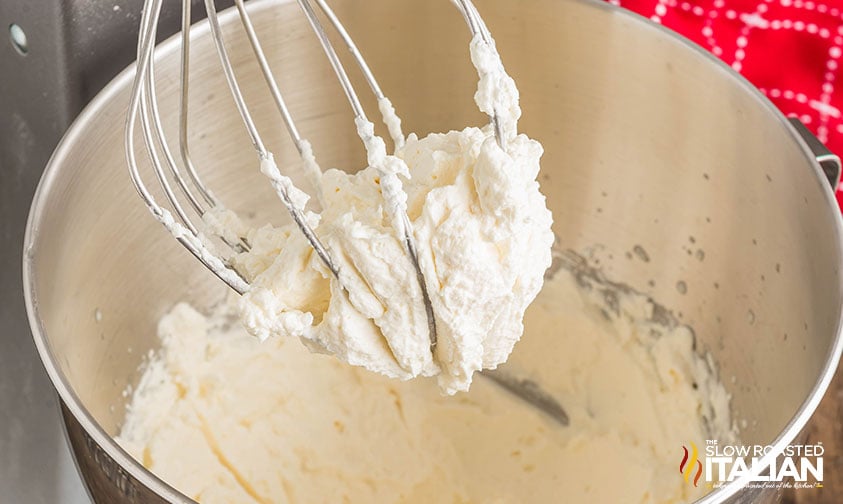
Test for readiness by lifting the whisk out of the bowl — if the whipped cream holds its shape, it’s done!
Prep Ahead
- Chill the mixing bowl and whisk
- Keep the heavy cream in the fridge
Kitchen Tools You Will Need
- Stand mixer or large mixing bowl with a Hand Mixer for whipping the cream with maple syrup.
- Mixing Bowls – I like to have a variety of sizes on hand, and this set has them all.
- A sturdy Silicone Spatula can be used for scraping, stirring, and smoothing and is easy to clean too!
- Measuring Cups and Spoons – You may be tempted to eyeball the amounts, but I recommend using the proper tools so it comes out just right.
Serving Suggestions
You’ll probably be tempted to eat your whipped cream with maple syrup straight out of the bowl, and I say… no judgment from me!!
Once you’ve had a few spoonfuls, you can use it to top ice cream — add a double dose of maple goodness and serve it with my No-Churn Maple Bacon Ice Cream — or on pie.
I’ve got a maple syrup pie it would taste amazing with, this pecan pumpkin pie is just screaming for some extra maple flavor, or on some yummy apple crisp.
You can add it on top of pancakes for a decadent breakfast, or on top of my creamy Maple Latte!
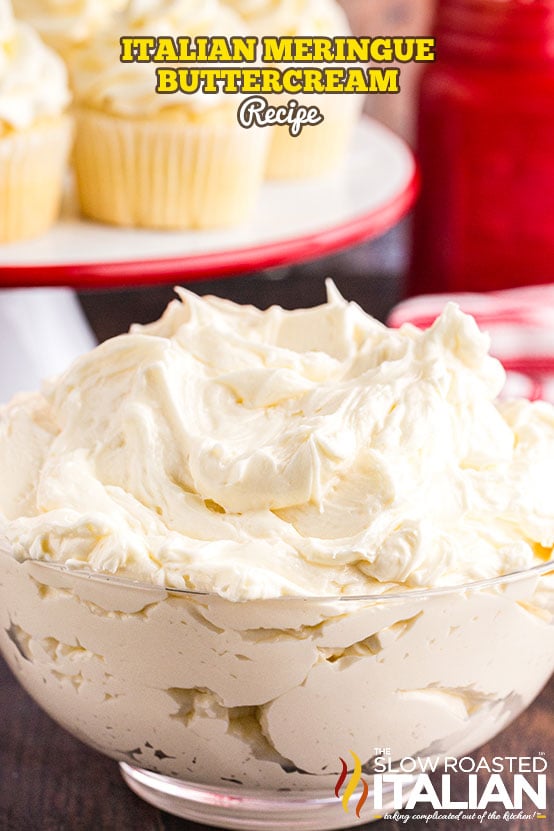
And if those aren’t enough ideas to get you started, you could even use this as a frosting for cake.
It’s softer than traditional buttercream or cream cheese frosting, but it’s super tasty nonetheless!
Storing Maple Syrup Whipped Cream
Keep your homemade whipped cream with maple syrup in an airtight container in the fridge.
Try to use it within 24 hours — I suggest whisking it slightly before serving if it’s been chilled.
It will keep for 1-2 days, but it’s best enjoyed fresh. It really does only take about 15 minutes to make, so it’s best made close to serving time instead of a few days in advance.
On that note, I don’t recommend freezing maple syrup whipped cream. Thawing will cause the texture and consistency to go a little funny. Again… it’s best when it’s fresh!
Whipping Cream with Maple Syrup FAQ
The trick to whipping cream with maple syrup is to start with chilled equipment! It really is that simple. You’ll also want to use a stand mixer or a hand mixer if you have them.
You can whip cream by hand with a whisk and some elbow grease… but you’ll have to use A LOT of elbow grease to get the same light and fluffy texture.
If you accidentally over-whip the whipped cream and it turns grainy or buttery, you can gently fold in a few tablespoons of fresh heavy cream to smooth it out.
And if that doesn’t work, it’s best to just start over!
Maple syrup is a natural sweetener that comes from maple tree sap, while maple cream is made from natural maple syrup that’s been boiled down into a smooth cream.
Then there’s maple butter, which is made by combining maple syrup and unsalted butter. Phew!
At the end of the day, they’re all food products made from maple sap.
Enjoy!
With love, from our simple kitchen to yours.
Don’t miss a thing! Follow us on
Facebook | Twitter | Pinterest | Instagram
Homemade Maple Whipped Cream
Equipment
Ingredients
- 1 cup heavy cream, chilled
- 2 tablespoons powdered sugar
- 2 tablespoons pure maple syrup
- 1/2 teaspoon vanilla extract
Instructions
- For best results, place your mixing bowl in the freezer for about 10 to 15 minutes before starting.
- In your chilled mixing bowl, add the heavy cream, powdered sugar, maple syrup, and vanilla extract. Using either an electric mixer or standing mixer with the whisk attachment, mix on low to combine. Once combined, increase the speed to medium-high. Continue to mix for about 5 to 7 minutes to form soft peaks. Continue to mix if you want a firmer whipped cream with stiff peaks. Don’t overmix, as this can break up the smooth texture and start to form butter.
- Serve whipped cream immediately on your favorite desserts or coffee drinks, or refrigerate in an airtight container for later use. Enjoy!
Donna’s Notes
Nutrition
All nutritional information is based on third party calculations and is only an estimate. Each recipe’s nutritional value will vary depending on the ingredients used, measuring methods, and portion sizes.
Originally published July 2024
Disclosure: Posts may contain affiliate links. If you purchase a product through an affiliate link your price will remain the same and The Slow Roasted Italian will automatically receive a small commission. Thank you for supporting us, it helps us keep creating new recipes.







I can’t believe how simple this recipe was! The whipped cream turned out perfectly light and fluffy.
Hi Eliana!
We’re so glad you enjoyed.
TSRI Team Member,
Devlyn