Homemade Cheese Tortellini Pasta Recipe from Scratch
This post may contain affiliate links. Please read my disclosure policy.
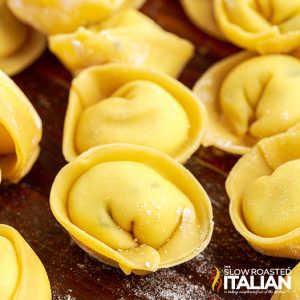
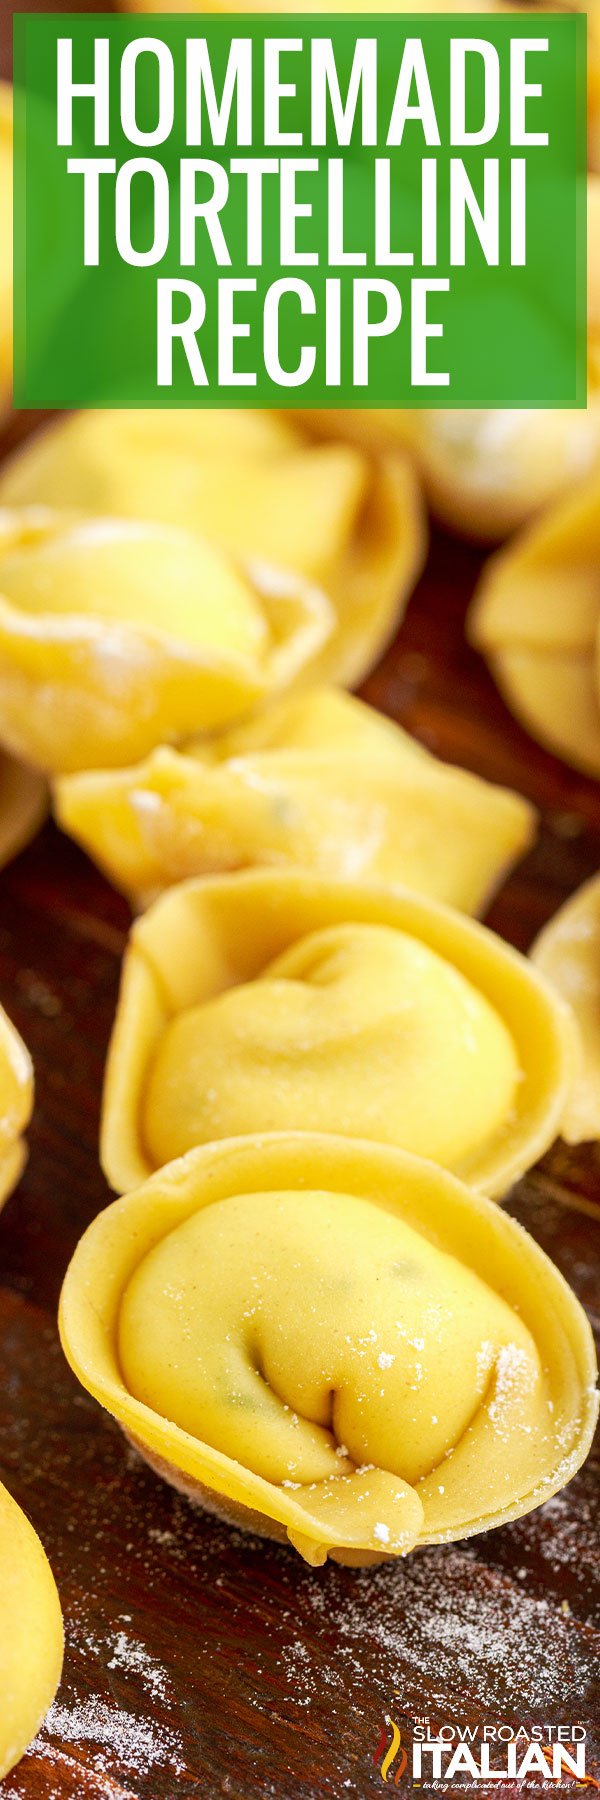
Homemade Tortellini is an irresistibly cheesy Italian meal! Creamy on the inside and smooth on the outside, each fresh tortellini absolutely bursts with a delicious combination of cheeses and seasoning. A blanket of your favorite sauce over the top, and you’re in for an authentic tortellini dinner in under an hour!
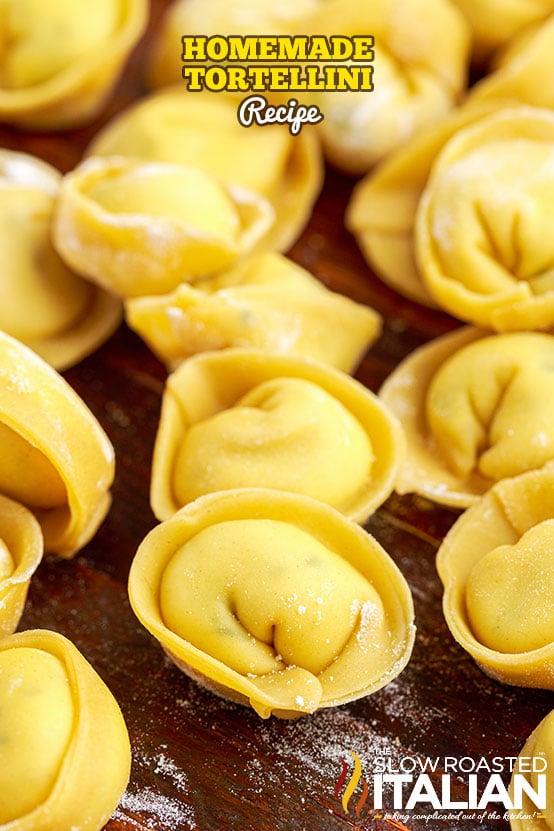
Knowing how to make tortellini with your own hands will make you the envy of all of your friends! After all, who doesn’t love these tasty little pasta bites?
You’ll be a pro pasta maker in no time at all.
Make the half-moon shape of the fresh pasta dough takes a little bit of getting used to, but you’ll be making a big batch in no time at all!
Tortellini recipes like this are fun to make, and once you add that teaspoon of the filling – you’ll be hooked!
If you’re craving pasta dishes that make the perfect first course, it’s time to start making the tortellini shape pasta to share with family and friends! This is a fantastic recipe that is loaded with great flavor!
Below you’ll find out the right tools needed to create this homemade tortellini pasta. Get a clean surface ready – and have fun!
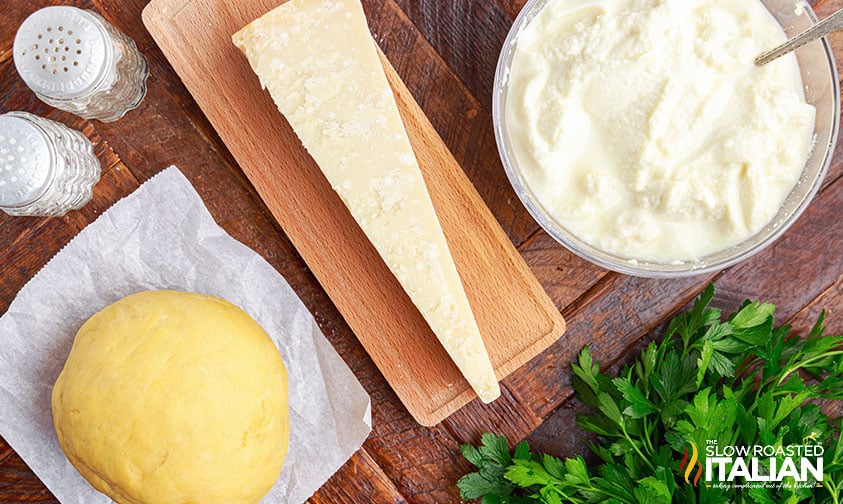
Table of Contents
Homemade Tortellini
Delicious, authentic Italian food is about the quality of ingredients, not the quantity.
That’s why our homemade cheese tortellini are stuffed with a silky cheese filling made with just 5 ingredients!
The result is a beautiful balance of peppery herbs and seasonings for a smooth, satisfying finish.
Some like to complement fresh tortellini with a tangy marinara or rich alfredo.
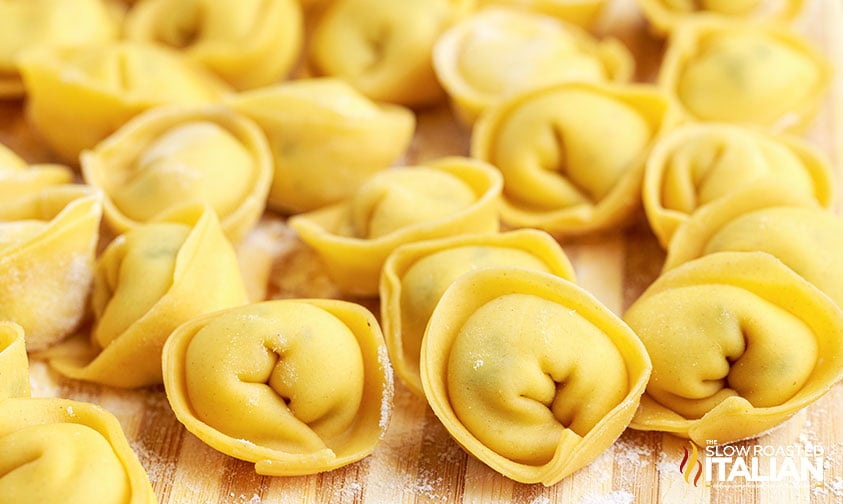
So what is tortellini pasta? It’s a stuffed pasta made with flour and eggs and filled with a thick, creamy cheese.
Some add veggies and meats to the mix, while I stick to the basics – but read on to learn how to make tortellini with all sorts of fun fillings!
Ingredient Notes and Substitutions
- All Purpose Flour and Cake Flour – The combination of flours creates a tender, springy dough that can’t be beat!
You could use just all-purpose flour, but the pasta won’t be as tender. - Ricotta Cheese – Be sure to drain the cheese before using it, or your filling will be watery.
Your best substitute is cottage cheese – it’s the closest in texture and flavor. - Parmesan Cheese – Freshly grated, if you can manage it! You’ll have a much smoother, silkier result. Try asiago or romano if parmesan isn’t your thing.
Tortellini Recipe FAQ
This authentic pasta is almost always filled with ricotta cheese. The other ingredients, though, are up to the chef! Sometimes veggies such as spinach or mushrooms are included, as well as other cheeses. Parmesan and Pecorino Romano are two popular choices.
Traditionally, whatever meat the cook was able to get their hands on was used. These days, you’ll often see tortellini with cured meats, like pepperoni or prosciutto.
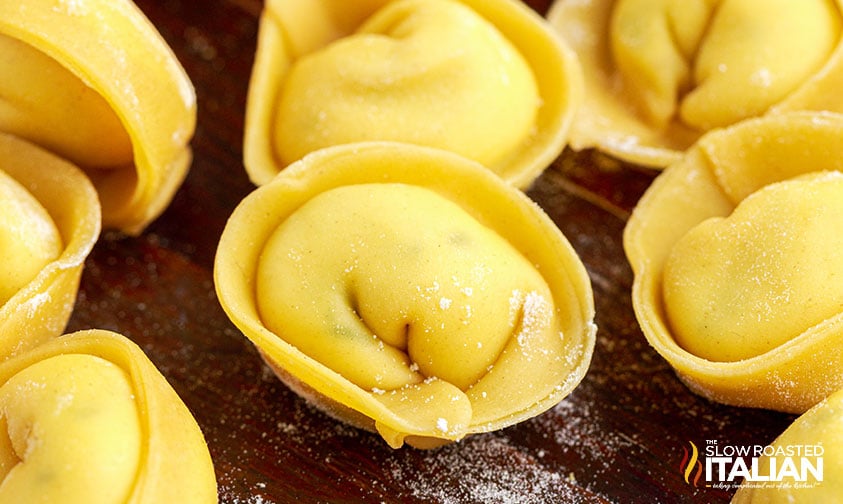
Raviolis are small square, flat noodles that are pressed together. Tortellini, on the other hand, are small pockets that are rounder in shape – like a dumpling!
Both are typically stuffed with a combination of meats and/or cheeses, though you’re much more likely to find tortellini in a soup than ravioli!
Not long at all! It typically takes about 7 minutes for a pot of fresh pasta to cook to al dente. Cooking frozen tortellini can take a bit longer. Be sure to boil directly from frozen – don’t thaw beforehand! Once the pasta floats, it’s ready to eat.
Popular recipes like this can be served so many ways. You can top Asiago cheese, mozzarella cheese, or some tomato sauce.
This homemade tortellini recipe is the perfect main course because the tortellini filling is versatile in flavor and pairing.
I think it does! Just add the shaped tortellini into the microwave to warm up, and you can enjoy the flavor and taste the next day.
It really is up to you as to what you add to your piece of dough. Once you make and cut the sheet of pasta, you have options.
If you do add ground beef or other meat into your dough, then just know that, in my opinion, it changes this recipe into more of a homemade ravioli because of the added meat.
I prefer to make the vegetarian version, but it’s up to you.
Absolutely. Just use this step-by-step guide to prep ahead of time so that when you’re ready to cook, it’ll cut down on the overall cooking time because a lot of the hard work has already been done ahead of time.
You can prep them and freeze them to be able to cook later. Options are great!
Recipe Tips
- Handy Tools to Have – Making tortellini with a pasta machine will save you loads of time and effort.
You’ll get the dough nice and thin in no time! Otherwise, a 3-inch biscuit cutter will get the job done.
You can also use a rolling pin, or a round cookie cutter as well to make sure that you have equal pieces. I also have a pastry brush, large mixing bowl, and a little water handy. - Use the filling sparingly. If you add too much of the ricotta filling to the fresh tortellini, you’ll risk it bursting open as it cooks.
So, play it safe and stick to a teaspoon of filling. - Keep the dough covered – When you aren’t filling them, keep the dough rounds covered with a damp kitchen towel so they stay soft and pliable as you’re working.
Alternatively, you can periodically (and lightly) mist the dough with water.
Serving and Storing Homemade Tortellini
You can boil your homemade tortellini right away in some heavily salted water.
In addition to a simple pasta sauce or alfredo, many people enjoy serving tortellini pasta in a bowl of broth – chicken, beef, or vegetable.
Freshly made and stored in a covered container, it will keep for up to 3 days in the fridge.
Otherwise, feel free to freeze it – This authentic tortellini recipe is very freezer-friendly!
To freeze fresh tortellini pasta:
- Spread the pasta out in a single layer on a sheet pan lined with parchment paper.
- Place the pan in the freezer until the pasta is frozen solid.
- Transfer the frozen tortellini to a zip-top freezer bag or airtight container. They’ll keep for up to 3 months!
Enjoy!
With love, from our simple kitchen to yours.
Don’t miss a thing! Follow us on
Facebook | Twitter | Pinterest | Instagram
Other Authentic Pasta Recipes
Homemade Cheese Tortellini Pasta Recipe from Scratch
Ingredients
- 1 cup all-purpose flour
- 1/3 cup cake flour
- 2 large eggs
- 1 teaspoon extra-virgin olive oil
- 1/4 teaspoon sea salt
- semolina flour, or rice flour, for dusting
- 8 ounces ricotta cheese, drained
- 1 cup freshly grated parmesan cheese
- 1/2 teaspoon sea salt
- 1/2 teaspoon coarse black pepper
- 1/2 cup finely chopped parsley
Instructions
- Mound all-purpose and cake flours on a clean countertop or cutting board.
- Use your fingers to make a well in the center of the flour. Add olive oil and eggs to the well.
- Use a fork to whisk the eggs, drawing in the flour as you whisk, until as much of the flour is incorporated as possible. Then, use your hands to continue mixing until you have a shaggy dough. Use your hands to knead the dough for 10 minutes, and the shaggy dough will gradually become more soft and pliable.
- Form the dough into a ball shape and transfer to a zip top plastic bag, or wrap tightly in plastic wrap. Set it aside to rest for 30 minutes.
- Use a bench scraper or butter knife to divide the pasta dough into 2 or 3 equally sized sections. Work with one section at a time, keeping the remaining sections wrapped to prevent them from drying out.
- Roll the dough as thinly as possible, using a rolling pin or a pasta machine. With a pasta machine, gradually move to smaller settings as you feed it through the roller, until you are able to roll it out on the thinnest setting.
- Using a 3-inch round biscuit cutter, cut circles out of the pasta sheets. Keep the rounds covered with plastic wrap or a damp paper towel to keep the dough moist. Gather the scraps together as necessary to re-roll and cut out additional circles. Continue rolling and cutting until all of the dough has been used.
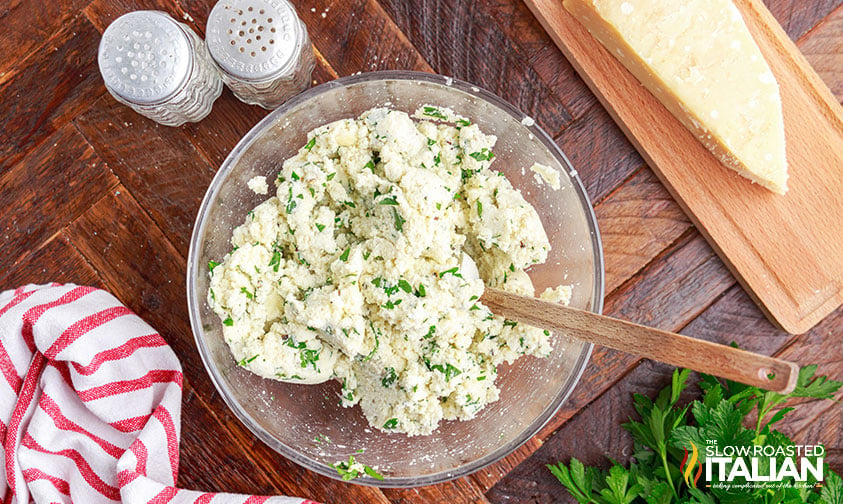
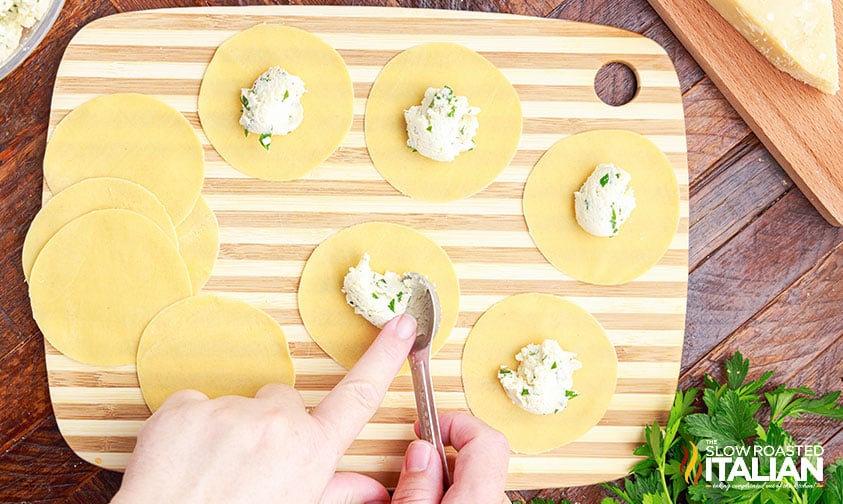
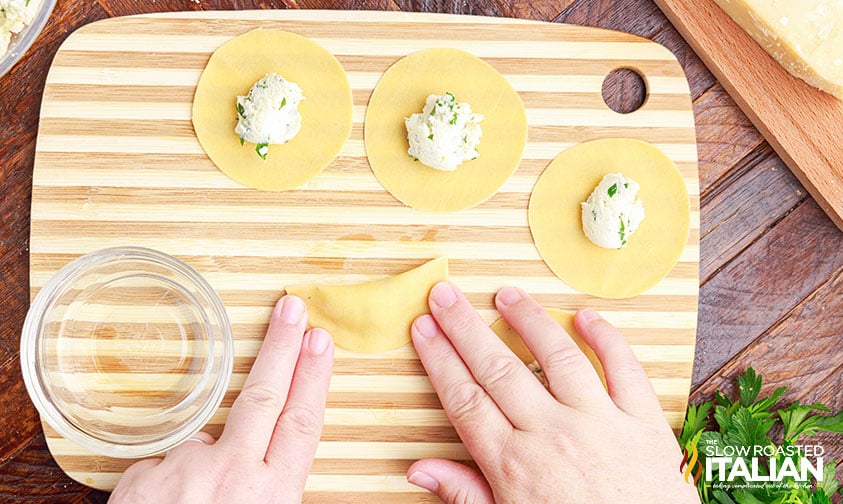
- To a small mixing bowl, add drained ricotta, parmesan, salt, pepper, and parsley. Stir well with a spoon to combine. Place one teaspoon of ricotta mixture in the center of each circle.
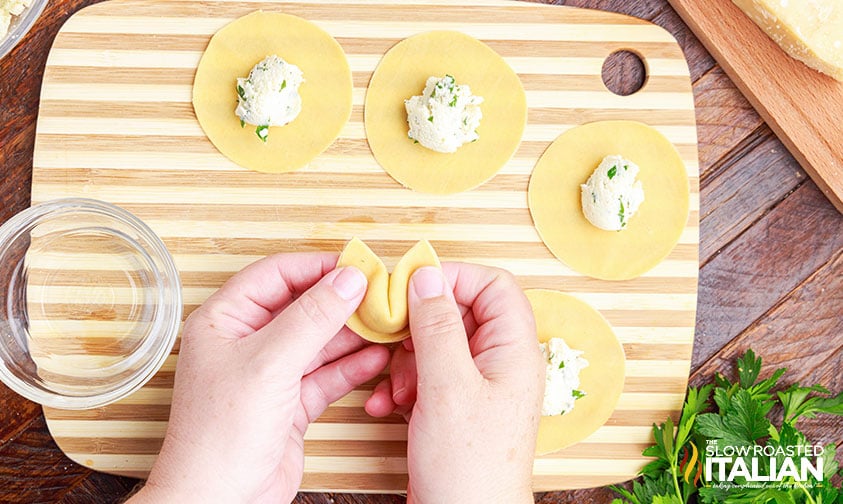
- Working with one circle at a time, moisten a pastry brush or your fingertips with water to brush around the edge of each circle. Fold the dough in half to form a half moon, sealing the filling in the center.
- Fold the two points of the half moon back so they meet each other, then press the ends together to form the tortellini.
- Continue for the remaining circles. Sprinkle your work surface with flour as needed to prevent pasta from sticking.
- Cook fresh tortellini in a pot of heavily salted, boiling water until the pasta floats to the top, about 7 minutes.
- Alternatively, freeze the tortellini by arranging them in a single layer on a parchment paper lined sheet pan. Place the pan in the freezer. When pasta is frozen, transfer to a freezer-safe storage bag or container and return to the freezer to keep for up to 3 months.
Donna’s Notes
Nutrition
All nutritional information is based on third party calculations and is only an estimate. Each recipe’s nutritional value will vary depending on the ingredients used, measuring methods, and portion sizes.
Originally published October 2022, updated and republished November 2024
Disclosure: Posts may contain affiliate links. If you purchase a product through an affiliate link your price will remain the same and The Slow Roasted Italian will automatically receive a small commission. Thank you for supporting us, it helps us keep creating new recipes.








This is the 3rd homemade pasta I tried from your site. So easy and delicious. Thank you
Hi Mary,
We are so happy to hear that!! Enjoy your day!
TSRI Team Member,
Holli
Who knew making tortellini was so easy! The directions were so easy to follow it is foolproof, which is great for a beginner like me! Thank you for making me look like a pro!! They are delicious!
Hi Randi,
That is so great to hear! We are so happy you loved the recipe!
TSRI Team Member,
Holli
Hello, just wondering with this recipe is 1x ingredients for one person?
Thanks
Mel
Hi Mel!
We’re so glad you enjoyed!!
TSRI Team Member,
Devlyn
Very good recipe I’ve used a few times in a 3x batch and freeze the extras for the future. I add a bit more salt to the filling (1tsp as opposed to 3/4 tsp) I also add fresh basil. 1 and a half pieces of nutmeg ground finely and mixed in. This is a hidden little bit of flavor I’ve learned from working 10 years in the culinary industry. Instead of 3 cups of parm I do 1 1/2 cups Romano and 1 1/2 cups parm.
Hi Chris!
We’re glad you enjoyed the recipe!
TSRI Team Member,
Devlyn