No Churn Triple Berry Cobbler Ice Cream
This post may contain affiliate links. Please read my disclosure policy.
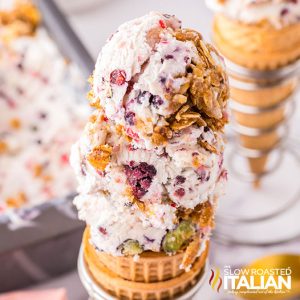
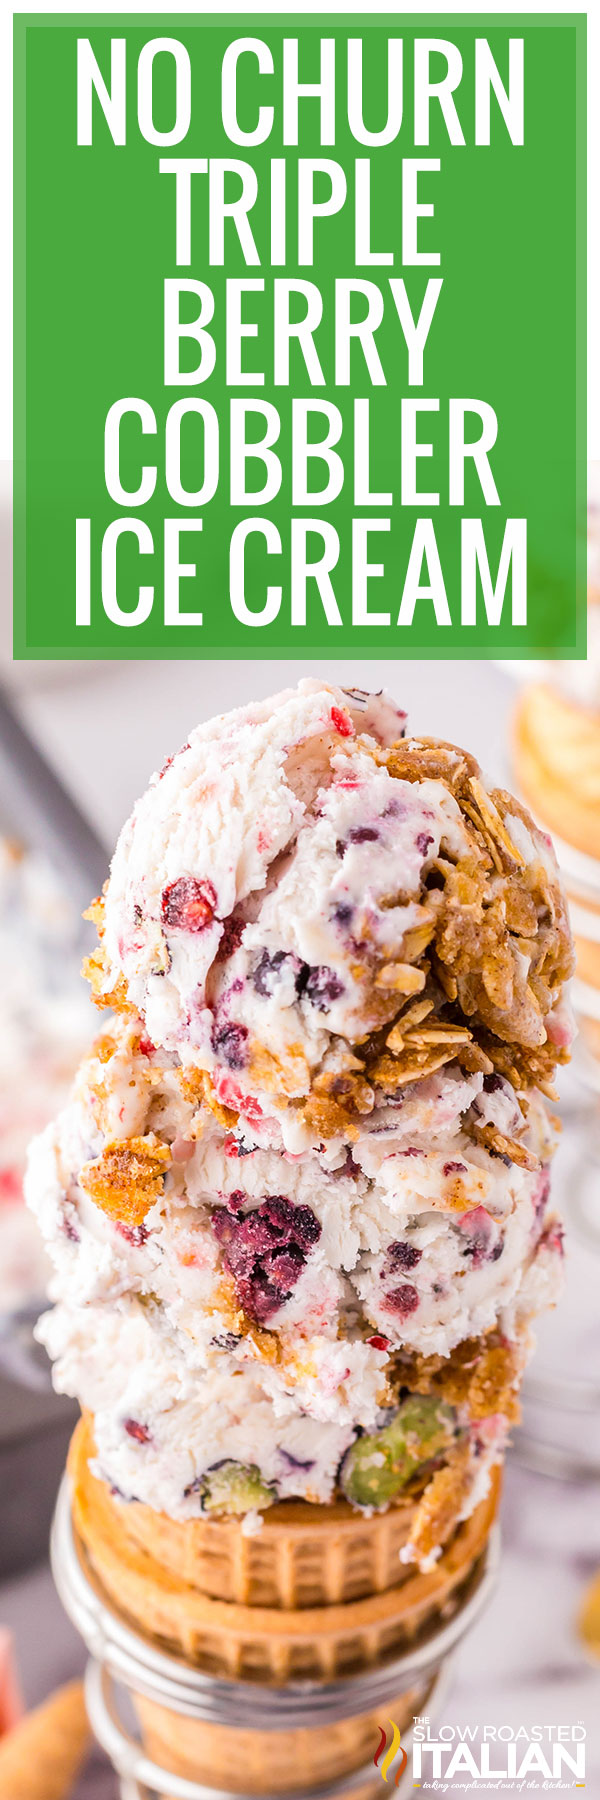
My Berry Ice Cream is made with 3 types of berries, a crunchy cobbler-inspired topping, heavy cream, and sweetened condensed milk. No churning needed — once you’ve created the batter, simply freeze for a few hours and then enjoy! This is perfect for backyard barbecues, summer celebrations, and birthday parties!!
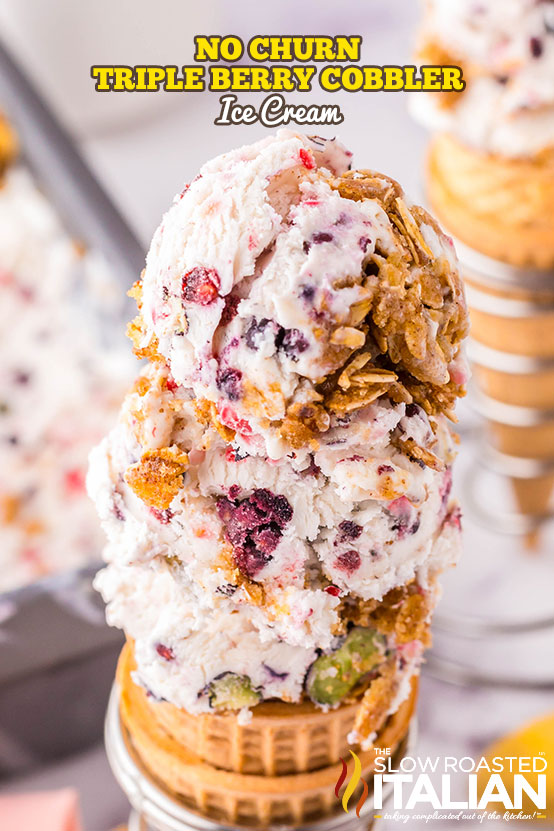
Table of Contents
Berry Ice Cream
I love making homemade ice cream — and even better if it’s no churn. No fancy machine necessary, just a good old-fashioned electric mixer and a bowl are all you need!
I have such a great collection of no-churn ice cream recipes. Maple bacon, strawberry, red white and blue vanilla for Fourth of July, and super easy ice cream in a bag are just a few.
Today I want to add to that collection with this berry ice cream with a tasty cobbler topping!!
I was inspired by my favorite blueberry cobbler for this one. I had some extra blackberries and raspberries in the fridge so I decided to throw those in too.
The result is this tasty triple berry delight!
It’s creamy, it’s fruity, and the added cobbler topping really takes the flavor to the next level.
This ice cream with berries is definitely going to be on repeat in my house all summer long!
Ingredient Notes and Substitutions
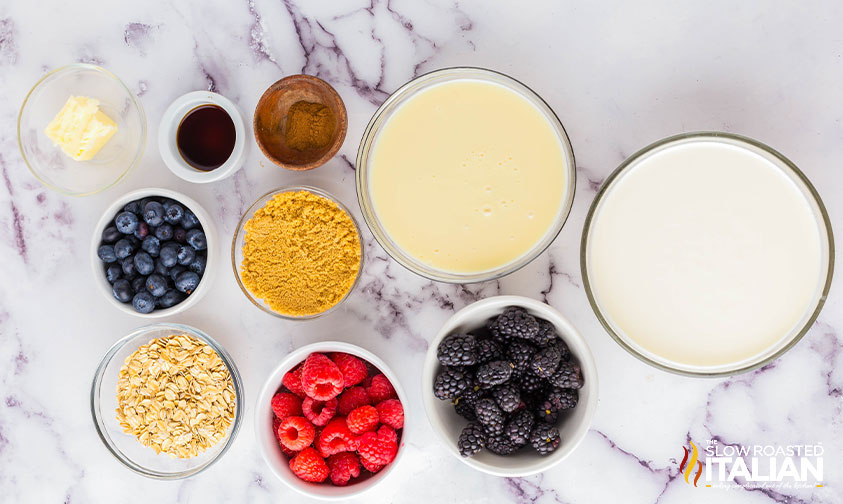
- Heavy Cream – You’ll start by creating a quick whipped cream — heavy cream has the fat content you need to make stiff peaks.
- Berries – I use blackberries, raspberries, and blueberries! I like fresh because they break down better so they’re evenly distributed throughout the ice cream.
Frozen berries will work in a pinch, but fresh is best.
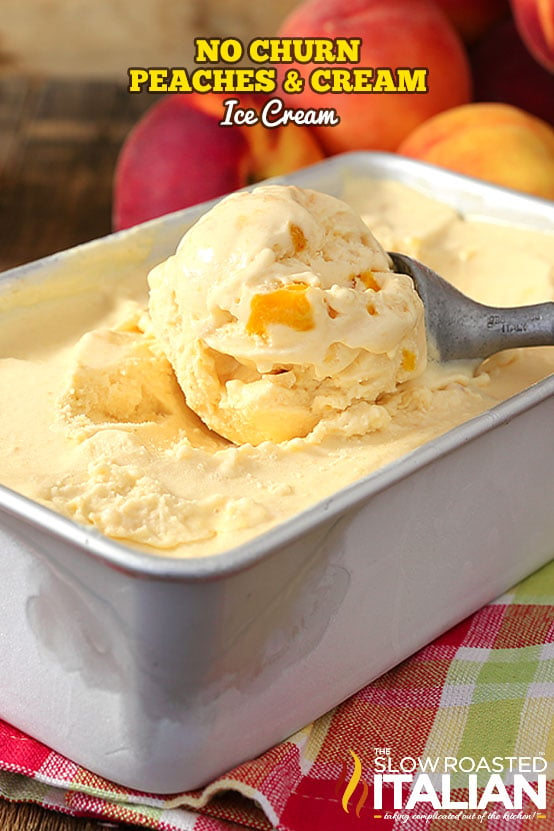
You can even add more fruit if you want. Cherries, strawberries, peaches, and apples are all great options!
- Sweetened Condensed Milk – Adds sweetness and creaminess to the mix! It also means you don’t have to make a custard base, which is usually needed to make homemade ice cream!
- Brown Sugar – This has a much more complex flavor than white sure, and the molasses-like flavor works so well in this recipe.
- Salted Butter – To create the “cobbler” component of your berry ice cream! I like salted here as it balances out the sweetness in the other ingredients.
Tips and Tricks to Make Perfect Berry Cobbler Ice Cream
- Chill your equipment.
Before whipping the cream, place the bowl and beaters for your electric hand mixer in the freezer for about 15-20 minutes.
Chilling them helps the cream whip up faster and form higher “peaks,” which helps give your berry ice cream a light and fluffy texture!
- Fold in the fruit gently.
Use a spatula and be careful not to overmix your ice cream with berries!
To keep that light and fluffy texture, you need to work gently as you fold in the berries or any other fruit you may add.
- Want an extra spice flavor?
Add ½ tablespoon of cinnamon to the heavy cream before whipping it, or when you incorporate the sweetened condensed milk and fruit into the whipped cream.
I almost always do this myself because I love warm, earthy, and spicy cinnamon. It really adds so much to the cobbler feel of this sweet treat!
- Every freezer is different.
After you’ve let your cobbler ice cream set for 5-6 hours, it’ll be ready to eat!
Now, depending on how cold your freezer is, you may need to let it sit at room temperature before scooping it.
I typically don’t have to do this, but no two freezers are the same.
Prep Ahead
- Place the bowl and beaters in the freezer
Kitchen Tools You Will Need
- Stand mixer or Large Mixing Bowl with Hand Mixer for whipping up the heavy cream.
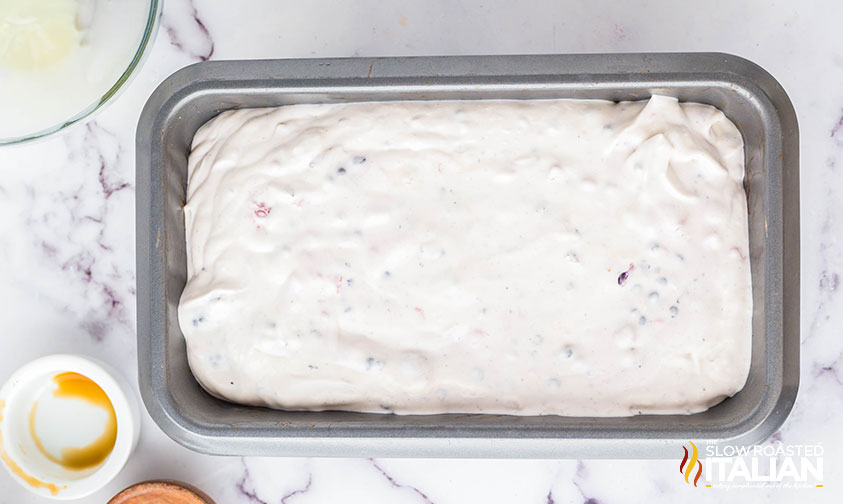
- Loaf Pan
- A sturdy silicone spatula can be used for scraping, stirring, and smoothing and is easy to clean too!
Serving Suggestions
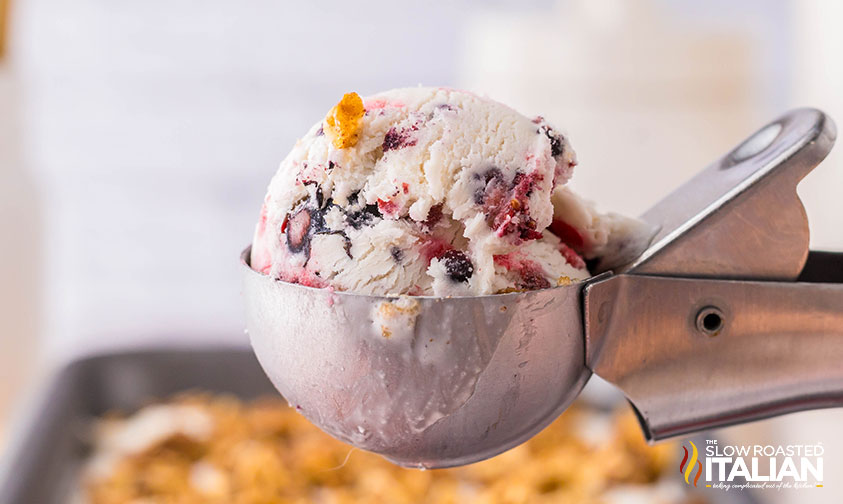
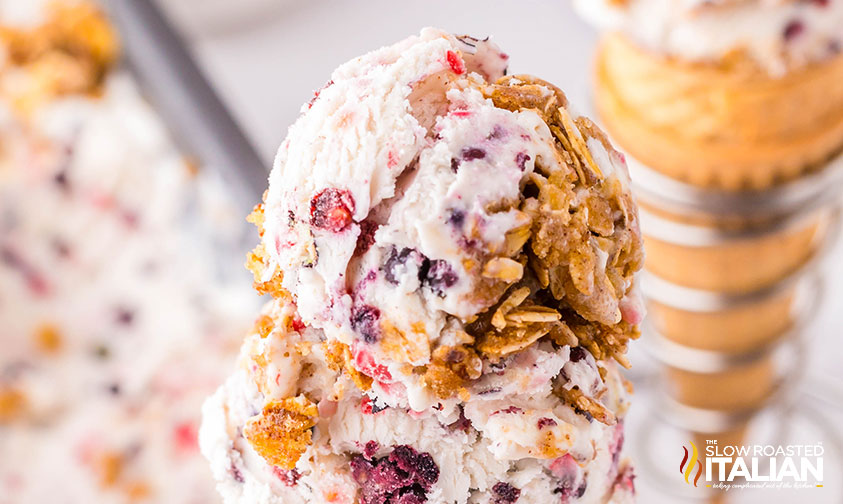
This no churn ice cream with berries has the same texture as regular ice cream and scoops just the same! Serve in a bowl or a cone.
I have so many other homemade ice cream recipes up on the site — make a few along different flavors to keep in the freezer, or create a fun ice cream bar for a party.
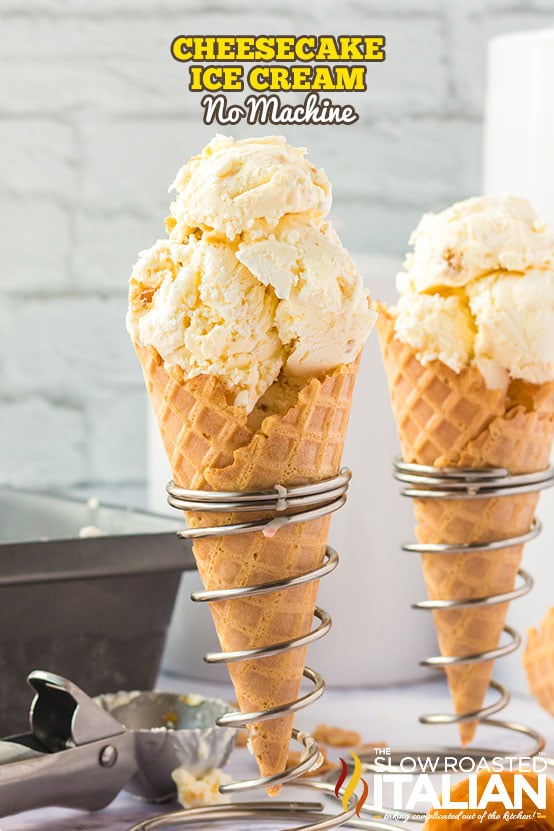
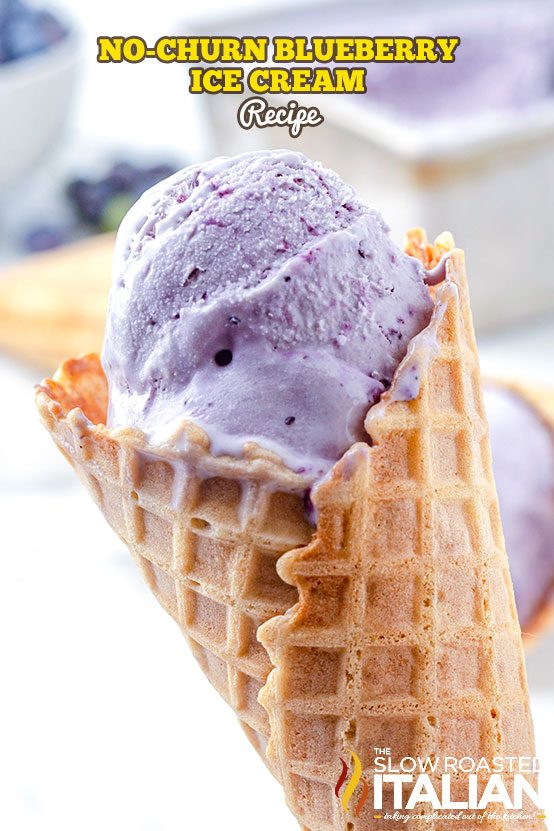
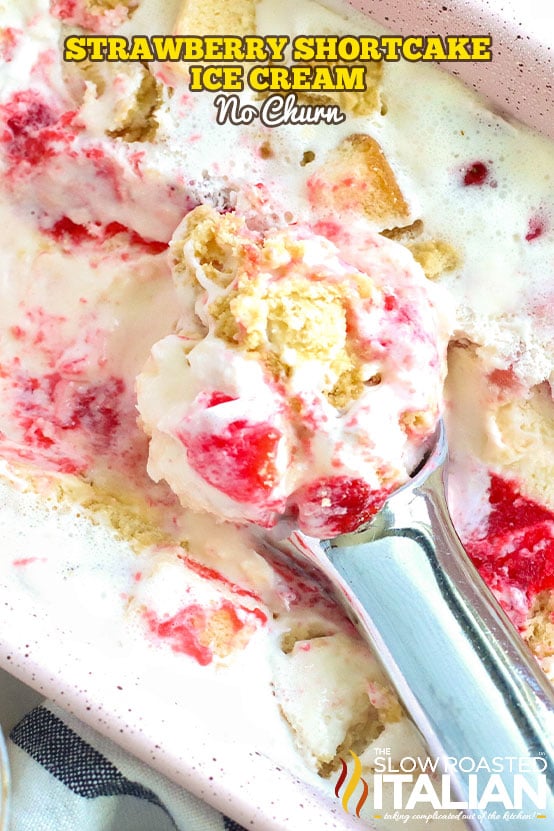
Triple berry ice cream would pair really well with cheesecake, blueberry, peaches and cream, and strawberry shortcake flavors!
Storing Ice Cream with Berries
You can store your triple berry ice cream in the loaf pan tightly wrapped in plastic, or you can transfer it to an airtight container.
Homemade berry and cobbler ice cream will keep for about 2 months!
Berry Ice Cream FAQ
Absolutely! I use fresh fruit in my triple berry ice cream recipe — blackberries, raspberries, and blueberries to be exact. And as mentioned, feel free to add in some of your other favorites if you’d like.
I personally always use heavy cream because of the higher fat content — it whips up so much better!
That said, you could use half-and-half as a replacement. The key is to use something with fat in it.
Here’s another reason to make sure to use ingredients with a higher fat content. If there isn’t enough fat, the ice cream will end up separating and going icy as it freezes.
The same if you don’t use enough sugar — in my recipe, the sweetened condensed milk provides both extra fat and sugar. That, along with the heavy cream, means you shouldn’t run into icy results.
Enjoy!
With love, from our simple kitchen to yours.
Don’t miss a thing! Follow us on
Facebook | Twitter | Pinterest | Instagram
No Churn Triple Berry Cobbler Ice Cream
Ingredients
- 2 cups heavy cream
- 1 tablespoon vanilla extract
- 14 ounce can sweetened condensed milk
- 1 cup blackberries
- 1 cup raspberries
- 1/2 cup blueberries
- 2 tablespoons salted butter
- 1/2 cup brown sugar
- 1/2 cup old fashioned oats
- 2 teaspoons ground cinnamon
Instructions
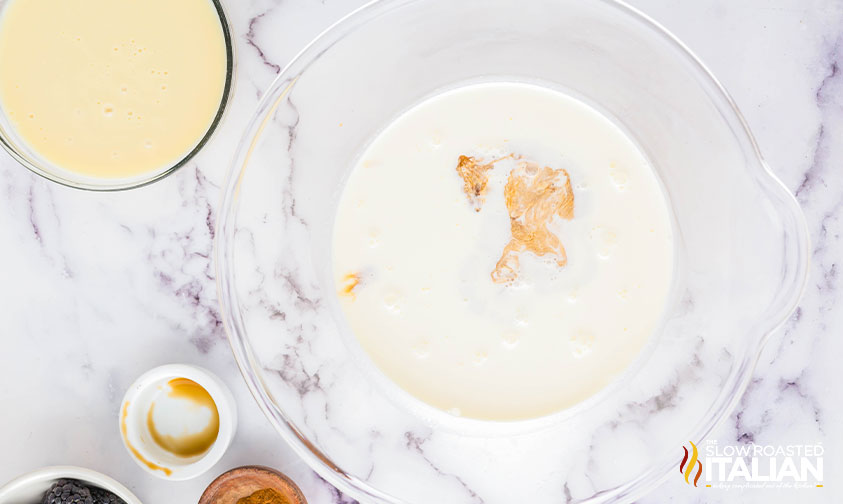
- Use an electric hand mixer to combine the cream and vanilla in a large mixing bowl. Whip the cream on high speed until stiff peaks begin to form.
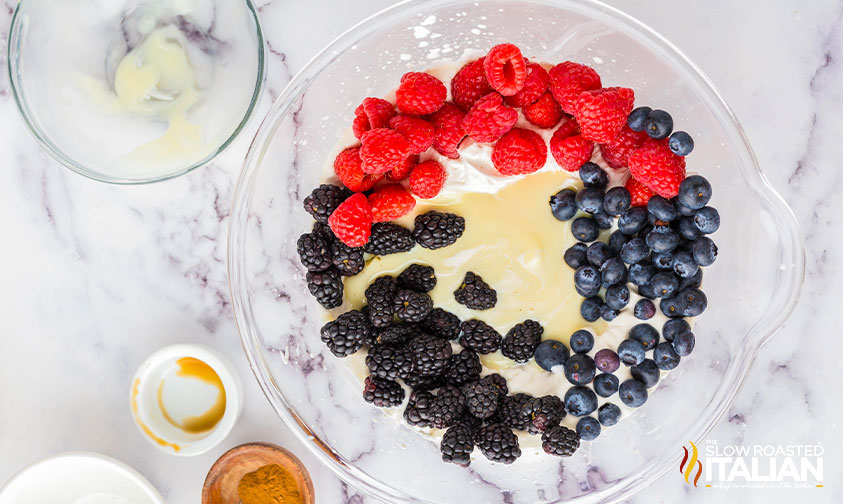
- Once your whipped cream forms stiff peaks, lower the speed of your hand mixer and mix in the sweetened condensed milk, blackberries, raspberries, and blueberries. Mix until the fruit is evenly distributed throughout the ice cream.
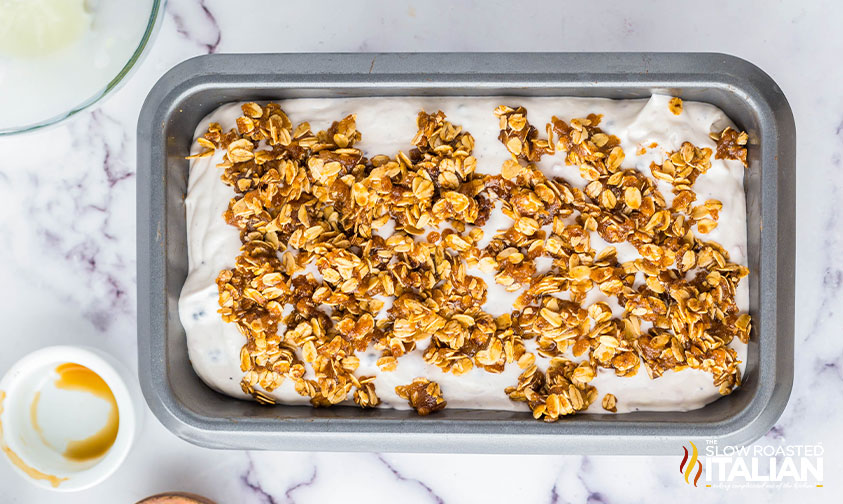
- In a small microwave safe bowl, melt the butter and then stir in the oats, brown sugar, and cinnamon. The oat mixture should resemble wet sand.
- Transfer your ice cream to a 9×5 inch loaf pan and sprinkle the oat mixture on top. Cover your ice cream with plastic wrap and set it in the fridge for 5-6 hours, or until the center of the ice cream is firmly set.
- Scoop, serve, and enjoy!
Donna’s Notes
Nutrition
All nutritional information is based on third party calculations and is only an estimate. Each recipe’s nutritional value will vary depending on the ingredients used, measuring methods, and portion sizes.
Originally published July 2024
Disclosure: Posts may contain affiliate links. If you purchase a product through an affiliate link your price will remain the same and The Slow Roasted Italian will automatically receive a small commission. Thank you for supporting us, it helps us keep creating new recipes.









The perfect summer treat. Creamy, fruity, and super simple to whip up.
Hi Delilah!
We’re so glad you enjoyed.
TSRI Team Member,
Devlyn