Peppermint Kiss Cookies
This post may contain affiliate links. Please read my disclosure policy.
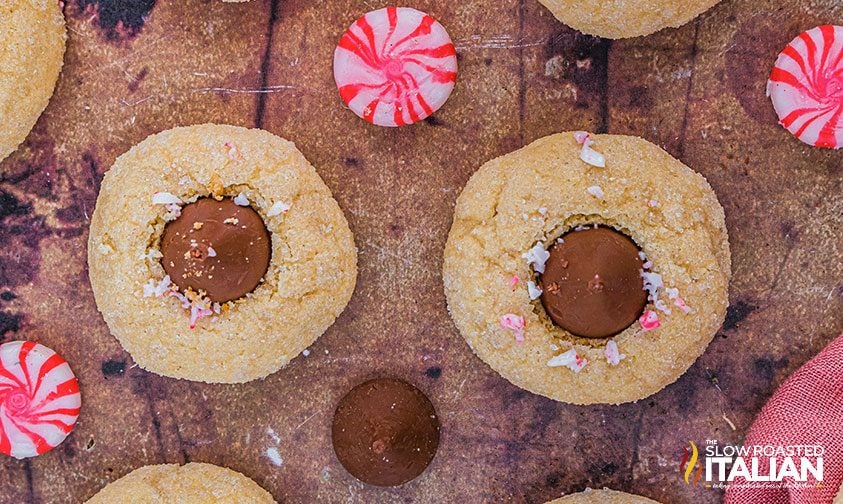
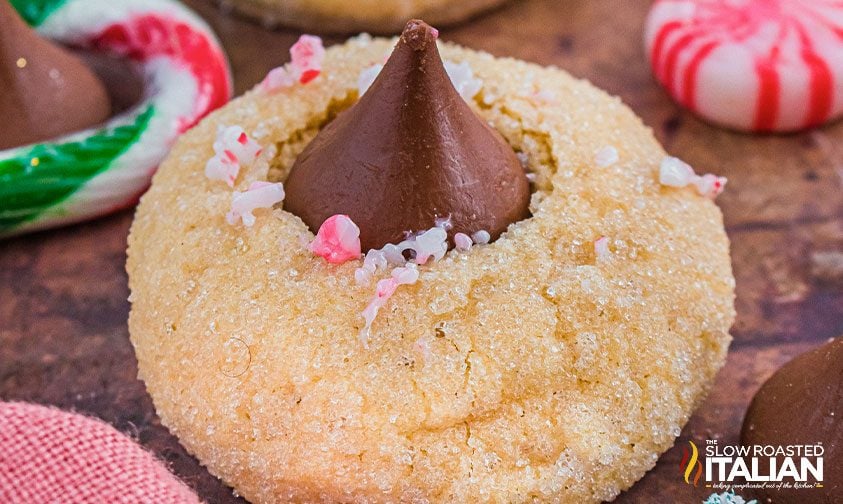
These peppermint kiss cookies elegantly marry delectable mint and chocolate flavors. Make a batch for a holiday party or leave some out for Santa!
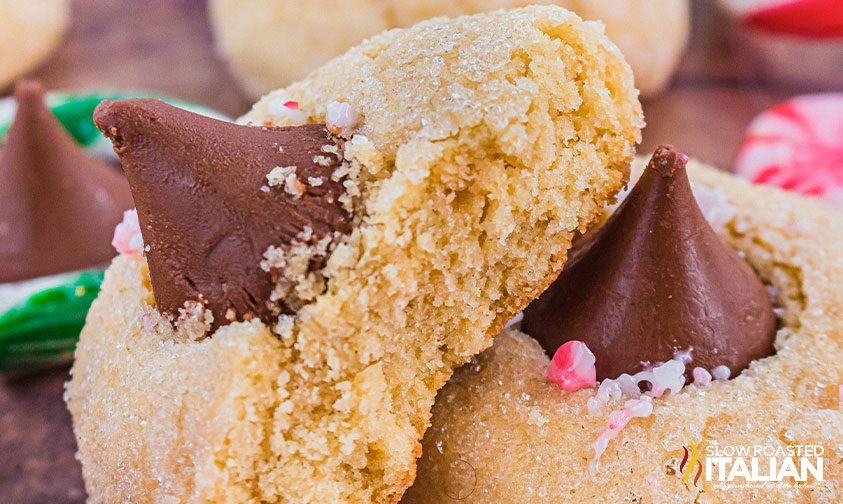
Get in the holiday spirit with a big batch of these freshly baked peppermint cookies. They are crisp and minty on the outside and soft and sweet in the center.
This recipe will surely become a cookie swap favorite once everyone gets a taste!
If you have leftover candy canes, bake up some tender crinkle cookies or try your hand at these festive mini cheesecakes.
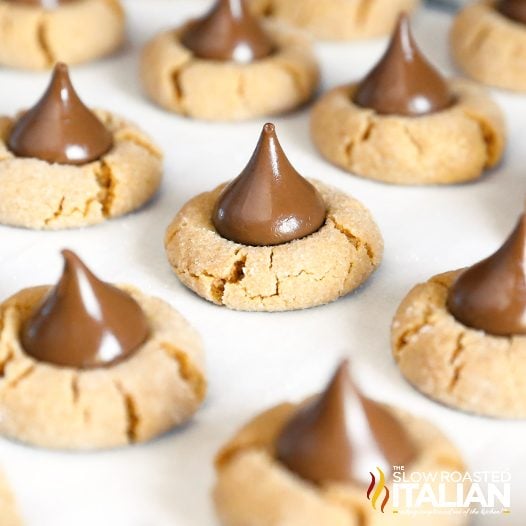
Not a big fan of mint flavoring? Stick with the classic Peanut Blossoms instead! They are incredibly easy to make, and you only need 4 simple ingredients.
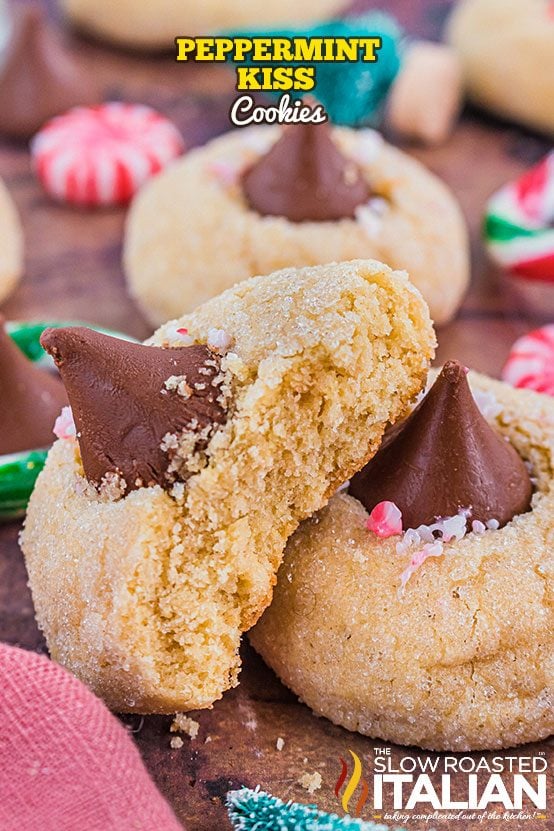
Table of Contents
Peppermint Kiss Cookies – Tips and Tricks
- Don’t overbake! Pull the trays out as soon as the edges start to brown. The centers will be the perfect consistency to gently push your chocolate kisses into the center. As the treats cool, the centers and the chocolates will set up just right.
- Make them gluten free: You can use any gluten free all-purpose flour with this recipe, and they will still turn out delicious!
- Need to make a bigger batch? Simply double or triple all of the ingredients according to the amount you need.
- How to avoid sticky dough: Continue adding flour until the dough is tacky, meaning it doesn’t stick to your fingers when you touch it.

Flavor Variations
If you’re a mint fanatic, you can increase the amount of peppermint extract to 1 tablespoon.
Another option is to use mint flavored kisses instead of plain chocolate. Or, you can crush up some candy cane to garnish the tops of the peppermint cookies at the end!
Kitchen Tools You Will Need
- Mixing Bowls – I like to have a variety of sizes on hand, and this set has them all.
- Electric Hand Mixer – I’ve had this one in my kitchen forever and it still works beautifully.
- Baking Sheets lined with parchment paper
- 1 Tablespoon Scoop – This not only makes scooping easier, but it guarantees that all of your peppermint kiss cookies are the same size.
- Cooling Racks – Cool a large batch of treats without taking up a lot of counter space.
FAQ – Common Recipe Questions
Can I make the dough ahead of time?
Yes! This recipe calls for the dough to be refrigerated for 2 hours before baking, so you can definitely prepare it in advance.
If you’re doing a lot of baking, you can wrap the dough tightly in plastic and refrigerate it for up to 24 hours as well.
How do I store my peppermint kiss cookies?
These will stay fresh for 2 to 3 weeks when stored in an airtight container. No need to refrigerate them – they are fine on the counter.
How can I ship these to friends and family?
We got this cookie shipping tip from our friend who owns a bakery, and it works very well!
Package them in individual cookie bags and tape them to a piece of cardboard. Wrap the cardboard in bubble wrap, then stack multiple layers of treats in a container to send to your loved ones!
Enjoy!
Get Free Recipes Sent to Your Email
Do you ❤️ TSRI? Don’t miss another recipe!
Subscribe to The Slow Roasted Italian by email to receive new recipes in your inbox!!
Don’t miss a thing! Follow us on Facebook | Twitter | Pinterest | Instagram ❤ ❤ ❤

Peppermint Kiss Cookies
Ingredients
- 2 cups all-purpose flour
- 1 teaspoon baking powder
- 1/4 teaspoon salt
- 1 1/4 cups granulated sugar, divided
- 12 tablespoons unsalted butter, 1-1/2 sticks, softened
- 1/4 cup packed light brown sugar
- 1 large egg, room temperature
- 1 teaspoon pure vanilla extract
- 1 teaspoon peppermint extract
- 20-24 Hershey’s milk chocolate kisses
- Extra sugar for rolling cookie dough balls in
- Optional garnish: crushed peppermint candy
Instructions
- In a medium mixing bowl, combine flour, baking powder and salt. Place 1/2 cup of granulated sugar in a small bowl. Set aside.
- In another bowl, using an electric mixer, cream the butter, the remaining 3/4 cup granulated sugar and the light brown sugar until light and fluffy.
- Add the egg and both extracts. Mix until combined.
- Add the dry ingredients to wet ingredients. Mix until just combined.
- Lay out plastic wrap on the counter and scoop dough onto plastic wrap. Wrap the plastic around the dough. Place in the refrigerator for 2 hours.
- Preheat the oven to 350°F and line a large baking tray with parchment paper.
- Scoop dough with a 1 -½ tablespoon ice cream scoop. Once the dough is all scooped, roll the dough between your hands to form a ball.
- Toss each dough ball in the sugar until coated. PLace the dough balls onto the prepared tray, 2 inches apart.
- Bake in the preheated oven for about 8-10 minutes
- Remove from the oven, cool on a rack for 2 minutes, then press the Hershey kisses into the center of the cookies.
- Continue to cool on a wire rack to room temperature.
- Garnish with crushed peppermint candy (optional)
Nutrition
All nutritional information is based on third party calculations and is only an estimate. Each recipe’s nutritional value will vary depending on the ingredients used, measuring methods, and portion sizes.

Originally published November 2021

Disclosure: Posts may contain affiliate links. If you purchase a product through an affiliate link your price will remain the same and The Slow Roasted Italian will automatically receive a small commission. Thank you for supporting us, it helps us keep creating new recipes.








These came out so sweet, airy, and delicious! This recipe will have to be included in my holiday baking this year!