Raspberry Hot Cocoa Bomb Recipe
This post may contain affiliate links. Please read my disclosure policy.
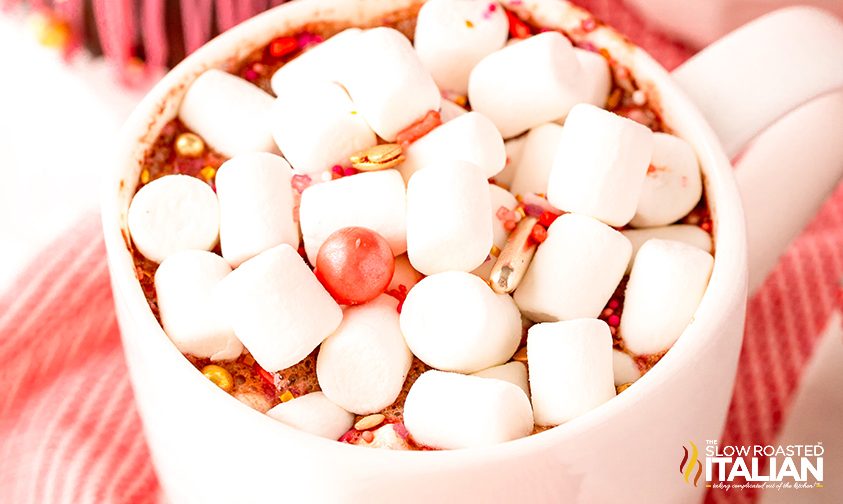
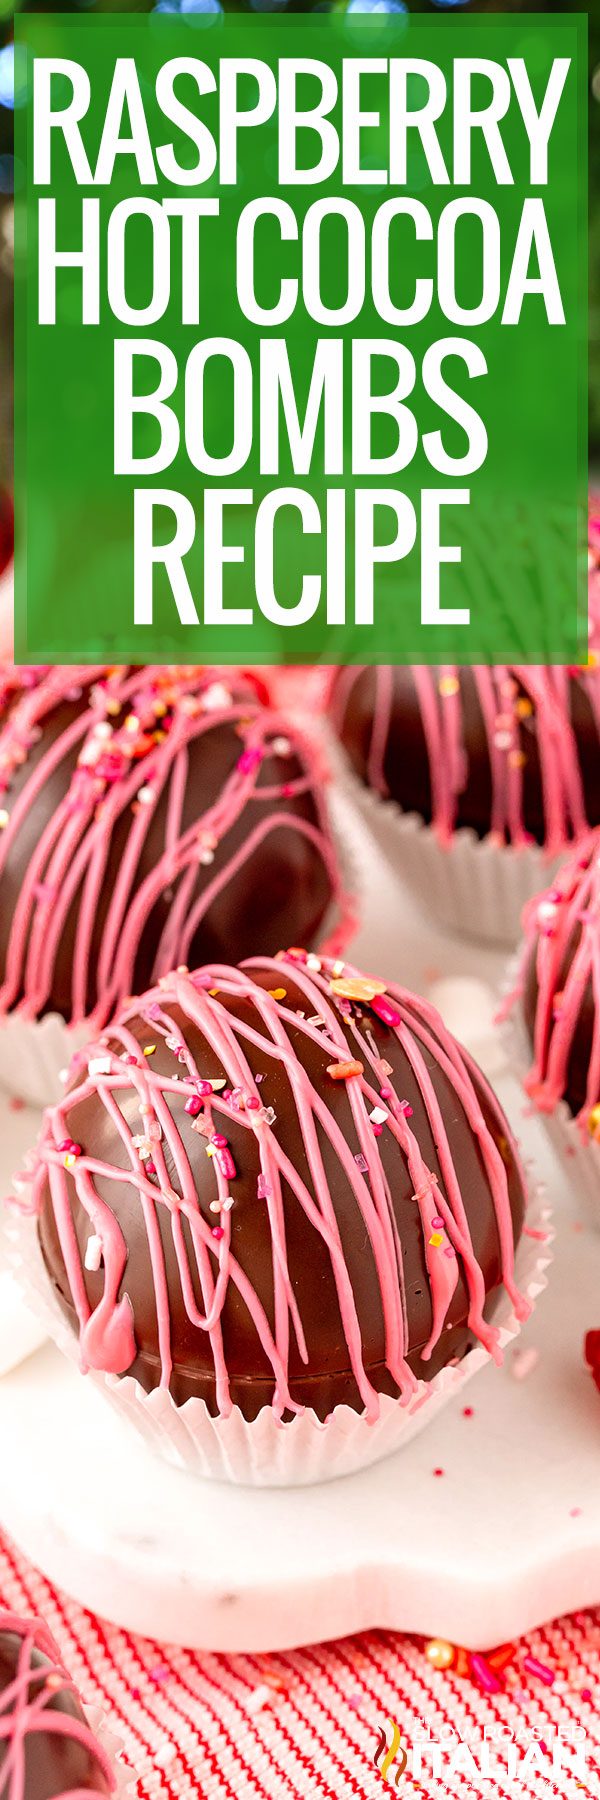
Raspberry hot cocoa bombs are filled with raspberry hot chocolate and lots of marshmallows. Try my raspberry-flavored hot cocoa bomb recipe today.
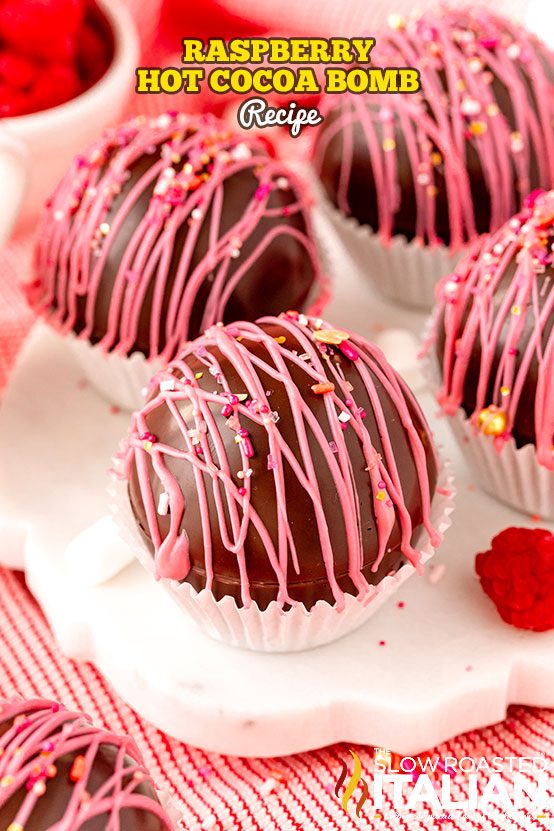
Add a decadent ball of raspberry chocolate to your mug and fill it with steaming milk. Then, watch the chocolate ball dissolve before your eyes and enjoy this chocolatey treat.
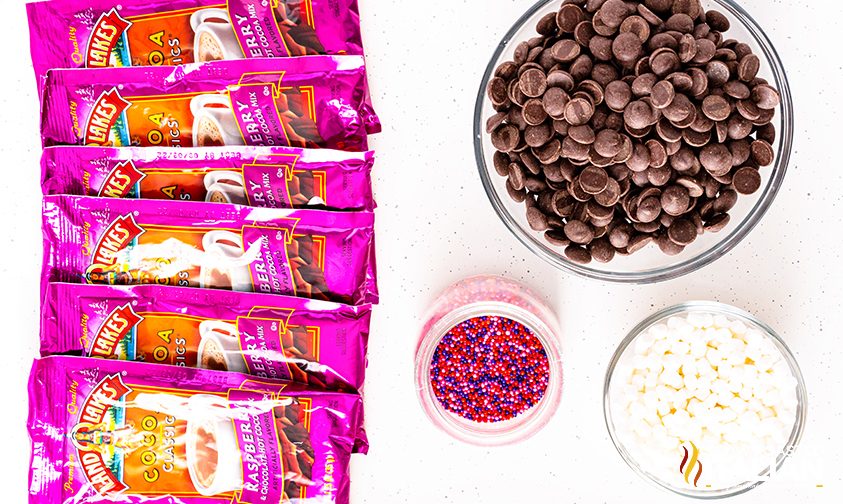
Table of Contents
Raspberry Hot Cocoa Bombs
In no time at all, you can create your very own hot cocoa balls. Just follow these easy steps to get started.
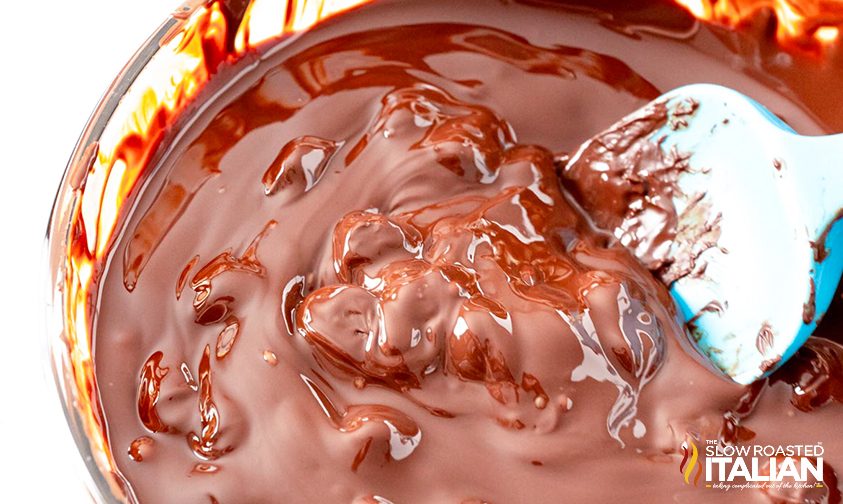
- Microwave your chocolate until it is smooth and completely melted.
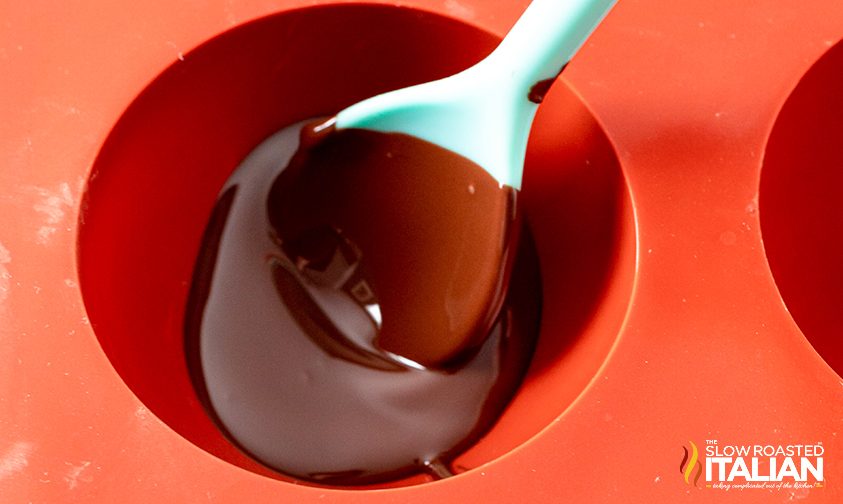
- Carefully, spoon a tablespoon of chocolate into your mold. Be careful to coat the entire mold with chocolate.
- Place them in the refrigerator until they harden completely.
- Remove the chocolate shells carefully from the mold so that they don’t break or crack.
- Microwave a flat plate until it is hot. Then, place the halves of each chocolate shell against the plate to melt the edges.
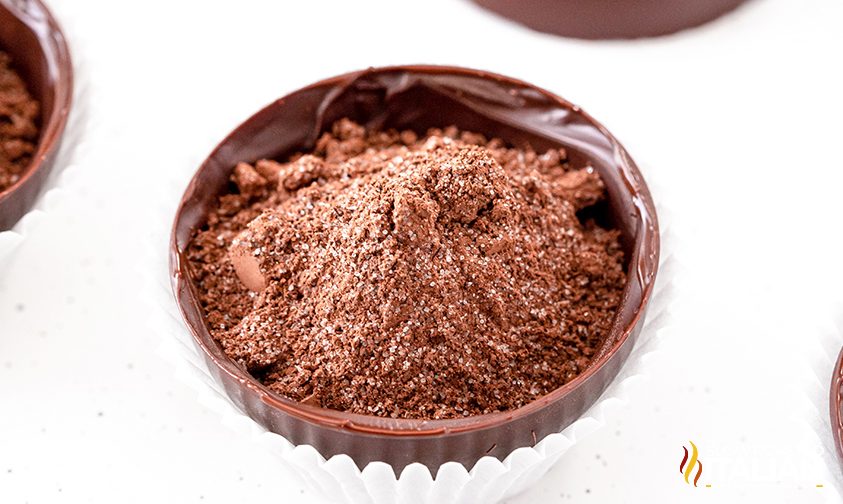
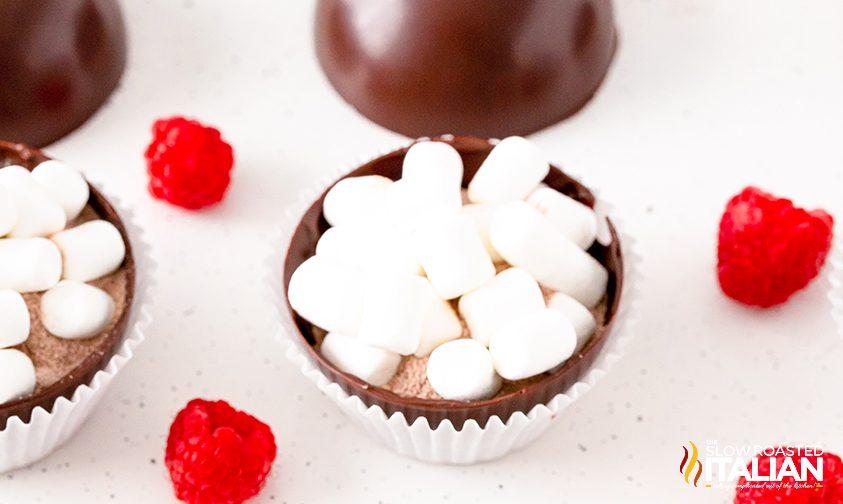
- Fill the chocolate shell with hot cocoa mix and marshmallows.
- Press the two halves together until they stick.
- Refrigerate them for at least 10 minutes until they harden.
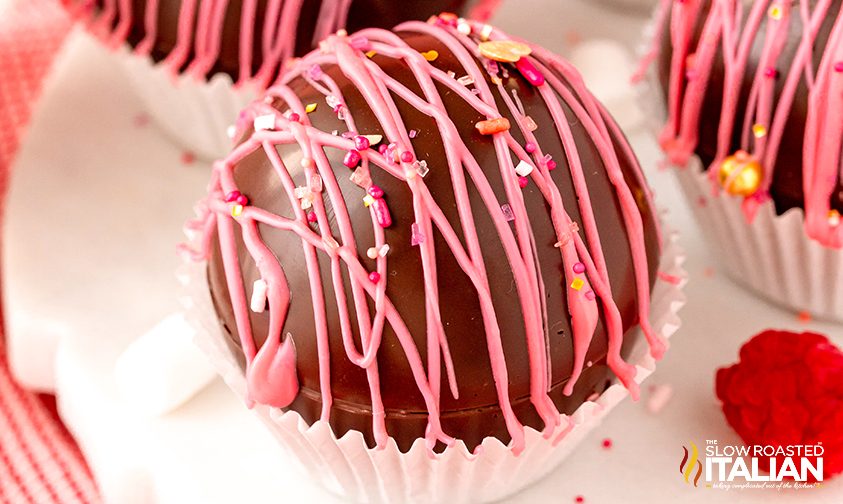
- Remove them from the refrigerator and decorate with a drizzle of melted chocolate and red or pink sprinkles.
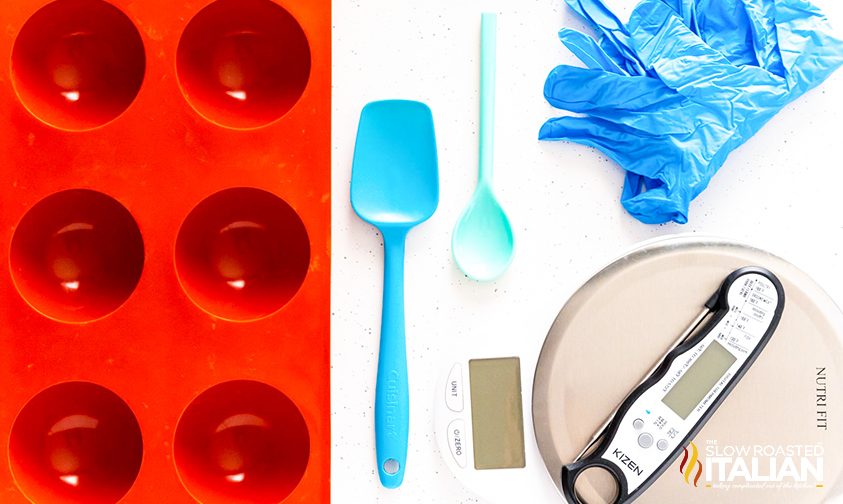
Kitchen Tools You Will Need
- 12 ounces couverture chocolate morsels or finely chopped high-quality chocolate such as Ghirardelli baking chocolate, divided – see notes
- Silicone sphere molds to make your hot chocolate bombs. Silicone is the easiest type of mold to use. But, if you have experience making hot cocoa bombs, you can use an acrylic mold as well.
- Instant read kitchen thermometer for tempering the chocolate
- Nitrile food prep gloves
- Food scale
- Medium bowl
- Rubber spatula
- Small baking sheet
- Cupcake liners to hold the bombs in, optional
- Spoon or clean food paintbrush
FAQ
What type of chocolate is best for hot cocoa bombs?
I’ve tried this hot cocoa bomb recipe with several different types of chocolate to see which one has the best results. You need to look for high-quality or couverture chocolate if you want this recipe to be successful.
Melting wafers and chocolate chips have additives in them. And, this will impact the quality of your hot cocoa bombs.
When you make this hot cocoa bomb recipe, you will need to look for chocolate that is between 55% and 80% cocoa.
If you look at the ingredients list on the label, you will need to see cocoa butter as the first ingredient.
Do you use milk or water for hot cocoa bombs?
For the best results, you will want to use milk when you make these. So, when you are choosing your hot chocolate mix, make sure that it can be made with milk and not just with water.
Why do I need to wear gloves when I make these?
Wearing gloves when you work with chocolate can help prevent fingerprints from forming on the balls.
If you do touch the melted chocolate, there will just be a flat imprint against the side rather than a fingerprint.
Can I use a smaller mold?
Yes, you can use a smaller hot cocoa bomb mold if you want to. This will make a big mug of hot chocolate.
If you want a smaller mug, you can use a smaller mold. Just remember that you will need to adjust how much hot chocolate mix you use in each one to account for the smaller size.
How do you use cocoa bombs?
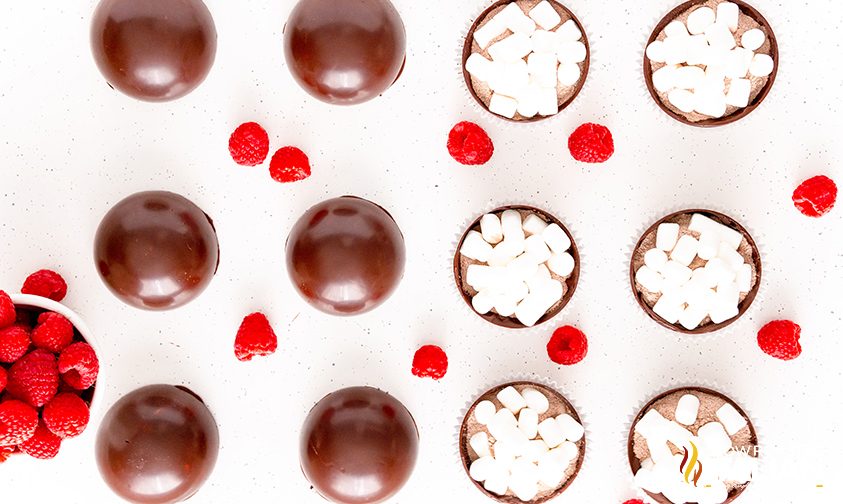
This hot cocoa bomb recipe will make 6 chocolate bombs. Each ball is filled with hot chocolate and marshmallows.
The total number of bombs you get will depend on the size of the mold that you use. If you want to get 6, you can use the one that I have linked to.
When you place the cocoa bomb into a mug and pour hot milk over it, the chocolate melts and releases the marshmallows and the cocoa inside.
It’s a fun way to make a mug of hot chocolate.
Other Hot Chocolate Recipes
If you have enjoyed this hot cocoa bomb recipe, you might want to try a few of these next.
Frozen Hot Chocolate is amazing. It is cool, refreshing, and as comforting as a decadent cup of hot chocolate in the winter. It is a must-try!
Mexican Hot Chocolate Brownies come together so simply with ingredients you already have in your pantry! It is a rich and fudgy chocolate brownie with a little kick.
Hot Fudge Recipe is unlike any other recipe you have tried. Double the chocolate and made with creamy, sweet milk chocolate, sugar, cream, butter, and vanilla.
Enjoy!
With love from our simple kitchen to yours.
Get Free Recipes Sent to Your Email
Do you ❤️ TSRI? Don’t miss another recipe!
Subscribe to The Slow Roasted Italian by email to receive new recipes in your inbox!!
Don’t miss a thing! Follow us on Facebook | Twitter | Pinterest | Instagram ❤ ❤ ❤

Raspberry Hot Cocoa Bombs
Ingredients
- 12 ounces couverture chocolate, divided – See Notes
- 3/4 cup raspberry hot chocolate mix, See Notes
- mini marshmallows
- sprinkles, optional
- 8 ounces whole milk, or milk of choice for serving
Instructions
- Place 5 ounces of the chocolate in a medium bowl microwave safe bowl and microwave for 30 seconds, remove and stir. Then microwave at 15-second intervals, stirring completely and scraping the sides of the bowl with a rubber spatula between each one, until almost completely melted.
- Continue to stir so that the heat of the chocolate melts the unmelted pieces. Check the temperature to make sure that the chocolate is between 88 and 90°F. If it goes over 90 degrees, stir in an additional ounce of chocolate until melted to bring it back down to 88 to 90 degrees. If you are using two molds, you can do 10 ounces then add in 2 ounces, if needed.
- You don’t want that chocolate to sit too long and have to be reheated again if you only have one mold. If you do not temper the chocolate with a thermometer and this process, the chocolate can turn out chalky or discolored instead of shiny.
- Spoon about 1 tablespoon of melted chocolate into each mold and use the back of the spoon to spread it around evenly, make sure to get all the way to the top of the rim and not leave any uncoated areas. Place the mold on the small baking sheet and refrigerate for 5 minutes.
- Remove from the refrigerator and spoon another heaping spoonful into the molds one at a time (do not add chocolate to each cavity at once because it will start to cool too quickly and become thick, gritty, and hard to work with). Use the back of the spoon to work the second layer of chocolate around making sure to build up the edges around the rim, you want a thicker edge to ensure they don’t crack. Freeze for 10 minutes.
- Remove the molds from the freezer and put on the food-safe gloves. Remove the chocolate shells from the molds. Repeat steps 1 – 4 if using a single mold.
- Once all of your shells are made, microwave a flat plate in the microwave for 2 minutes, then place 6 of the 12 halves on the plate one at a time using a gloved hand to gently spin them to smooth the edges then place round side down in a regular-sized cupcake liner on your work surface. Wipe off the plate.
- Fill the cavities with a packet of hot cocoa mix and marshmallows.
- Reheat the plate for 2 minutes in the microwave. Then repeat the process with the other 6 halves and place them on top of the cocoa filled halves and gently press to seal.
- Let the hot chocolate bombs set for a few minutes then top with a drizzle of chocolate and sprinkles, if desired.
- To serve the hot chocolate bombs, heat the milk in a small saucepan over medium heat just until the edges begin to bubble the remove and pour over a hot chocolate bomb in a large mug and stir until fully mixed.
Donna’s Notes
- You can use a brush to paint the chocolate into the molds, this definitely gives you more control but I found that you need an extra layer because the layers are so thin which means more prep time. I much preferred using a small rounded spoon.
- Another option for sealing the molds is to pipe a thin line of chocolate around the rim of the filled cup and then top with the other half and roll the melted chocolate in sprinkles. But I much preferred the look of the plate method.
- Gloves can help not leave fingerprints on the spheres, however, be sure not to grab the hot plate with your gloved hand and then touch the spheres or it will leave a mark.
- These are best consumed right after making or within 24 hours.
- Silicone molds have a tendency to attract lint, so I would avoid drying them with a dishcloth. Instead, let them air dry or pat with a paper towel.
- Acrylic molds can also be used but I have not tested the recipe with them.
Nutrition
All nutritional information is based on third party calculations and is only an estimate. Each recipe’s nutritional value will vary depending on the ingredients used, measuring methods, and portion sizes.
Originally published February 2021

Disclosure: Posts may contain affiliate links. If you purchase a product through an affiliate link your price will remain the same and The Slow Roasted Italian will automatically receive a small commission. Thank you for supporting us, it helps us keep creating new recipes.






These look so good. I might have missed this in your post but can you tell me how you made the pink glaze?
They are delicious and a nice change for hot cocoa!