Easy Amish Bread + Video
This post may contain affiliate links. Please read my disclosure policy.
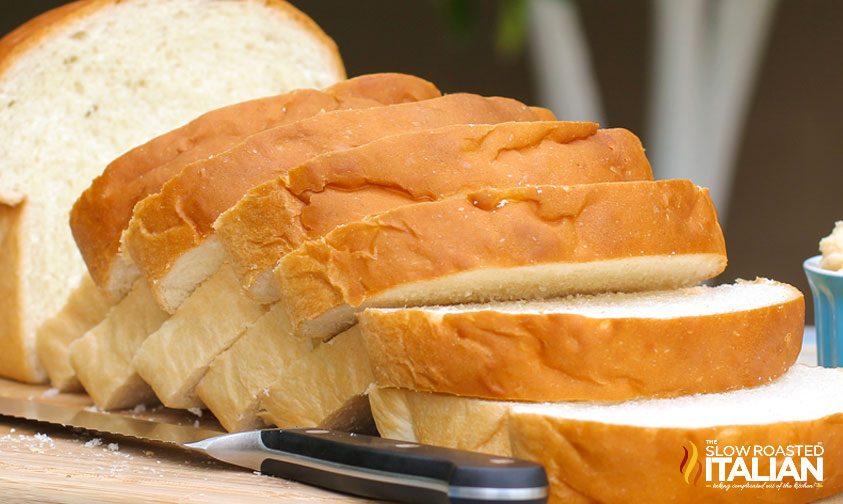
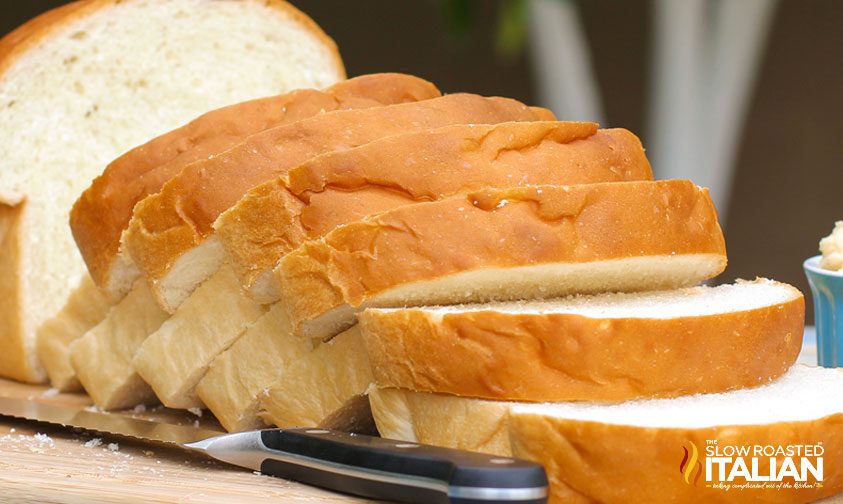
4-Ingredient Amish Bread creates a soft and tender, slightly sweet white bread. It’s so easy to make, it’s nearly impossible to mess up! After just one bite, you’ll know this Amish white bread recipe is a keeper!
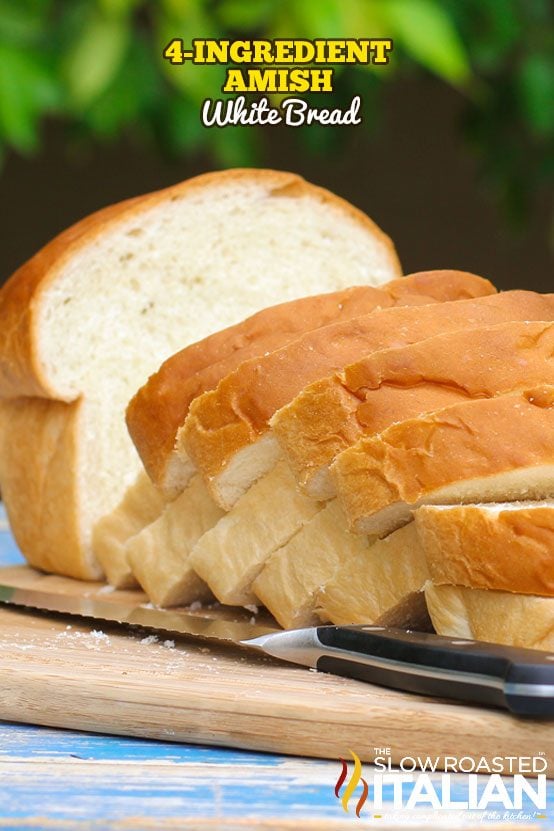
Table of Contents
Amish Bread
There is just something about making your own bread. It is unlike any other “domestic” task. It is especially wonderful when it’s this simple!
With this easy sandwich bread recipe, you can enjoy perfectly fluffy, slightly sweet white sandwich bread in 2 hours.
No special machine is required, though a stand mixer will save you some time and effort!
Slice up your freshly baked loaf for toast and sandwiches, or use the dough as a base for cinnamon swirl bread.
Recipe Video
To see us make this Amish white bread recipe from start to finish, watch the video in this post!
Ingredient Notes and Substitutions
- Warm Water – You could also use milk or beer — both tasty options. Just be sure to warm the liquid in the microwave until it feels warm to the touch.
If you have a cooking thermometer, that’s even better! For the best rise, you want the liquid at a temperature of 110°F. - All-purpose Flour – Do not use bread flour or whole wheat flour, as they are much heavier than AP flour. This can cause your Amish white bread to be dense and doughy.
- Granulated Sugar – This easy sandwich bread recipe is very forgiving. You can adjust the sugar up or down according to your preference.
You can also substitute another sweetener — honey is a great choice. - Salt – Fine grain kosher salt is the best for bread recipes like this one.
- Butter – I personally prefer unsalted butter so I can add the salt to my liking. If you use salted butter, cut down the salt in the recipe by 1/4 teaspoon.
Amish White Bread Recipe Tips and Tricks
- Shape the dough twice.
For the first rise, fold the sides of the dough over into the middle, then flip the dough over.
Cup your hands along the right and left sides of the dough and pull it toward you. Rotate the dough a quarter turn and repeat. After about 10 times, you will have a nice smooth dough.
Before the second rise, place divided dough on a lightly floured countertop. Pat one of the halves into an oval.
Fold the top third of the dough into the middle, then use the heel of your hand to press the top layer into the bottom layer. Repeat with the bottom third, like you are folding a letter.
Then, fold the dough in half. Pull the ends down and tuck under like a package to make a smooth loaf. Nestle into a loaf pan and repeat with the other dough half.
- Create a shiny, golden brown crust.
Whisk together a whole egg and 1 tablespoon water, then brush the mixture over the top of the Amish bread loaf before it goes in the oven.
If the top starts to brown too quickly, loosely tent it with aluminum foil until the loaf is finished baking.
- Testing for doneness.
Your Amish white bread should be a pale golden color when it’s done — unless you added the egg wash.
Once it’s out of the pan, turn the loaf over and tap it. It should sound hollow if it’s cooked through.
Storing and Freezing Amish White Bread
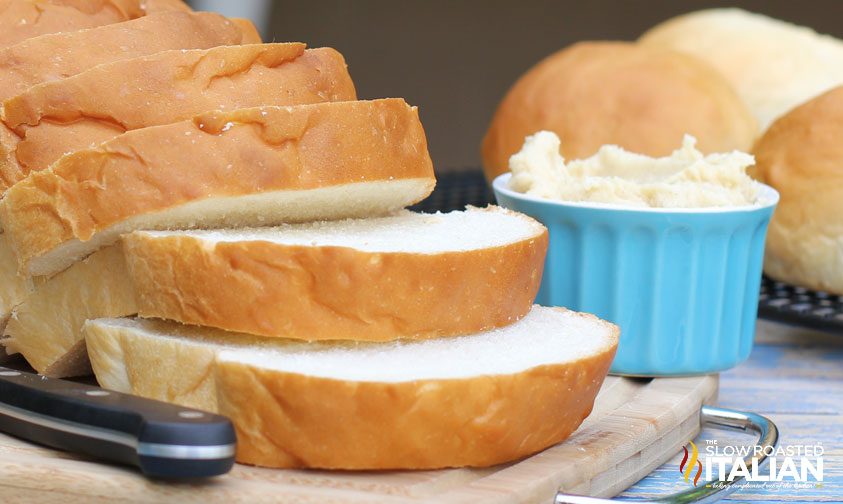
Homemade Amish white bread will stay fresh for 4 to 5 days at room temperature. It’s still safe to eat after that time, but it will most likely be stale by then.
To store the bread after slicing, place it in a paper bag. Be sure to remove as much air as possible before tightly closing up the bag.
You can also freeze this bread for up to 6 months. I recommend slicing it first, adding a piece of parchment between each slice. Freeze in a zip-top bag or tightly wrapped in foil.
This way, you can thaw just what you need — plus sliced bread thaws faster than a whole loaf!
Kitchen Tools You Will Need
- Stand Mixer
- Bread Pans – This Amish bread recipe will give you two loaves of bread, so be sure you have two standard-sized loaf pans.
- Large Mixing Bowl
Amish Bread Recipe FAQ
How do you make Amish bread without a mixer?
Add water, yeast, and sugar to a large bowl. Once the yeast blooms stir in the butter, salt, and flour using a wooden spoon.
Turn the dough out onto a floured countertop and knead for 10-12 minutes until the dough is no longer sticky and holds its shape (when you poke it, it springs back).
Proceed with the recipe as instructed.
Is kneading with a mixer the same as by hand?
While not quite the same, it’s certainly more efficient and less tiring!
Modern mixers often come with a dough hook, mimicking the motion created with hand kneading.
You may miss out on some of the air pockets that give hand-kneaded bread its incredible texture, but the difference is barely noticeable.
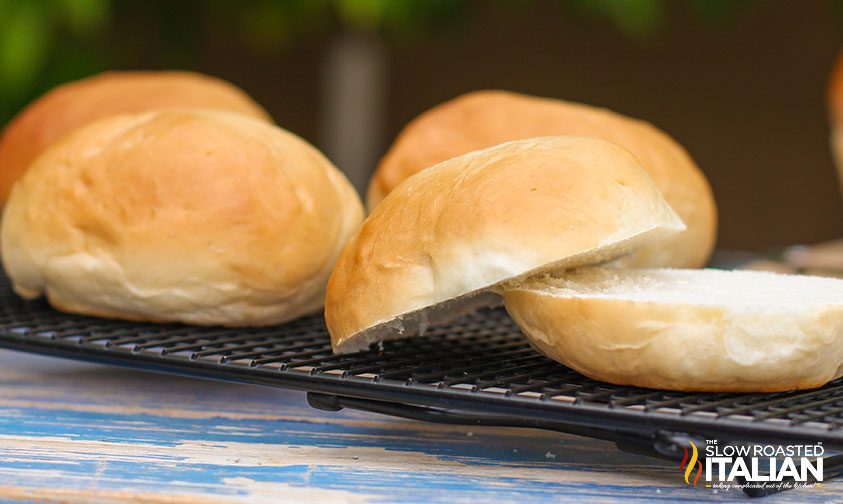
Can I use this Amish bread recipe to make hamburger buns?
You bet! Grease a cookie sheet and preheat your oven to 400°F.
Divide Amish bread dough and roll it into balls, then gently press on dough balls with the palm of your hand to create a bun shape. Let the divided dough rise as instructed.
Once risen, bake for 10-12 minutes. Cool and cover with a clean kitchen towel to keep them soft until serving.
Enjoy!
With love from our simple kitchen to yours.
Don’t miss a thing! Follow us on
Facebook | Twitter | Pinterest | Instagram
Other Simple Bread Recipes
Easy Amish Bread + Video
Ingredients
- 1 1/2 tablespoons active dry yeast, 2 packets
- 2 1/2 cups warm water, 110° to 120°F
- 2/3 cup granulated sugar
- 8 tablespoons unsalted butter, 1/2 cup, divided
- 1 tablespoon kosher salt
- 6-7 cups all-purpose flour
Instructions
- Melt 4 tablespoons butter. I microwave on high for 30 seconds at a time until it is mostly melted. I recommend covering with a paper towel to avoid messes. Set aside.
- In the bowl of a stand mixer add sugar and water. Sprinkle yeast over top and swirl with spoon or fingers to combine. Allow the yeast to sit for about 5-10 minutes while the it blooms and becomes aromatic.
- Add melted butter, 4 cups flour, and salt. Mix on low, using the dough hook, until smooth. Add remaining flour, 1 cup at a time, until a soft dough ball forms (I use the entire 7 cups). Turn the mixer to medium and knead for 5 minutes. When it is ready, your ball of dough should be tacky, not sticky. When you touch the dough and pull your fingers away the dough should not stick to your fingers. If it is sticky, add a little more flour 1 tablespoon at a time until it becomes tacky.
- Turn the dough onto a floured board; knead about 10 turns. To knead dough: fold it in half, gently press the dough away from you with the heel of your hand and then turn the dough. Repeat. When you are finished kneading, your dough should be smooth and elastic.
- Shape dough into a smooth ball so it will rise properly: fold the sides of the dough over into the middle of the dough. Flip the dough over. Cup your hands along the right and left sides of the dough and pull it toward you. Rotate the dough a quarter turn and repeat. After about 10 times you will have a nice smooth dough.
- Place 1 tablespoon of butter in a large microwave-safe bowl. Heat butter in the microwave until butter is melted. Place the dough into the bowl with the butter, flipping once to grease the top. Make sure the smooth side of the ball is on top for the rise. Loosely cover with plastic wrap and a towel over the top and let rise in a warm place until doubled in size, about 1 hour.
- Punch dough down and divide into two loaves.
- Shape the bread for the bread pans: Place dough on a lightly floured countertop. Pat one of the divided doughs into an oval. Fold the top third of the dough and fold it into the middle of the dough. Use the heel of your hand to press the top layer into the bottom layer. Repeat with the bottom third of the dough. Like you are folding a letter. Fold the dough in half. Pull the ends of the dough down and tuck under like a package to make a smooth dough.
- Place each dough in a greased 9-in. x 5-in loaf pan. Press the dough down flat in the bread pan, using your flat hand to help it rise evenly.
- Preheat oven to 350°F.
- Cover and let rise in a warm place until doubled, about 30-45 minutes.
- Place bread on the center rack. Bake for 30-35 minutes or until golden brown. You can turn in out onto a plate and thump the bottom of the bread. If it sounds hollow, it is done.
- Allow the bread to cool in the bread pan on a wire rack for 5 minutes. Remove the bread from the pans and brush the tops with the remaining butter.
- Let the bread continue to cool for at least 30 minutes before cutting or you risk smooshing the bread as you slice it. I can never wait, but it is best if you can.
Video
Donna’s Notes
Nutrition
All nutritional information is based on third party calculations and is only an estimate. Each recipe’s nutritional value will vary depending on the ingredients used, measuring methods, and portion sizes.

Originally published June 2013. Updated and republished April 2020.

Disclosure: Posts may contain affiliate links. If you purchase a product through an affiliate link your price will remain the same and The Slow Roasted Italian will automatically receive a small commission. Thank you for your support; it allows us to keep creating new recipes.







Can this bread be made with 1/2 whole wheat four?
can I substitute fast acting instant yeast? It's the only kink I could find right now.
Great recipe, have made this and it's lovely. Am I the only one though who wonders why a "4 ingredient amish bread" has 6 ingredients? LOL thanks for sharing, it's yummy regardless!
I understand the question. oddly enough most people don’t count water and salt as ingredients because they are fundamental and most people have readily available.
Made this and both loaves were gone after one day! It turned out exactly like you said, delicious!! That was the last of my active dry yeast and I now only have Instant yeast can that be substituted? Boy I sure hope so! Thanks for the help!
I just made this bread, and it is BY FAR the best taste and texture of any bread I’ve ever made. It’s dense, yet fluffy and the taste is exquisite! Thank you so much for sharing this recipe.
Can you use the instant rise yeast instead of the regular and if so what would you do differently to compensate for it
I have used both types of yeast and there was no difference.
It’s past midnight in South Texas and I’m making bread
The hubby and glide like to sleep smelling bread cookies
Can use buttermilk or is it too thick??
I'm making this for the 4th time. I add a little extra sugar and use bread flour and it is Great! I can only eat so much bread so I give it to my son and daughter in law who love it. They used it to make a French bread casserole and it was excellent! My favorite bread recipe.
Maybe it's just me, but I can't find the video anywhere … ??
I can’t either!
I could barely finding and then it wouldn’t play 😠. The play arrow is barely visible on the left side.
may i have half recipe in grams measurement please? thanks
I just baked two loaves, for the first time using this recipe.
No complaints. No hitches.
Thank you for such a "novice-friendly" recipe!
How can I make it with beer?
Can this bread be made in a Bread Machine?
I make bread almost every year to give as Christmas gifts to my neighbors and friends. I include a small jar of homemade jam. Would love to try this one if I can make in my machine! thanks!!!!
Just made this bread! It is absolutely delicious. By far the best bread I've ever made/had. The recipe was easy to follow too. Thank you for sharing!
I have made this 4 or 5 times now and it is awesome! I added garlic this time can't wait to see how it comes out!! Thank You!!
I’ve made this recipe several times,…experimenting. The best result, so far, texture and flavor is as follows:
Instead of water, use 1 bottle of beer, any kind BUT dark stout or porter gives the bread a lovely earthy flavor and color. (1 bottle will not equal 2-1/2 cups so finish off with milk (or water). I warm the beer/milk in the microwave.
Follow the rest of the recipe as written. If you want a ‘soft’ crust, whisk a little milk with an egg and brush on top before baking.
This is a wonderful recipe…pretty foolproof.
Next, I’m going to try subbing the water with a dry white wine…or sweet and cut the sugar 😁❤😁
Using beer or wine gives the bread more flavor and a spongy, soft crumb. Try it, you’ll like it!
Wow, Sherry – your version sounds scrumptious! So glad you enjoyed it, and thank you for sharing. 🙂
TSRI Team member,
Becca
This is such a fabulous easy recipe. I am an experienced bread maker and your recipe is great for any level. Yes, you can use instant active yeast. The recipe is perfect as is. This recipe could easily be adapted to a bread machine, although I did mine by hand. I did add two tablespoons more sugar and used a cup of milk in place of some of the water though because I like it a little bit sweeter more like brioche. came out perfect! This recipe truly is a keeper. Thank you!!
My grocery bill thanks you too! no more 5-8 dollar bread for this family! Yahoo!
Wish it was by weight and not cup measurement Cups vary and I have 4tablespoons and they are all different.It sounds yummy but very unsure as to correct measurements
This is the best recipe for white bread and hamburger buns. We love it!
This bread is perfect, I add diced green onions and grated cheddar cheese to the dough. its called fergassa bread and is delicious toasted. Love it with pasta.
Hi Sylvia!
We’re so glad you enjoyed!!
TSRI Team Member,
Devlyn
First time making this bread today. It came out good, and the flavor was so good. I have been on a mission to find the perfect sandwich bread and I believe I have found it.
I am new to bread making and doing a lot of research so I have a question. What would happen if I substituted the water for potato water?
Hi Kat!
We’re so glad you enjoyed!!
TSRI Team Member,
Devlyn