Soft Monster Cookies (Made with Cake Mix!)
This post may contain affiliate links. Please read my disclosure policy.
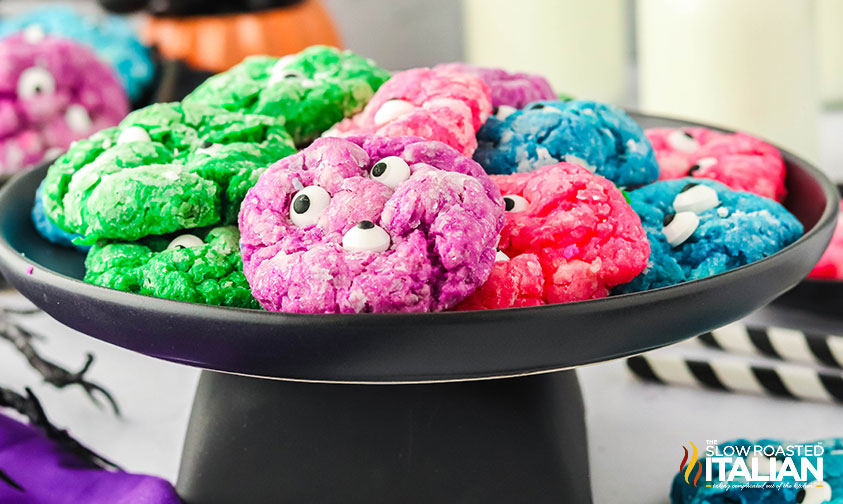
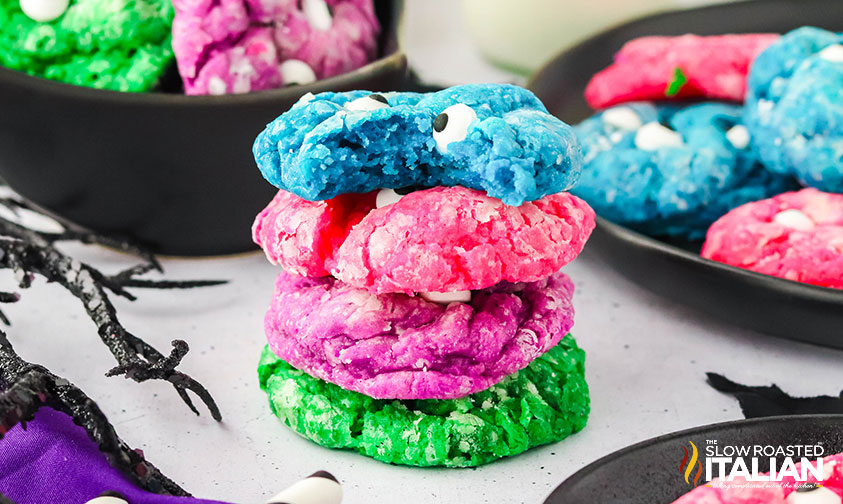
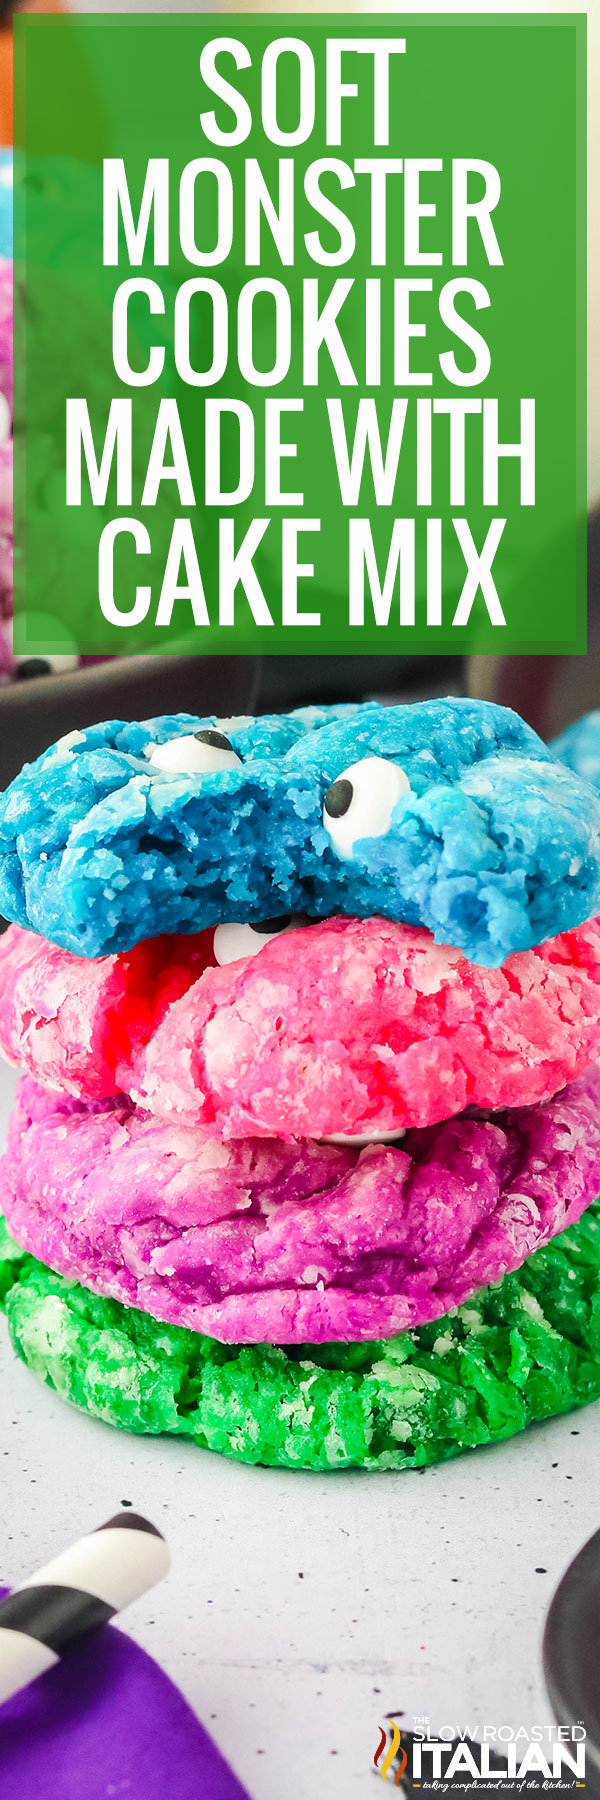
These Soft Monster Cookies are as tasty as they are adorable. Brightly colored cake mix cookie dough is baked into tender, fluffy treats, then dotted with candy eyeballs for a creature transformation! Perfect for boo bags, classroom parties, and Halloween parties — and the kids can help make them too!!
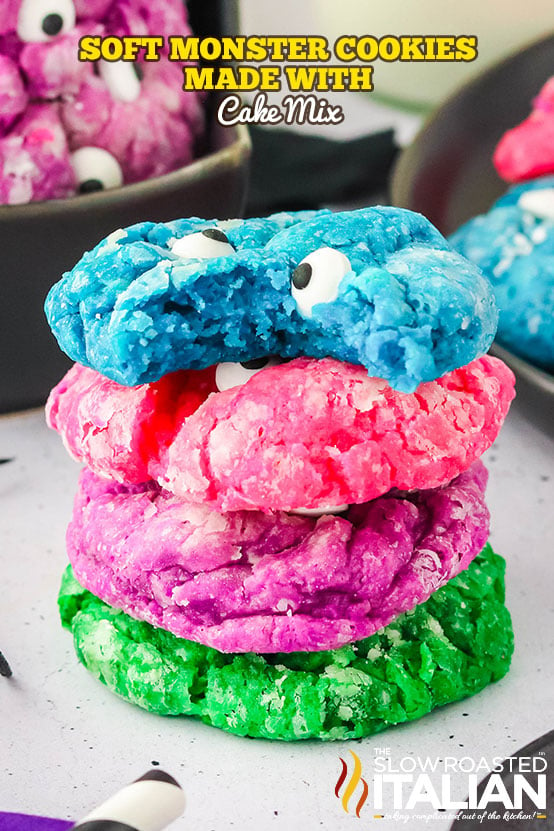
Table of Contents
Soft Monster Cookies
Who says creepy can’t be cute? And boy, are these soft monster cookies the CUTEST!!
They’re essentially brightly colored crinkle cookies with a googly eye surprise and soooo easy to make.
No need for fancy decorating tools or hours spent hunched over with a piping bag.
Simply press the candy eyes into the cookies while they’re still warm from the oven and you’ve got a creature-tastic treat for Halloween or a monster-themed birthday party.
The kids can help too! Let them mix the color into the dough and decorate gooey monster cookies with as many eyeballs as they want.
It’s a hands-on activity and a sweet snack rolled into one.
Ingredient Notes and Substitutions
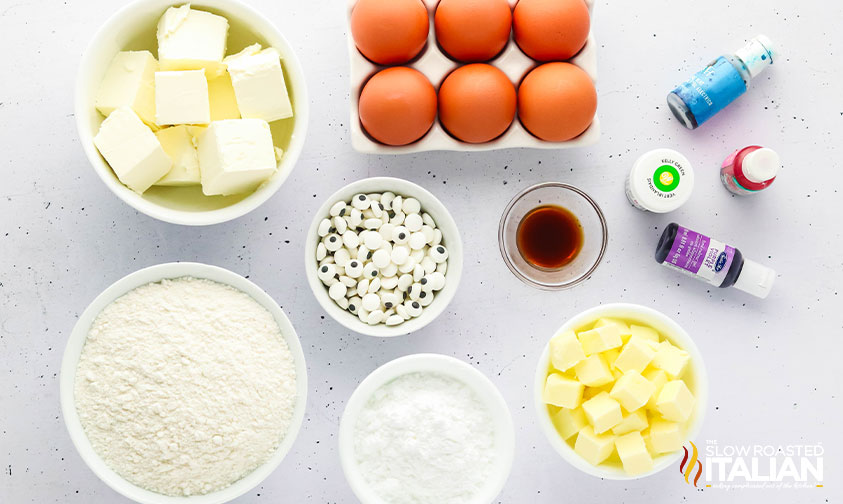
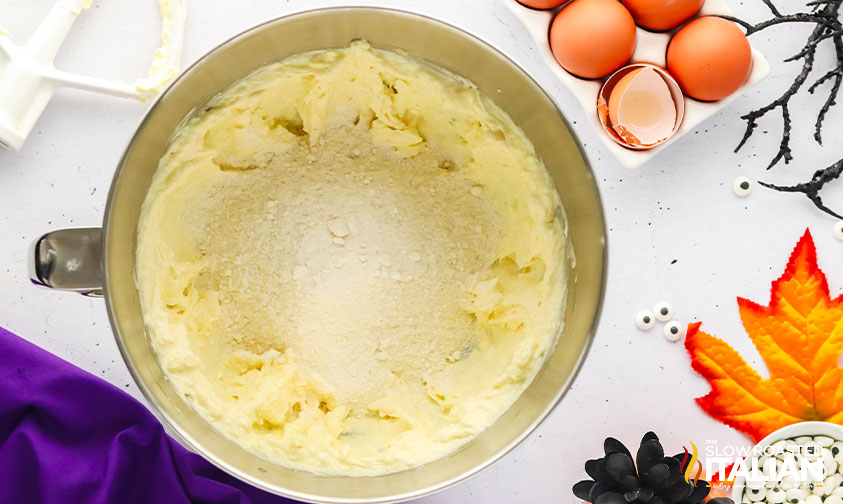
- Cake Mix – Our secret weapon! All you need is the cake mix powder, so don’t worry about the other ingredients listed on the box.
I used Betty Crocker French Vanilla, but any white cake mix will work. If you opt for a yellow mix, you’ll need to adjust for that when coloring the dough. - Butter – Use salted or unsalted, whichever you have on hand.
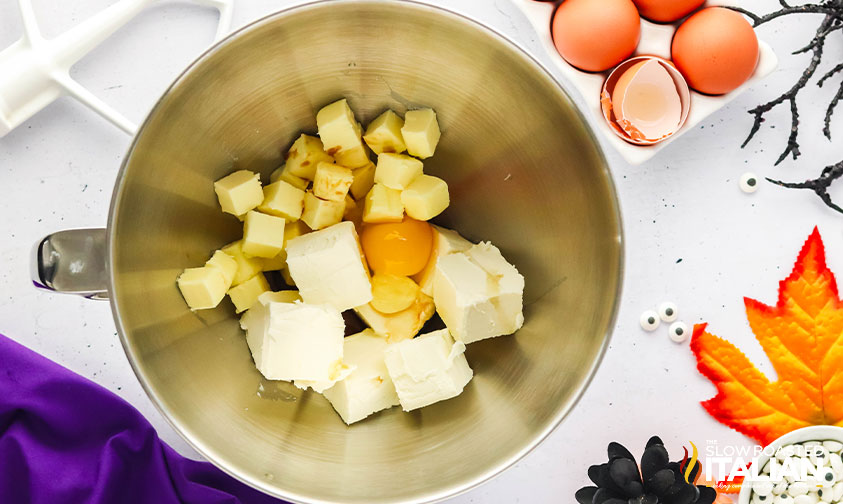
- Cream Cheese – This puts the gooey in our gooey monster cookies! Soften it (with the butter) on the counter before getting started.
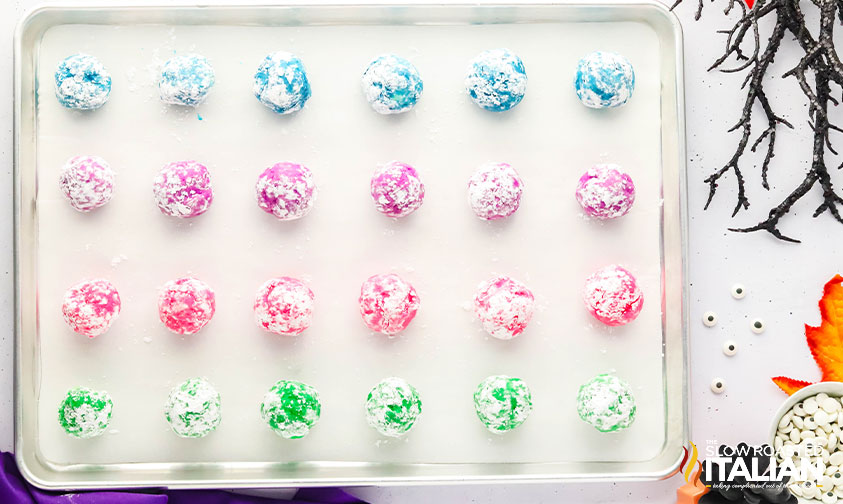
- Powdered Sugar – Save this for after you make the dough. You’ll roll each ball in powdered sugar to create a crinkle effect as they bake.
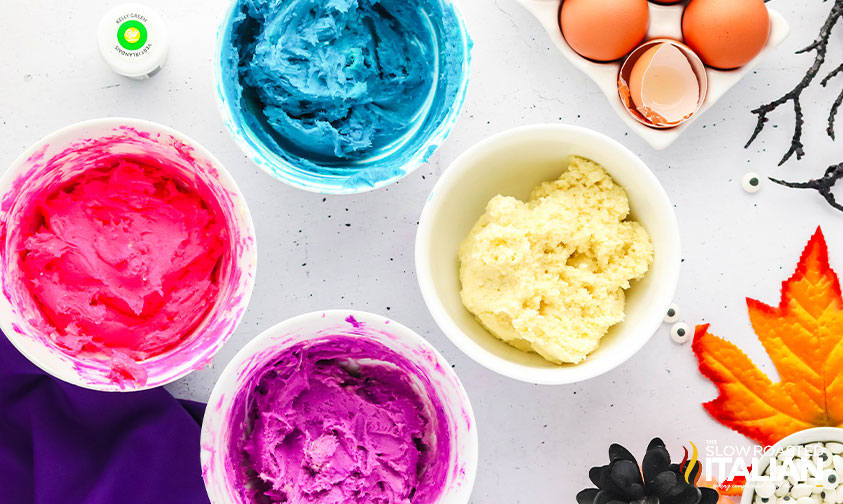
- Gel Food Coloring – This one’s important! Gel coloring creates vibrant colors with the smallest amount, and it won’t alter the consistency of your dough.
To get the same hues you see in the photos, use Wilton gel color in Purple and Kelly Green plus Garnier Labs gel color in Neon Pink and Electric Blue.
But feel free to use whatever colors you want. - Eyeball Candies .- I used Wilton brand for these too — you should be able to find them in the cake decorating section of any grocery or craft store.
Make sure they are hard candies, not gummies or the kind made with decorator frosting. Those will simply melt into your cake mix monster cookies!
Tips and Tricks to Make Perfectly Gooey Monster Cookies
- Chill the dough before rolling into balls.
Most cookie dough does better with a quick chill, but the recipe especially needs it!
The butter and cream cheese will soften even more as you mix in the color — and that mixing develops the gluten as well.
After a 30-minute trip to the fridge, the fat will firm back up and the dough will relax, resulting in the perfect texture.
Without it, your treats will be as flat as pancakes and tough to chew too!
- Use extra powdered sugar to keep it from sticking.
This dough can be a bit sticky, so add a little powdered sugar to your hands, spoon, or cookie scoop when portioning and rolling it into balls.
Once they’re coated in powdered sugar, you’ll be able to transfer the dough balls to the baking sheet without too much issue.
- Add the candy eyes AFTER baking.
If you try to add them before, they will melt and burn in the oven. Instead, press them gently into the soft monster cookies while they are still warm.
This will help them stay in place as the cookies cool so they don’t fall off when you go to eat them!
- Bake in small batches.
Unless you have lots of helping hands, you’ll want to bake these one cookie sheet at a time.
It’s important to get those eyes on before the cookies cool too much, and that takes some time.
Keep the rest of the dough in the refrigerator.
You can roll it all at once so the dough is ready to pop right onto the pan, but wait to coat it in powdered sugar until just before baking.
Prep Ahead
- Soften butter and cream cheese
- Line cookie sheet with parchment
- Spray lightly with cooking spray
Kitchen Tools You Will Need
- Baking Sheets lined with Parchment Paper – Used for anything from cookies to roasting, a good baking pan will last for years.
- Stand Mixer fitted with the paddle attachment
- Mixing Bowls – I like to have a variety of sizes on hand, and this set has them all.
- Gel Food Coloring is perfect for baked goods because it won’t add too much liquid to the dough!
Serving Suggestions
These gooey monster cookies would go perfectly with more of my Halloween treats — think meringue ghosts, candy corn creepers, and Snickers-stuffed mummies!
Or, wrap them up in cellophane to tuck into boo bags or hand out to trick-or-treaters.
Storage and Freezing
Transfer any leftover cake mix monster cookies to an airtight container so they don’t dry out. Store in the refrigerator for up to 4 days.
You can also freeze them for up to 3 months, but the candy eyeballs might bleed when thawed due to the moisture. Or maybe that’s just the level of creep factor you want!
The dough also freezes really well. Roll it into balls and wrap those in plastic, then place in a zippered freezer bag or container.
Store for up to 3 months and thaw in the fridge before baking.
Cake Mix Monster Cookies FAQ
In that case, add a little all-purpose flour a tablespoon at a time until it reaches the right consistency. It should be a little sticky, but not so much that it’s impossible to work with.
You can, but you won’t be able to color the dough. All of your cookies would be brown, but you could mix M&M candies in with the eyeballs for some pops of color.
If you followed the recipe exactly, then you likely didn’t chill the dough long enough. It’s also important to roll it quickly so the heat from your hands doesn’t soften the butter again.
Place the dough balls directly on the baking sheet and don’t flatten them with your hand.
Finally, make sure your butter is softened and not melted — and don’t substitute oil for the butter! That will absolutely cause these to go flat.
Enjoy!
With love, from our simple kitchen to yours.
Don’t miss a thing! Follow us on
Facebook | Twitter | Pinterest | Instagram
Soft Monster Cookies (Made with Cake Mix!)
Ingredients
- 1/2 cup butter, softened, 4 ounces
- 1 teaspoon pure vanilla extract
- 8 ounces cream cheese, softened
- 1 large egg
- 1 box vanilla or white cake mix
- 1/2 cup powdered sugar
- food coloring
- candy eyeballs
Instructions
- Line a cookie sheet with parchment paper and lightly spray with cooking spray.
- In the bowl of your stand mixer, use the paddle attachment to beat the butter, vanilla extract, cream cheese and the egg on high until smooth and a bit fluffy.
- Add the dry cake mix and stir on low until combined.
- Divide the batter into bowls. I am going to do 4 colors so I will need 4 bowls. Add food coloring. I like to start with a 1/4 teaspoon of color and add more if needed.
- Once the color has been added, place the dough in the fridge for 30 minutes.
- Preheat the oven to 350 degrees Fahrenheit. Roll the dough into balls about 1 and 1/2 inches in diameter. Roll the dough ball into the powdered sugar.
- Place the balls on the cookie sheet about 2 inches apart.
- Bake for 10-12 minutes. Remove from the oven and while the coolies are still warm, press the candy eyeballs into the cookie. Let cool on the pan for 5 minutes before moving them to a rack to cool completely. Enjoy once cooled down.
Donna’s Notes
Nutrition
All nutritional information is based on third party calculations and is only an estimate. Each recipe’s nutritional value will vary depending on the ingredients used, measuring methods, and portion sizes.
Originally published September 2024
Disclosure: Posts may contain affiliate links. If you purchase a product through an affiliate link your price will remain the same and The Slow Roasted Italian will automatically receive a small commission. Thank you for supporting us, it helps us keep creating new recipes.


